Altinex CP450 Series manual Installing Your CP450, Altinex Installation

Models: CP450 Series

1 24
Download 24 pages 63.71 Kb
Page 21
Image 21

SPECIAL APPLICATION

INSTALLING YOUR CP450

6

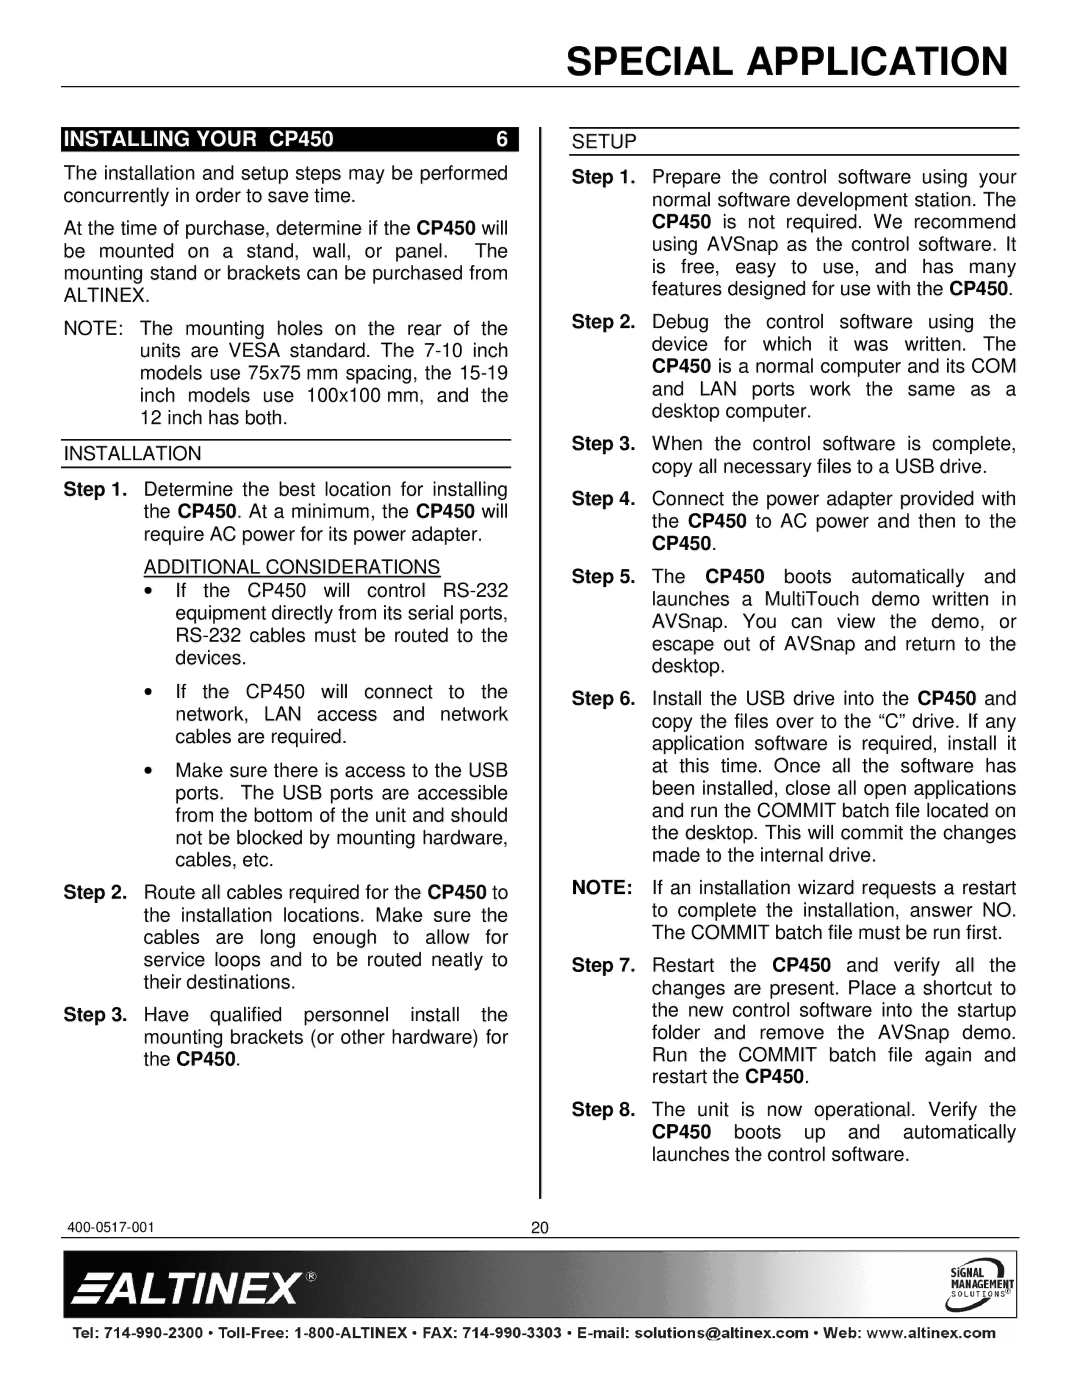
The installation and setup steps may be performed concurrently in order to save time.

At the time of purchase, determine if the CP450 will be mounted on a stand, wall, or panel. The mounting stand or brackets can be purchased from

ALTINEX.

NOTE: The mounting holes on the rear of the units are VESA standard. The 7-10 inch models use 75x75 mm spacing, the 15-19 inch models use 100x100 mm, and the 12 inch has both.

INSTALLATION

Step 1. Determine the best location for installing the CP450. At a minimum, the CP450 will require AC power for its power adapter.

ADDITIONAL CONSIDERATIONS

If the CP450 will control RS-232 equipment directly from its serial ports, RS-232 cables must be routed to the devices.

If the CP450 will connect to the network, LAN access and network cables are required.

Make sure there is access to the USB ports. The USB ports are accessible from the bottom of the unit and should not be blocked by mounting hardware, cables, etc.

Step 2. Route all cables required for the CP450 to the installation locations. Make sure the cables are long enough to allow for service loops and to be routed neatly to their destinations.

Step 3. Have qualified personnel install the mounting brackets (or other hardware) for the CP450.

SETUP

Step 1. Prepare the control software using your normal software development station. The CP450 is not required. We recommend using AVSnap as the control software. It is free, easy to use, and has many features designed for use with the CP450.

Step 2. Debug the control software using the device for which it was written. The CP450 is a normal computer and its COM and LAN ports work the same as a desktop computer.

Step 3. When the control software is complete, copy all necessary files to a USB drive.

Step 4. Connect the power adapter provided with the CP450 to AC power and then to the CP450.

Step 5. The CP450 boots automatically and launches a MultiTouch demo written in AVSnap. You can view the demo, or escape out of AVSnap and return to the desktop.

Step 6. Install the USB drive into the CP450 and copy the files over to the “C” drive. If any application software is required, install it at this time. Once all the software has been installed, close all open applications and run the COMMIT batch file located on the desktop. This will commit the changes made to the internal drive.

NOTE: If an installation wizard requests a restart to complete the installation, answer NO. The COMMIT batch file must be run first.

Step 7. Restart the CP450 and verify all the changes are present. Place a shortcut to the new control software into the startup folder and remove the AVSnap demo. Run the COMMIT batch file again and restart the CP450.

Step 8. The unit is now operational. Verify the CP450 boots up and automatically launches the control software.

400-0517-001

20

Page 21
Image 21
Altinex CP450 Series manual Installing Your CP450, Altinex Installation

CP450 Series specifications

The Altinex CP450 Series represents a significant advancement in the realm of audio-visual control systems, designed to facilitate seamless presentations and enhance user experience in diverse environments such as corporate offices, educational institutions, and hospitality venues. Featuring a compact and stylish design, the CP450 Series not only functions effectively but also complements modern room aesthetics.

One of the standout features of the CP450 Series is its flexible connectivity options. It supports a variety of input sources, including HDMI, VGA, audio lines, and more, which allows users to easily connect laptops, tablets, and other devices. This versatility helps in accommodating different technology platforms and enhances collaboration, as multiple users can share their content effortlessly.

The CP450 Series is equipped with advanced control technologies that simplify system operations. The intuitive user interface, available through a touchscreen panel or physical buttons, ensures that system control is user-friendly, making it accessible even for those with limited technical knowledge. Users can control various AV components, adjust volume levels, and switch between input sources with just a few taps or clicks, streamlining the entire process of setting up a presentation.

Another important characteristic of the CP450 Series is its robust integration capabilities. The system can easily connect with existing AV equipment and third-party systems through standard protocols such as RS-232 and IP-based control. This allows the CP450 to function harmoniously within an established environment, providing flexibility for future upgrades or modifications.

The reliability of the CP450 Series is backed by Altinex's commitment to quality. Constructed with durable materials, it is built to withstand frequent use in busy environments. Furthermore, the series is supported by comprehensive technical support, ensuring users can troubleshoot any issues quickly.

In summary, the Altinex CP450 Series offers a combination of user-friendly design, comprehensive connectivity, advanced control technologies, and strong integration capabilities. Whether in a classroom, boardroom, or event space, this series stands out as a versatile solution that enhances the audio-visual experience, catering to the evolving needs of modern users.