Installation
Proper installation of your
In general, minimize or eliminate light sources directed at the display. Contrast ratio in your images will be noticeably reduced if light directly strikes the display, such as when a shaft of light from a window or floodlight falls on the image. Images may then appear washed out and less vibrant.
3.3 Installation Considerations
 Ambient Light
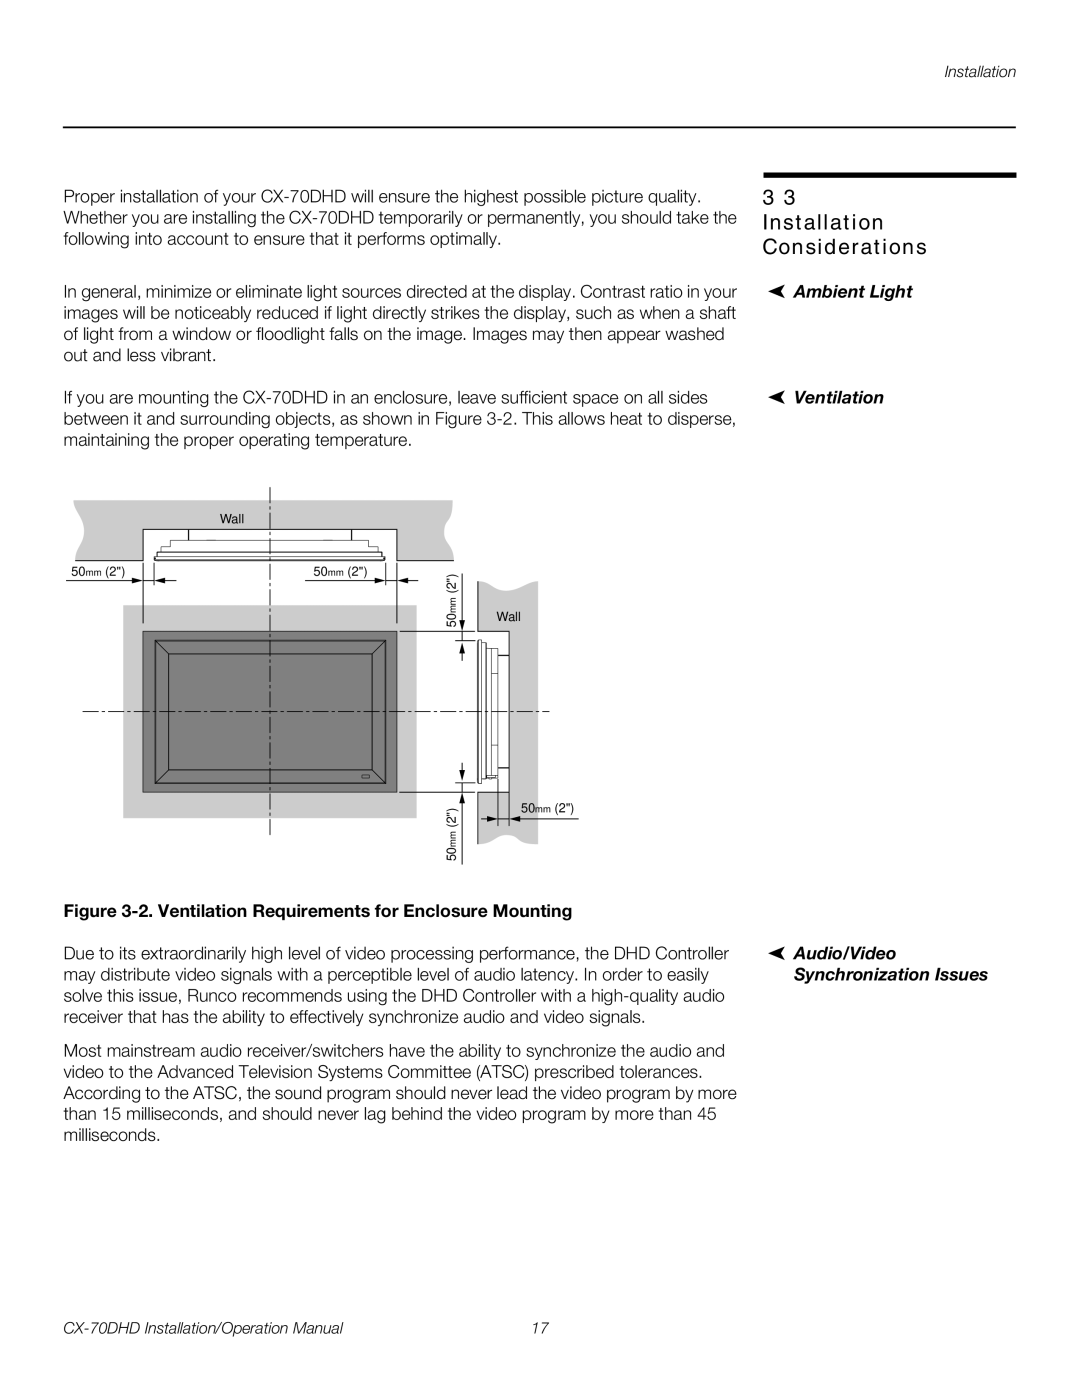
If you are mounting the | Ventilation |
between it and surrounding objects, as shown in Figure |
|
maintaining the proper operating temperature. |
|
50mm (2")
Wall
50mm (2")
50mm (2")![]()
Wall
50mm (2")
50mm (2")
Figure |
|
Due to its extraordinarily high level of video processing performance, the DHD Controller | Audio/Video |
may distribute video signals with a perceptible level of audio latency. In order to easily | Synchronization Issues |
solve this issue, Runco recommends using the DHD Controller with a |
|
receiver that has the ability to effectively synchronize audio and video signals. |
|
Most mainstream audio receiver/switchers have the ability to synchronize the audio and |
|
video to the Advanced Television Systems Committee (ATSC) prescribed tolerances. |
|
According to the ATSC, the sound program should never lead the video program by more |
|
than 15 milliseconds, and should never lag behind the video program by more than 45 |
|
milliseconds. |
|
17 |