Service ➤
Service
Test Video
Input Names
Remote Control
Display Device
Color Space
Triggers
Miscellaneous
Sync Threshold
HDMI EDID Extension
Front Panel Brightness
System Reset
OSD Position: To adjust the position of the OSD, select OSD Position from the Calibration menu and press ENTER.
Press ![]() or
or ![]() to select “Hor.” or “Ver.” Then, press
to select “Hor.” or “Ver.” Then, press ![]() or
or ![]() to change the position.
to change the position.
Use the Service menu to access advanced display configuration settings. This menu
should be used by ISF-certified technicians only.
You must enter a passcode to access the Service menu.
Note
Test Video: Select Test Video from the Service Menu to access the internal test patterns
on the
Press MENU to exit test pattern mode.
Input Names
|
|
|
|
|
|
| Restore |
C | o | m p o s i | t e | Composite | |||
|
|
|
|
|
|
| |
S | - V i d e o | 1 | |||||
S | - | V i d e o | 2 | ||||
C | o | m p | o n e n t | Component | |||
H | D | 1 |
|
|
| HD 1 | |
H | D | 2 |
|
|
| HD 2 | |
S | C | A | R | T |
|
| SCART |
H | D | M | I |
| 1 |
| HDMI 1 |
H | D | M | I |
| 2 |
| HDMI 2 |
|
|
|
|
|
|
|
|
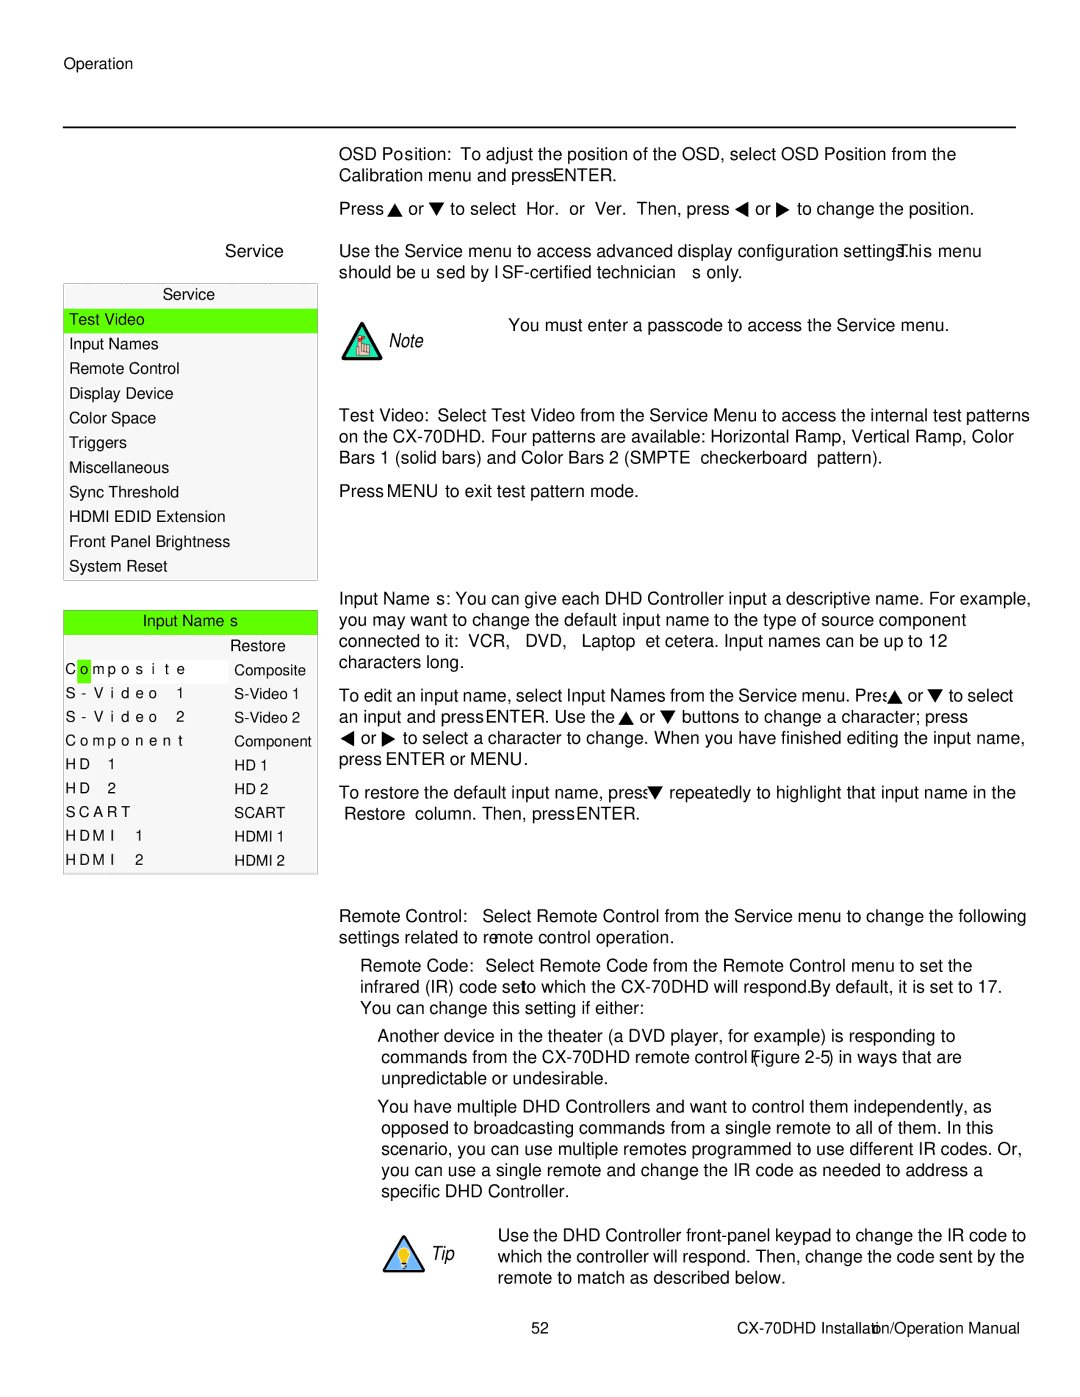
Input Names: You can give each DHD Controller input a descriptive name. For example, you may want to change the default input name to the type of source component connected to it: “VCR,” “DVD,” “Laptop” et cetera. Input names can be up to 12 characters long.
To edit an input name, select Input Names from the Service menu. Press ![]() or
or ![]() to select an input and press ENTER. Use the
to select an input and press ENTER. Use the ![]() or
or ![]() buttons to change a character; press
buttons to change a character; press
![]() or
or ![]() to select a character to change. When you have finished editing the input name, press ENTER or MENU.
to select a character to change. When you have finished editing the input name, press ENTER or MENU.
To restore the default input name, press ![]() repeatedly to highlight that input name in the “Restore” column. Then, press ENTER.
repeatedly to highlight that input name in the “Restore” column. Then, press ENTER.
Remote Control: Select Remote Control from the Service menu to change the following settings related to remote control operation.
•Remote Code: Select Remote Code from the Remote Control menu to set the infrared (IR) code set to which the
•Another device in the theater (a DVD player, for example) is responding to commands from the
•You have multiple DHD Controllers and want to control them independently, as opposed to broadcasting commands from a single remote to all of them. In this scenario, you can use multiple remotes programmed to use different IR codes. Or, you can use a single remote and change the IR code as needed to address a specific DHD Controller.
Use the DHD Controller
remote to match as described below.
52 |