4. Operation
1.Turn on your source components.
2.Press the main power switch on the
3.Set the main power switch at the rear of the DHD Controller (see Figure
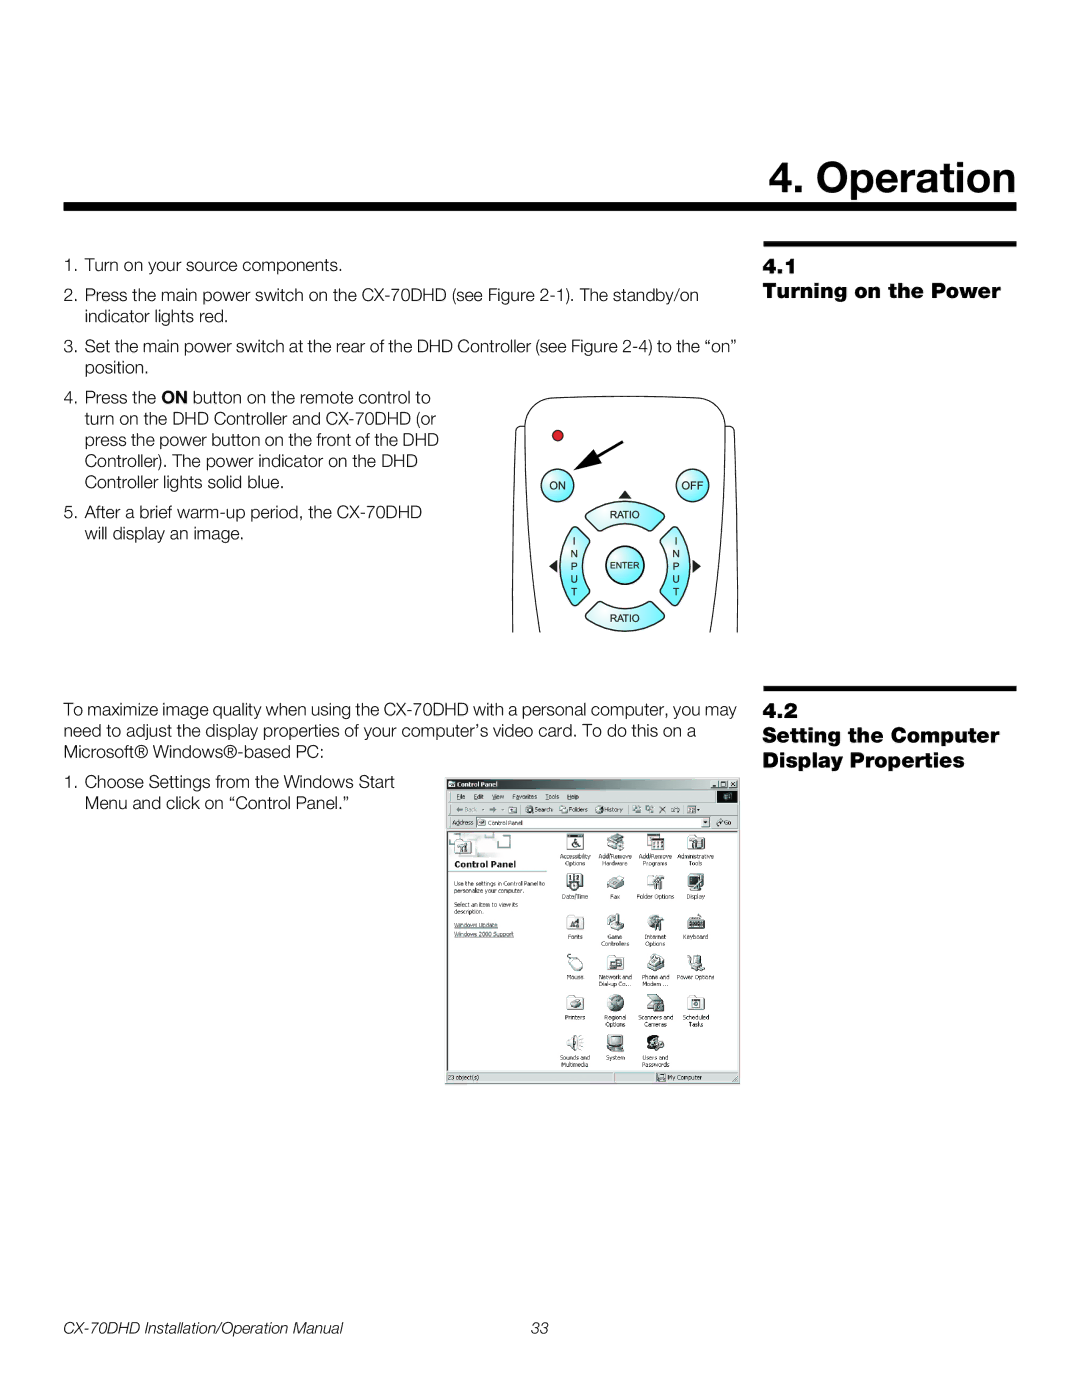
4.Press the ON button on the remote control to turn on the DHD Controller and
press the power button on the front of the DHD Controller). The power indicator on the DHD Controller lights solid blue.
5. After a brief
To maximize image quality when using the
1.Choose Settings from the Windows Start Menu and click on “Control Panel.”
4.1
Turning on the Power
4.2
Setting the Computer Display Properties
33 |