English
Delete an Array
The Delete Array menu option allows for deletion of disk array assignments.
Deleting an existing disk array could result in loss of data. Record all array information including the array type, the disk members, and stripe block size in
case you wish to undo a deletion.
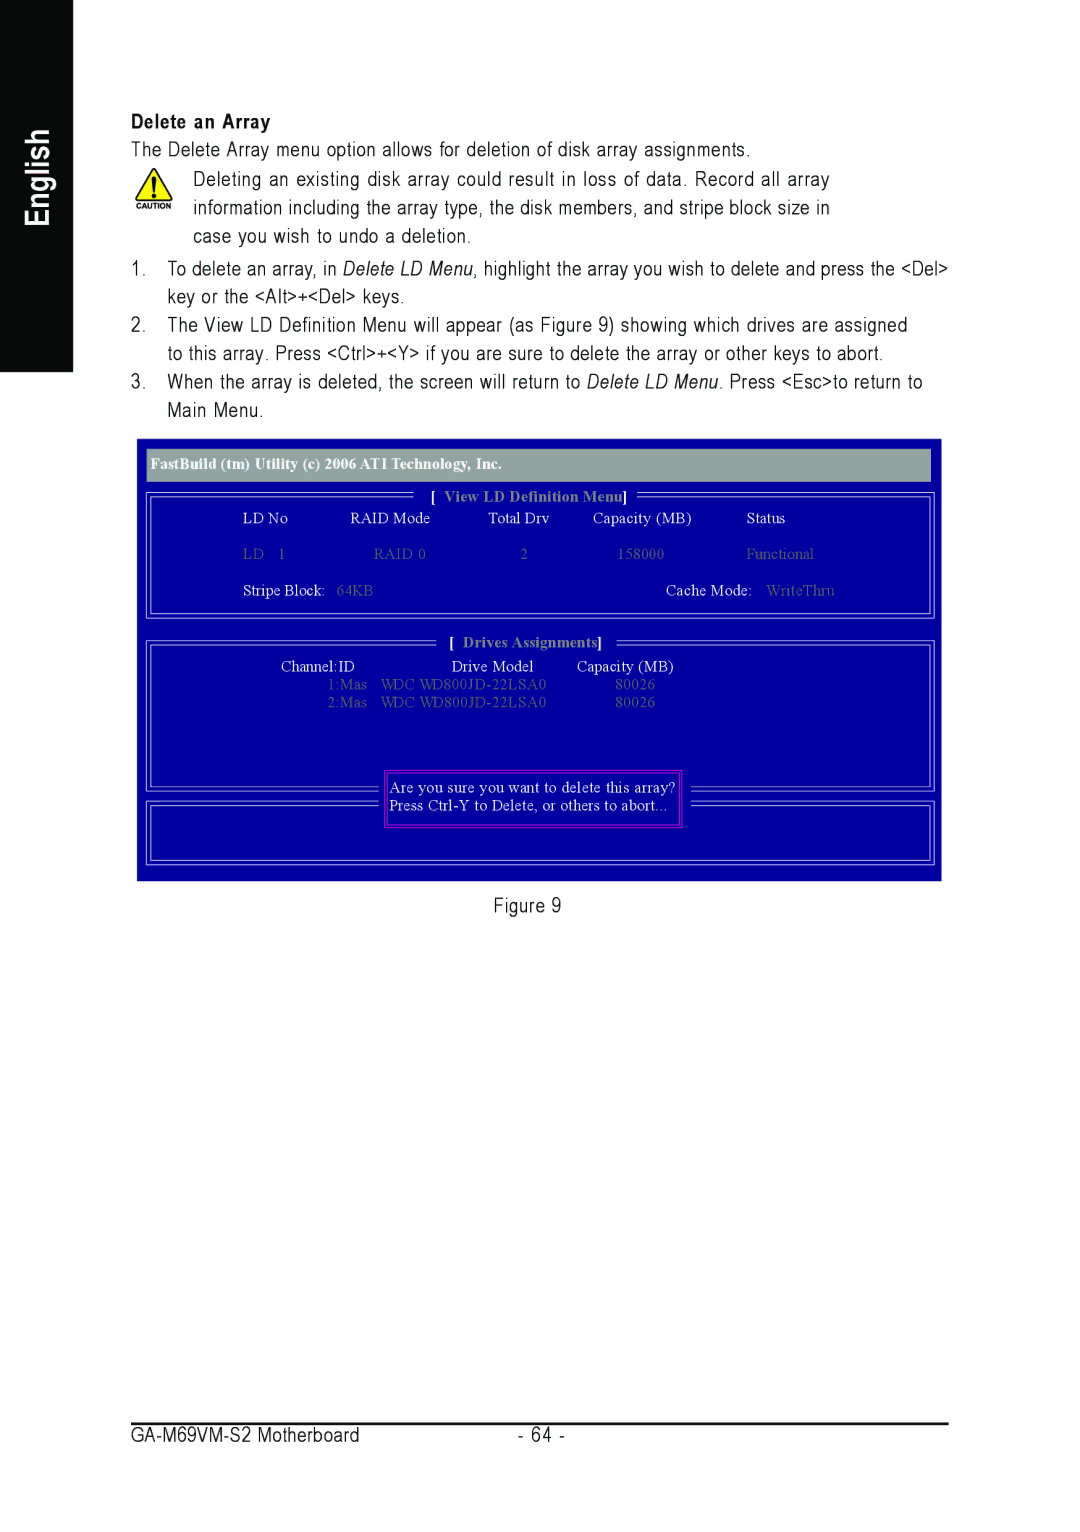
1.To delete an array, in Delete LD Menu, highlight the array you wish to delete and press the <Del> key or the <Alt>+<Del> keys.
2.The View LD Definition Menu will appear (as Figure 9) showing which drives are assigned to this array. Press <Ctrl>+<Y> if you are sure to delete the array or other keys to abort.
3.When the array is deleted, the screen will return to Delete LD Menu. Press <Esc>to return to Main Menu.
FastBuild (tm) Utility (c) 2006 ATI Technology, Inc.
[ View LD Definition Menu]
LD No | RAID Mode | Total Drv | Capacity (MB) | Status | |
LD 1 |
| RAID 0 | 2 | 158000 | Functional |
Stripe Block: 64KB |
|
| Cache Mode: WriteThru | ||
|
| [ | Drives Assignments] ] |
| |
Channel:ID | Drive Model | Capacity (MB) |
| ||
| 1:Mas | WDC | 80026 |
| |
| 2:Mas | WDC | 80026 |
| |
Are you sure you want to delete this array?
Press
Figure 9
- 64 - |