NOTES:
•Do not connect the AC power plug before assembly has been completed.
•Before turning the power on, make sure once again all the connections and power voltage settings are correct. Always turn off the power when connecting or disconnecting.
•Read this manual carefully before using the unit. Be sure to store the manual in a safe place for future reference.
•Attach a stylus cartridge to the Headshell (19) before assembling the turntable unit.
Headshell Assembly:
When installing a cartridge, refer to the operating instructions of that cartridge. During installation, attach the stylus protector to guard the stylus tip from damage.
Connect the Headshell (19) lead wires to the cartridge terminals. The terminals of cartridges and the Headshell (19) lead wires are color coded. Connect each lead wire to the cartridge terminals of the same color.
White | (L+) .............…………… | Left channel + |
Blue | Left channel - | |
Red | (R+) ..………… | Right channel + |
Green | Right channel - | |
Turntable Assembly:
1. Removing from carton:
Carefully remove the main unit with the packing material intact from the box. Remove the packing material once the unit has been removed from the shipping carton. Be sure to locate all the accessories listed on page on page 6. All accessories should be located in the packing material as detailed on page 7.
2. 45 Adapter (1):
Locate and remove the
3. Turntable Platter (2):
Remove the turntable platter from the packing material and gently insert the platter into the center spindle on the base of the turntable unit.
4. Slipmat:
Remove the black slipmat from the packaging and place it on the Platter (2).
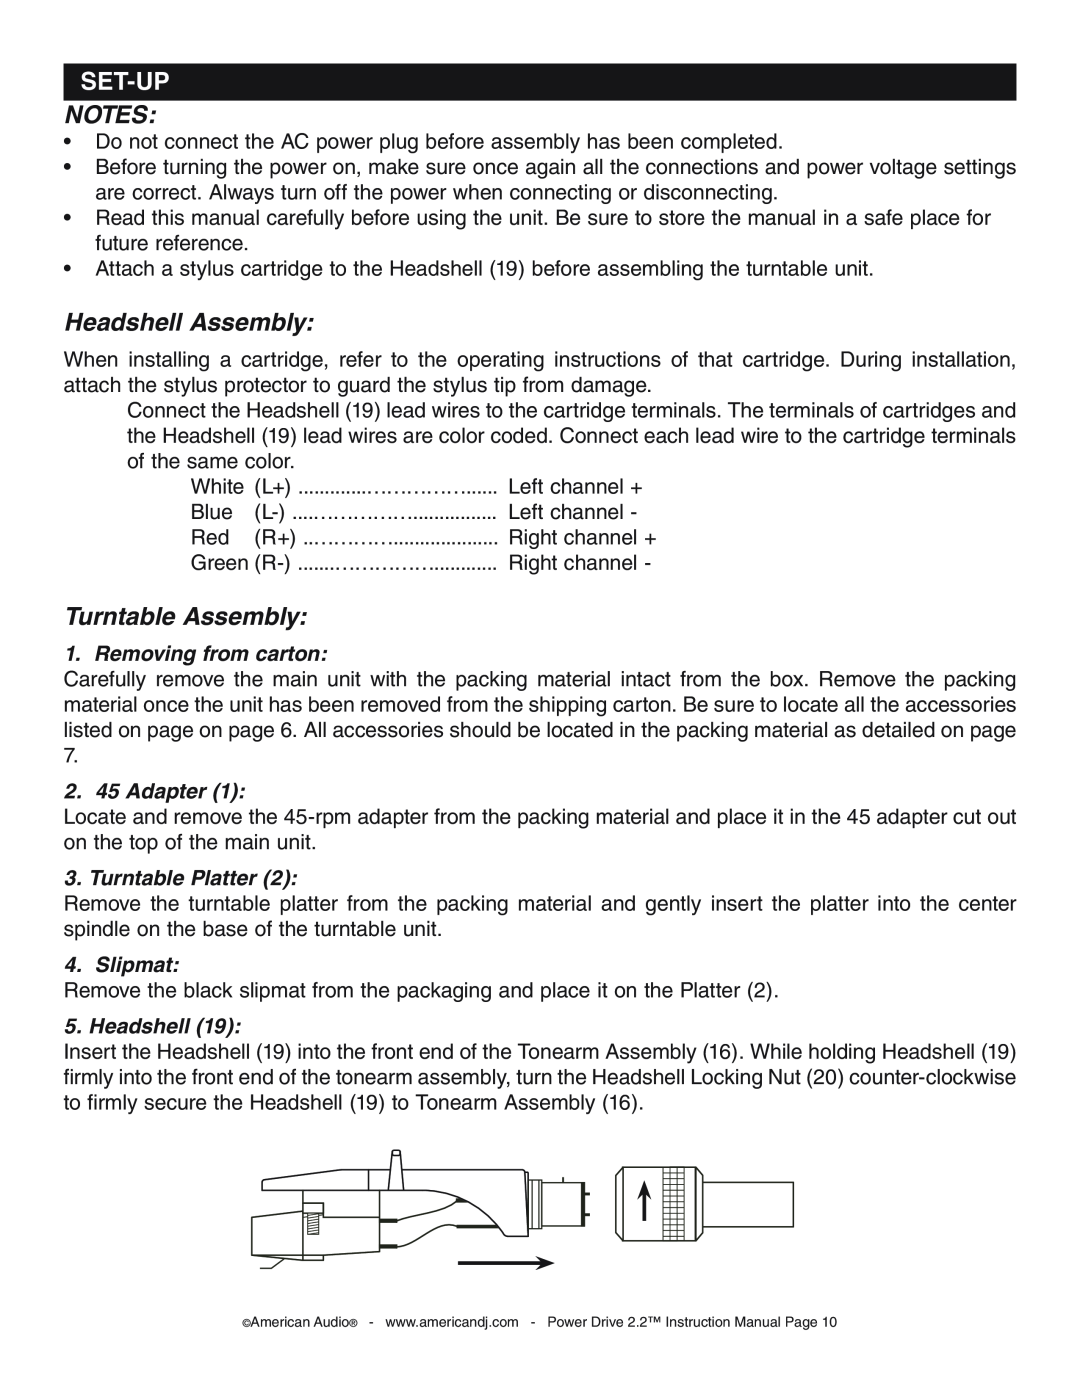
5. Headshell (19):
Insert the Headshell (19) into the front end of the Tonearm Assembly (16). While holding Headshell (19) firmly into the front end of the tonearm assembly, turn the Headshell Locking Nut (20)
©American Audio® - www.americandj.com - Power Drive 2.2™ Instruction Manual Page 10