Phase 8.3, 8.4 Rev 2.2 specifications
American Dryer Corporation (ADC) has long been a significant player in the commercial laundry equipment industry, and the ADC 8.4 Rev 2.2, Phase 8.3 model exemplifies their dedication to innovation and efficiency. Designed with the needs of modern laundromats and commercial laundry facilities in mind, this dryer offers robust features and advanced technologies that set it apart from its competitors.One of the main features of the ADC 8.4 Rev 2.2 is its high-capacity drying capabilities. With large drum sizes and powerful airflow systems, it can handle substantial loads, making it ideal for high-traffic environments. This capacity reduces drying times significantly, allowing businesses to increase their throughput and improve customer satisfaction.
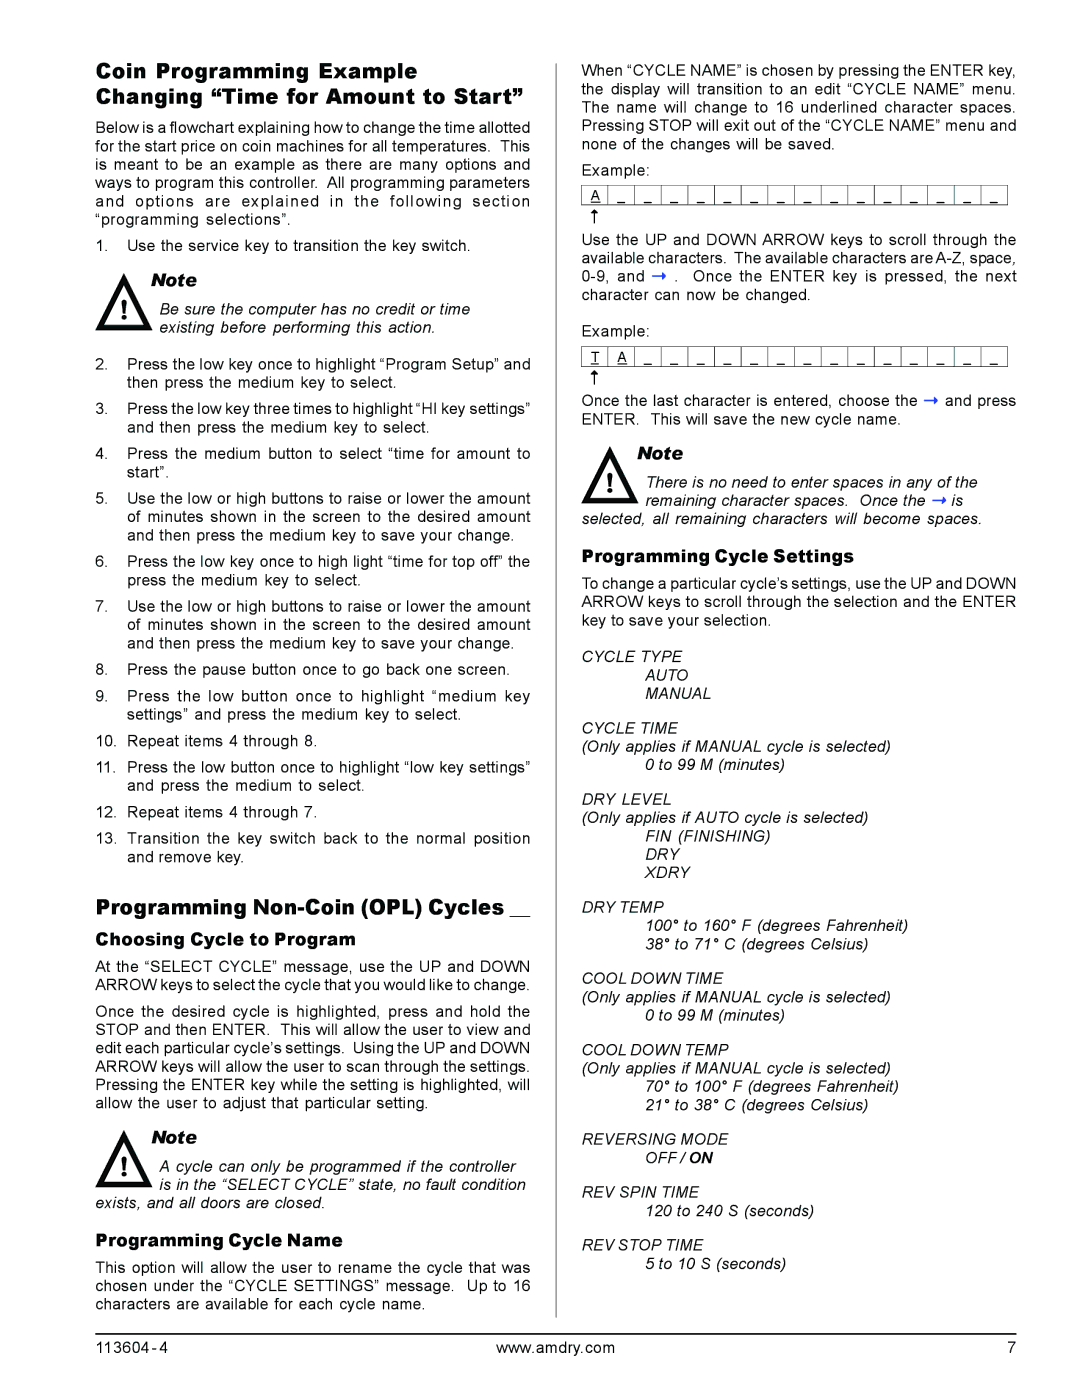
The dryer is equipped with advanced digital controls that provide users with intuitive programming options. This feature enables operators to customize drying cycles based on the specific needs of different fabrics, enhancing garment care while optimizing energy efficiency. The control system also provides diagnostic tools that aid in maintenance, allowing technicians to quickly identify and resolve any issues.
Energy efficiency is another hallmark of the ADC 8.4 Rev 2.2. The unit incorporates innovative technologies that reduce energy consumption, such as modulating gas valves and optimized airflow designs. These features not only support environmental sustainability but also help operators decrease operational costs in the long run.
In terms of durability, the ADC 8.4 Rev 2.2 is built with high-quality materials designed to withstand the rigors of daily use. Its structural integrity ensures a long service life, minimizing the need for frequent repairs or replacements. Additionally, the dryer features easy access for maintenance, allowing operators to keep it in peak condition with minimal downtime.
Safety features are incorporated throughout the design, with a focus on protecting both users and the equipment. Features like automatic shut-off, lint filtration systems, and temperature controls work together to ensure a safe and efficient drying process.
In summary, the American Dryer Corporation 8.4 Rev 2.2, Phase 8.3, is a powerful and efficient solution for commercial laundry needs. Its impressive capacity, user-friendly controls, energy-saving technologies, durable construction, and safety features make it an excellent investment for any laundry operation looking to enhance productivity and service quality. With ADC’s legacy of reliability and performance, this model stands as a testament to their commitment to innovation in the laundry industry.

