DAS-KP-LCD-G, DAS-KP-LCDS-W specifications
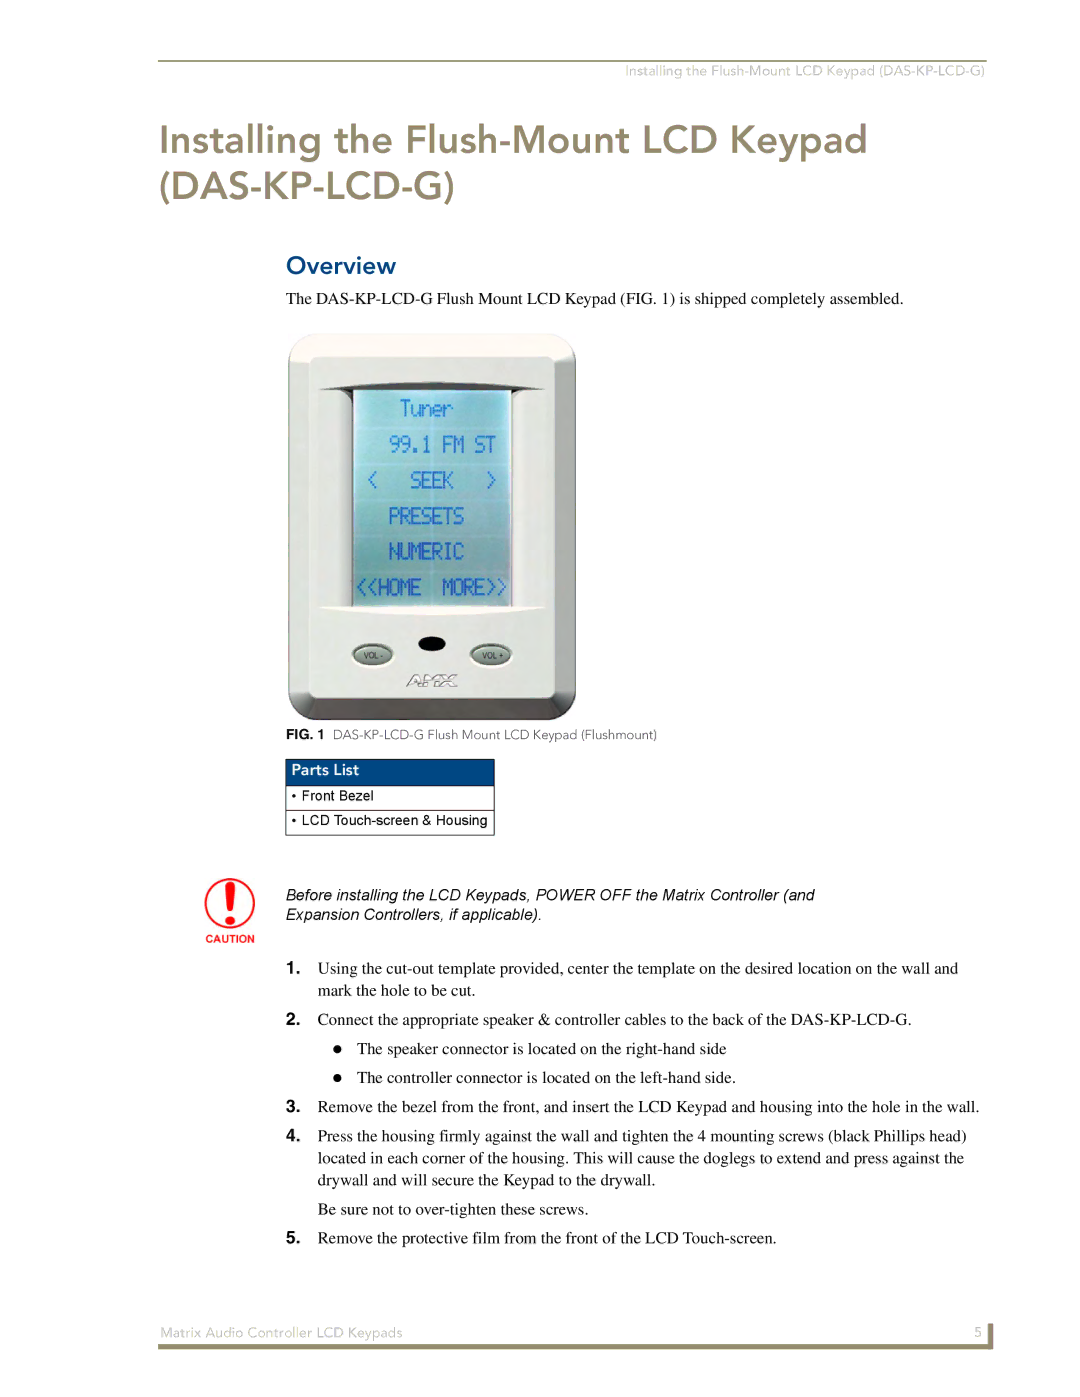
The AMX DAS-KP-LCDS-W and DAS-KP-LCD-G are innovative wall-mounted control panels designed for enhanced interactivity and user experience in control system applications. These devices are primarily utilized in professional audio-visual environments, including conference rooms, lecture halls, and high-end home theaters, enabling users to easily manage their AV equipment and environments.One of the standout features of the DAS-KP-LCDS-W and DAS-KP-LCD-G is their sleek, modern design, available in both white and black finishes. This aesthetic versatility allows them to seamlessly integrate into various interior styles, adding a touch of sophistication to any setting.
Technologically, both models are equipped with high-resolution LCD touch screens that provide intuitive navigation for users. The graphical interface supports customizable layouts, enabling users to design the control panel according to specific needs and preferences. This feature is particularly beneficial in complex environments where various AV sources need to be managed effortlessly.
Another key characteristic is the support for multiple control protocols. The DAS-KP-LCDS-W and DAS-KP-LCD-G can integrate with AMX’s extensive line of control systems, as well as third-party devices, ensuring versatile functionality. This level of compatibility makes them suitable for diverse applications, from basic room control to fully automated systems.
The devices also feature backlit buttons for easy visibility, with the option for programmable buttons that can be tailored to control specific functions or devices. This includes volume adjustments, input selections, and lighting controls, contributing to a unified control experience.
Moreover, built-in connectivity options enhance their usability, as they support Ethernet and serial connections, allowing users to command AV equipment remotely. The panels can also be designed for use with AMX's cloud-based management tools, enabling administrators to monitor and manage systems from virtually anywhere.
In summary, the AMX DAS-KP-LCDS-W and DAS-KP-LCD-G wall-mounted control panels represent a sophisticated solution for modern AV control needs. With their sleek design, high-resolution LCD screens, customizable interfaces, robust connectivity options, and compatibility with numerous systems, they are ideal for any professional audio-visual environment aiming to streamline operations and enhance user interaction.

