NXA-WC80211GCF Card and Antenna Overview

This upgrade kit requires that pre-existing panels first be removed from their current location (surface, wall or docking station) before an installer can access the internal circuit boards and upgrade a pre-existing 802.11b wireless CF card.

MVP panels require the use of a cardboard cutout (Mounting Template) to properly position the metal antenna plate onto the inner surface of the unit’s rear plastic housing.

CV7 and CV10 panels only require locating the Compact Flash’s metal cover plate on the main circuit board and then adhering the terminal antenna connector to that location using the included double-sided adhesive tape.

Note: If the CF metal cover plate is not present over the wireless card slot on a CV7 or CV10 panel, you can use the adhesive tape to secure the terminal antenna to the surface of the new card (atop the product label).

The procedures for upgrading a CF card on an MVP is identical for both MVP-7500 and MVP-8400 panels. The procedures for upgrading/installing the new CF card are also similar across all referenced NXT panels and NXD panels as a group (differences arise from their housing).

NXA-WC80211GCF Installation into MVP Panels

Upgrading the wireless CF card on an MVP involves opening the panel enclosure, removing the existing card, replacing it with the upgrade, and then closing the panel enclosure, as described below.

Note: Batteries should be removed prior to upgrading the card.

Step 1: Access the MVP’s Internal Components

1.Carefully detach any connectors from the touch panel and then gently place the MVP LCD facedown onto a soft cloth to expose the battery compartment. This step helps prevent scratching of the LCD.

2.Slide the Battery Compartment cover (FIG. 2) away from the metal plate to expose the internal battery compartment (2 battery slots).

Step 2: Install the new 802.11g CF Card and Antenna (MVPs)

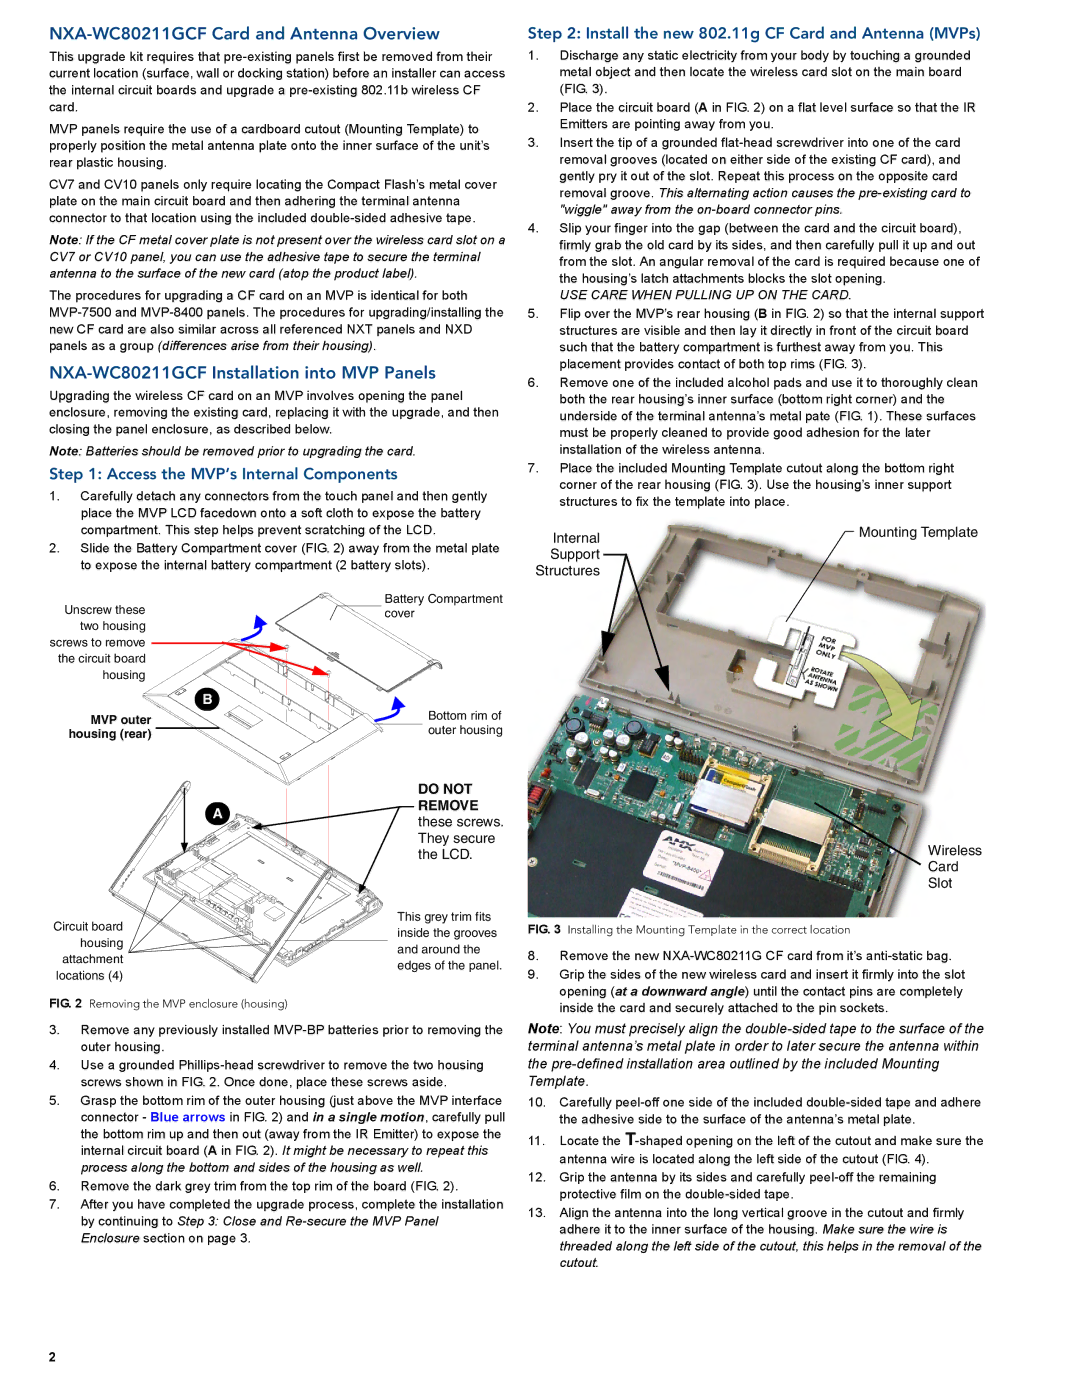
1.Discharge any static electricity from your body by touching a grounded metal object and then locate the wireless card slot on the main board (FIG. 3).

2.Place the circuit board (A in FIG. 2) on a flat level surface so that the IR Emitters are pointing away from you.

3.Insert the tip of a grounded flat-head screwdriver into one of the card removal grooves (located on either side of the existing CF card), and gently pry it out of the slot. Repeat this process on the opposite card removal groove. This alternating action causes the pre-existing card to "wiggle" away from the on-board connector pins.

4.Slip your finger into the gap (between the card and the circuit board), firmly grab the old card by its sides, and then carefully pull it up and out from the slot. An angular removal of the card is required because one of the housing’s latch attachments blocks the slot opening.

USE CARE WHEN PULLING UP ON THE CARD.

5.Flip over the MVP’s rear housing (B in FIG. 2) so that the internal support structures are visible and then lay it directly in front of the circuit board such that the battery compartment is furthest away from you. This placement provides contact of both top rims (FIG. 3).

6.Remove one of the included alcohol pads and use it to thoroughly clean both the rear housing’s inner surface (bottom right corner) and the underside of the terminal antenna’s metal pate (FIG. 1). These surfaces must be properly cleaned to provide good adhesion for the later installation of the wireless antenna.

7.Place the included Mounting Template cutout along the bottom right corner of the rear housing (FIG. 3). Use the housing’s inner support structures to fix the template into place.

Internal


Mounting Template


Support


Structures


Unscrew these

two housing screws to remove

the circuit board housing

B

MVP outer housing (rear)

A

Circuit board

housing attachment

locations (4)

FIG. 2 Removing the MVP enclosure (housing)

Battery Compartment cover

Bottom rim of outer housing

DO NOT

REMOVE these screws. They secure the LCD.

This grey trim fits inside the grooves and around the edges of the panel.

Wireless

Card

Slot

FIG. 3 Installing the Mounting Template in the correct location

8.Remove the new NXA-WC80211G CF card from it’s anti-static bag.

9.Grip the sides of the new wireless card and insert it firmly into the slot opening (at a downward angle) until the contact pins are completely inside the card and securely attached to the pin sockets.

3.Remove any previously installed MVP-BP batteries prior to removing the outer housing.

4.Use a grounded Phillips-head screwdriver to remove the two housing screws shown in FIG. 2. Once done, place these screws aside.

5.Grasp the bottom rim of the outer housing (just above the MVP interface connector - Blue arrows in FIG. 2) and in a single motion, carefully pull the bottom rim up and then out (away from the IR Emitter) to expose the internal circuit board (A in FIG. 2). It might be necessary to repeat this process along the bottom and sides of the housing as well.

6.Remove the dark grey trim from the top rim of the board (FIG. 2).

7.After you have completed the upgrade process, complete the installation by continuing to Step 3: Close and Re-secure the MVP Panel Enclosure section on page 3.

Note: You must precisely align the double-sided tape to the surface of the terminal antenna’s metal plate in order to later secure the antenna within the pre-defined installation area outlined by the included Mounting Template.

10.Carefully peel-off one side of the included double-sided tape and adhere the adhesive side to the surface of the antenna’s metal plate.

11.Locate the T-shaped opening on the left of the cutout and make sure the antenna wire is located along the left side of the cutout (FIG. 4).

12.Grip the antenna by its sides and carefully peel-off the remaining protective film on the double-sided tape.

13.Align the antenna into the long vertical groove in the cutout and firmly adhere it to the inner surface of the housing. Make sure the wire is threaded along the left side of the cutout, this helps in the removal of the cutout.

2

Page 2
Image 2
AMX specifications NXA-WC80211GCF Card and Antenna Overview, NXA-WC80211GCF Installation into MVP Panels

NXA-WC80211GCF specifications

The AMX NXA-WC80211GCF is a powerful wireless controller designed specifically for enhancing and managing Wi-Fi networks in commercial environments. This device is engineered to support the demanding requirements of businesses, allowing them to deploy scalable wireless networks with ease and efficiency.

One of the standout features of the NXA-WC80211GCF is its ability to support 802.11g wireless standards, offering data rates of up to 54 Mbps. This makes it suitable for a range of applications, from simple web browsing to more intensive data transfer needs. Additionally, it is backward compatible with older standards, ensuring that legacy devices can still connect without issues.

The controller provides centralized management for multiple access points, allowing IT administrators to streamline the deployment and maintenance of their wireless networks. With its user-friendly interface, the NXA-WC80211GCF enables easy configuration, monitoring, and troubleshooting of the entire system. The ability to manage multiple access points enhances overall network performance and ensures consistent connectivity throughout the facility.

Security is a top priority with the NXA-WC80211GCF. It supports WPA2 encryption, providing a robust layer of protection against unauthorized access. The device can also be configured to implement guest networking options, allowing businesses to offer internet access to visitors without compromising the security of the internal network.

The AMX NXA-WC80211GCF is designed with scalability in mind. It can support multiple SSIDs, enabling different network types for diverse user groups, such as employees, guests, and devices requiring IoT support. This flexibility ensures that enterprises can adapt their network configurations as their needs evolve.

Moreover, the controller is equipped with quality of service (QoS) features, which prioritize bandwidth allocation for mission-critical applications. This ensures that essential services maintain optimal performance, even during peak usage times.

In summary, the AMX NXA-WC80211GCF is a robust wireless controller that combines user-friendly management, strong security protocols, and scalability in a single solution. With its support for the 802.11g standard, it addresses the connectivity requirements of businesses looking to provide reliable wireless access to their users. By choosing the NXA-WC80211GCF, organizations can optimize their network performance and enhance their operational efficiency.