Mio Remote Charging Base
Installing The Rechargeable Battery
1.Flip and turn the Mio
2.Holding the device in both hands, place your thumbs on the battery door and push up to slide the battery door free.
3.If present, remove AAA batteries.
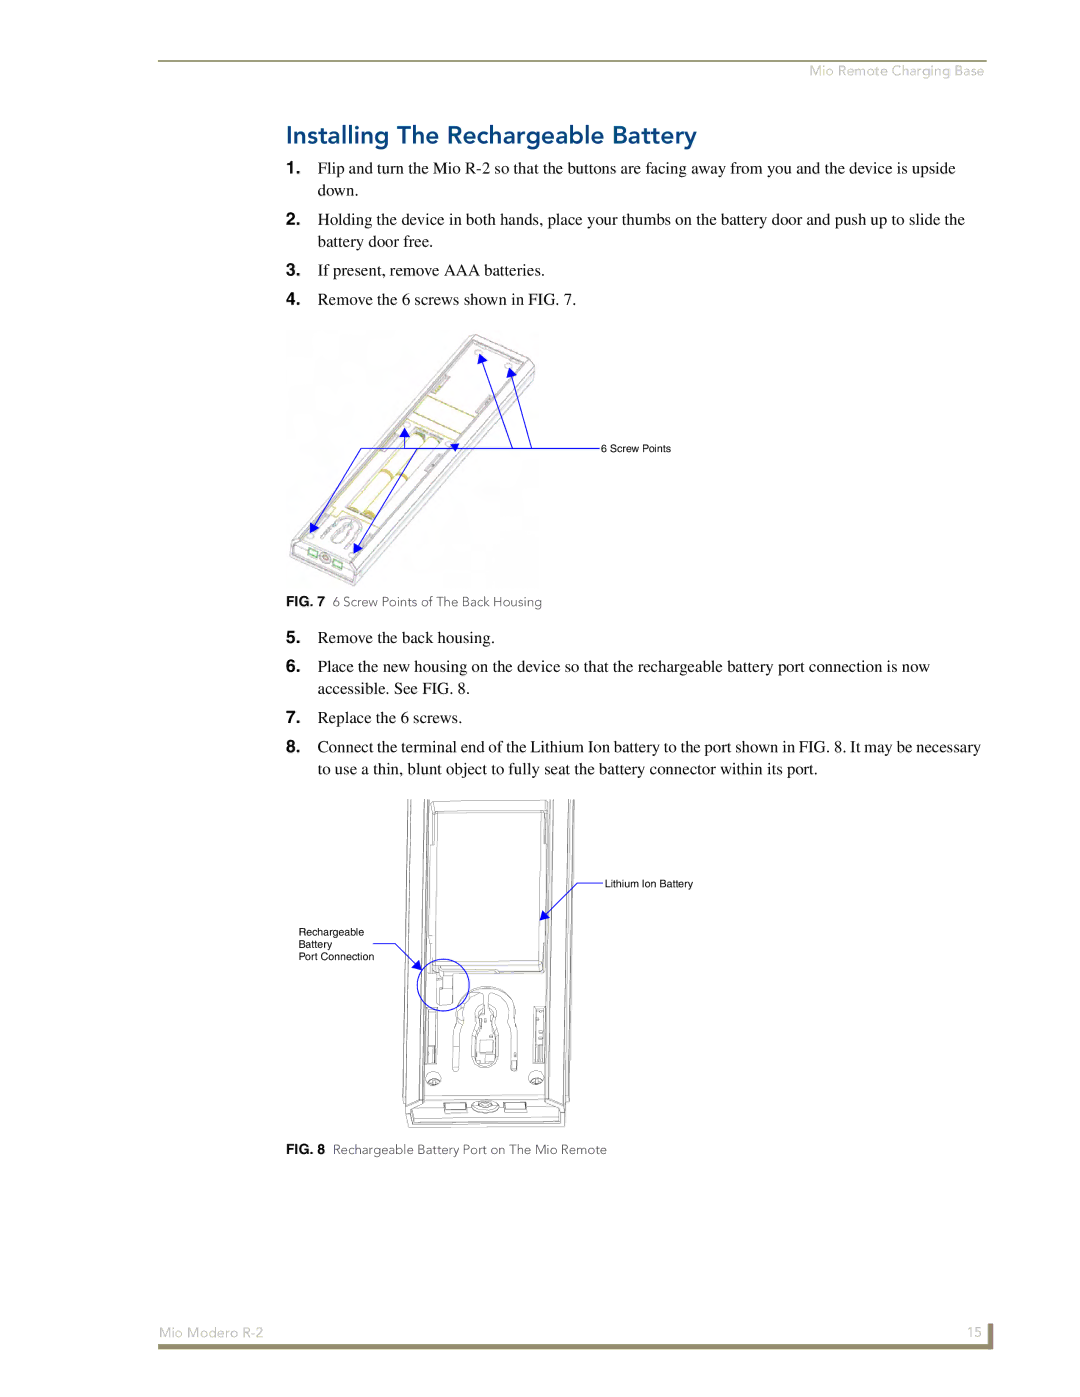
4.Remove the 6 screws shown in FIG. 7.
![]() 6 Screw Points
6 Screw Points
FIG. 7 6 Screw Points of The Back Housing
5.Remove the back housing.
6.Place the new housing on the device so that the rechargeable battery port connection is now accessible. See FIG. 8.
7.Replace the 6 screws.
8.Connect the terminal end of the Lithium Ion battery to the port shown in FIG. 8. It may be necessary to use a thin, blunt object to fully seat the battery connector within its port.
Lithium Ion Battery
Rechargeable
Battery
Port Connection
FIG. 8 Rechargeable Battery Port on The Mio Remote
Mio Modero | 15 |
|
|