Hard Disk Installation
This case offers two hard disk mounting options. We recommend against using both mounting methods at the same time.
Tray Mount
There is a hard disk cage right under the external 5.25" drive. You can mount four hard drives using the trays inside it.
1.Open the front bezel as described in Setting Up section.
2.Loosen the two thumbscrews. Swing open the fan cage and gently lift the cage upward to remove it. You will see four drive trays with soft silicon grommets inside the cage.
3.Squeeze the metal clips on each side of the tray and slide the tray out.
4.Mount your hard drive into the drive tray through the bottom silicon grommets with the special screws provided. Note: Don't
5.Slide and lock the tray back into the case.
6.Find the appropriate power connector on the power supply and connect it to the device.
7.Repeat the same procedure for the other devices as necessary.
8.Put the front fan cage back to the case. If you plan to mount the optional 92 mm case fans, you should do it now. See Cooling section for fan installation.
Suspension Mount
This is the ultimate hard disk mounting solution to reduce hard drive noise. There are three sets of suspenders inside the cage to mount three hard drives. Each hard drive needs two suspenders (front and rear) to mount. Note: please DO NOT transport your system with your hard disks suspension mounted. The drives may slip from the suspenders causing damage to the hard drives and to other components inside the case.
1. | Remove the trays from the cages. Store them in a safe place. You won't |
|
| need them. |
|
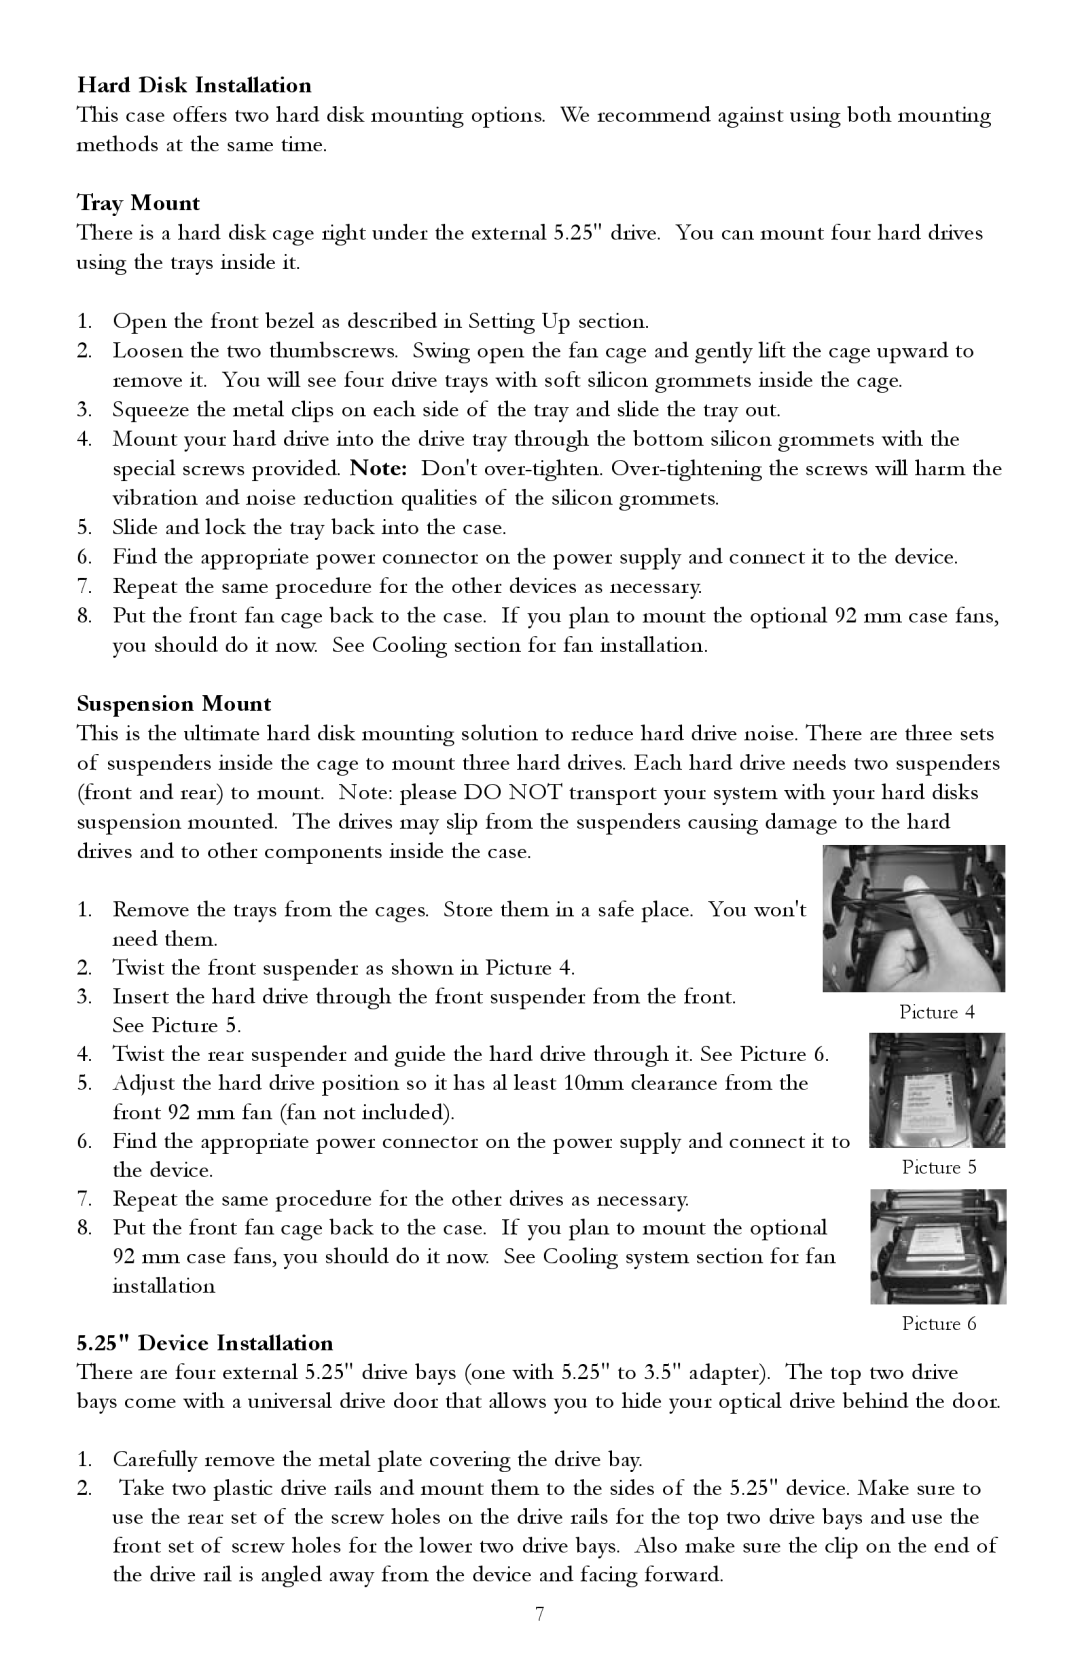
2. | Twist the front suspender as shown in Picture 4. |
|
3. | Insert the hard drive through the front suspender from the front. | Picture 4 |
| See Picture 5. | |
|
|
4.Twist the rear suspender and guide the hard drive through it. See Picture 6.
5.Adjust the hard drive position so it has al least 10mm clearance from the front 92 mm fan (fan not included).
6.Find the appropriate power connector on the power supply and connect it to
the device.
7.Repeat the same procedure for the other drives as necessary.
8.Put the front fan cage back to the case. If you plan to mount the optional 92 mm case fans, you should do it now. See Cooling system section for fan installation
5.25" Device Installation
There are four external 5.25" drive bays (one with 5.25" to 3.5" adapter). The top two drive bays come with a universal drive door that allows you to hide your optical drive behind the door.
1.Carefully remove the metal plate covering the drive bay.
2.Take two plastic drive rails and mount them to the sides of the 5.25" device. Make sure to use the rear set of the screw holes on the drive rails for the top two drive bays and use the front set of screw holes for the lower two drive bays. Also make sure the clip on the end of the drive rail is angled away from the device and facing forward.
7