Variety Steamer
Installation
Unpacking
1.Remove unit and all packing materials from ship- ping carton.
2.The unit should ship with:
•Variety Steamer
•Owner’s Manual
•Authorized Service Agency Directory
•Petro Gel Lubricant
•Water Inlet Hose Assembly
•Black Drain Tubing
NOTE: If any parts are missing or damaged, con- tact Antunes Technical Service IMMEDIATELY at
3.Remove all packing materials and protective cov- erings from the unit.
4.Remove and wash all removable parts (baskets, top housing, drip tray) in soap and water. Rinse with clean hot water and allow to air dry.
5.Wipe all surfaces of the unit with a hot damp cloth. Do NOT use a dripping wet cloth. Wring out before use.
6.
Equipment Setup
General
When placing the unit into service, pay attention to the following guidelines:
•Make sure power to the unit is off and the unit is at room temperature.
•Do not block or cover any openings on the unit.
•Do not immerse cord or plug in water.
•Keep cord away from heated surfaces.
•Do not allow cord to hang over edge of table or counter.
•Raise the front legs so the unit is tilted slightly to the rear (Figure 2).
Electrical
1.Place the unit on a sturdy, level table or other work surface. Turn off the Rocker Switch before proceeding.
2.Ensure that the line voltage corresponds to the stated voltage on the units specification label and power cord warning tag. Plug in the power cord.
![]() Caution
Caution ![]()
All electrical connections must be in accordance with local electrical codes and any other appli- cable codes.
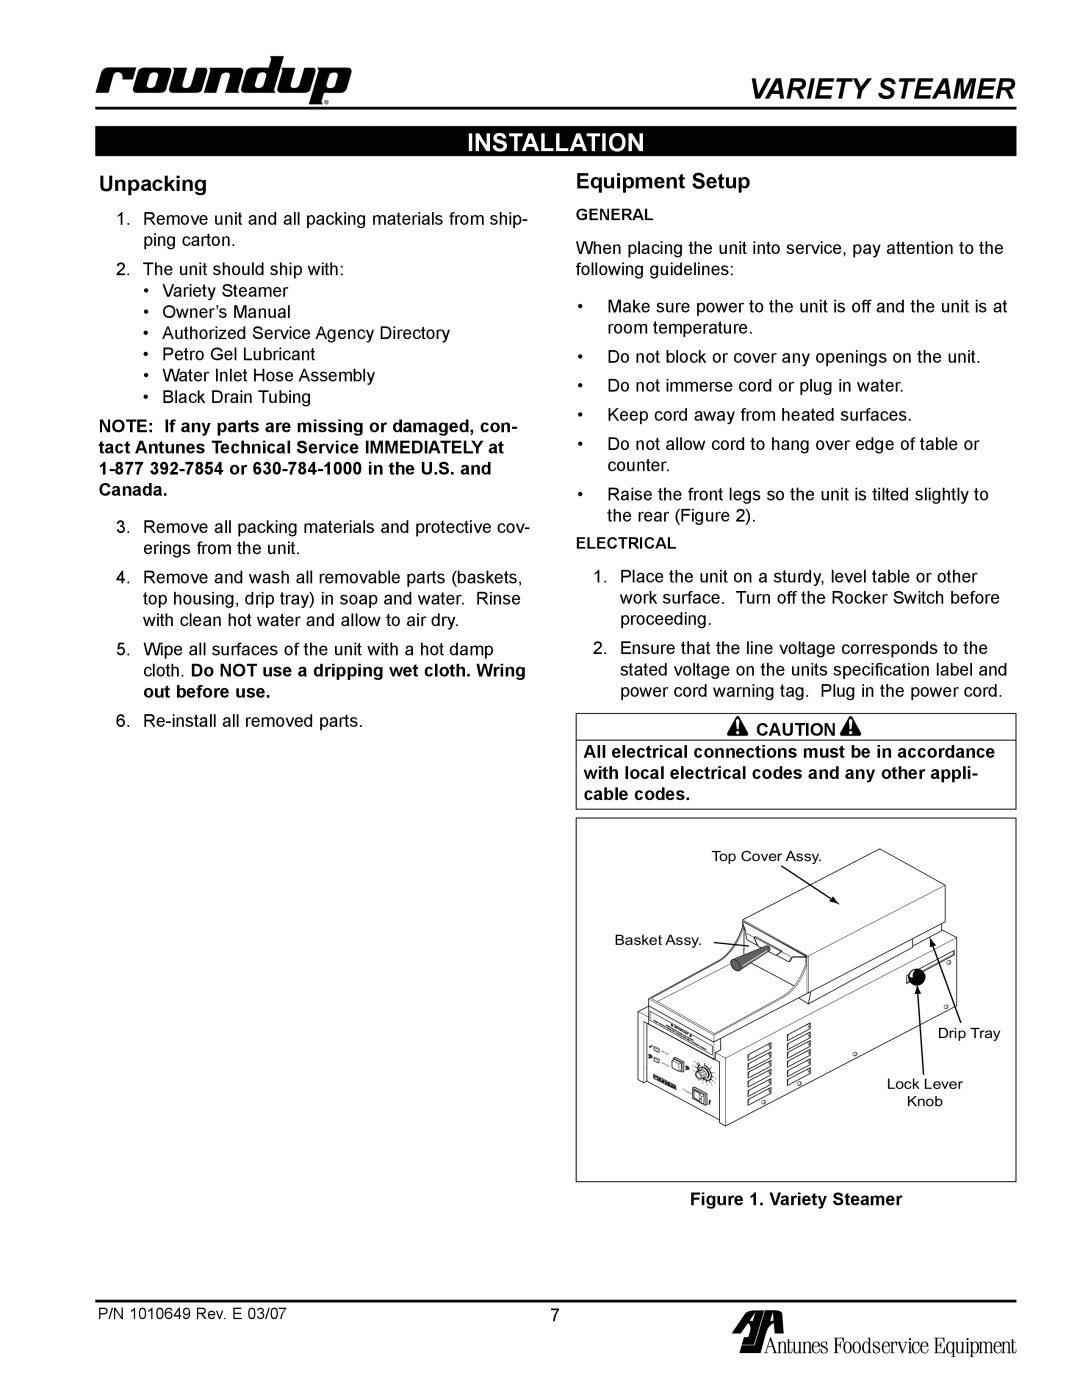
Top Cover Assy.
Basket Assy.
![]()
![]() READY
READY
STEAM | 13 |
| 1 |
|
12 |
|
| 2 | |
| 11 |
|
| 3 |
| 10 |
|
| 4 |
|
| 9 |
| |
|
| 8 | 7 | 5 |
|
|
| 6 | |
| PO |
|
|
|
| WER |
|
|
|
Drip Tray
Lock Lever
Knob
Figure 1. Variety Steamer
P/N 1010649 Rev. E 03/07
