Quick Start Guide
Once all connections are made, follow this quick guide to start viewing digital channels immediately. It is recommended that you read the entire manual to familiarize yourself with all of the functions available to you.
Initial Setup Menu
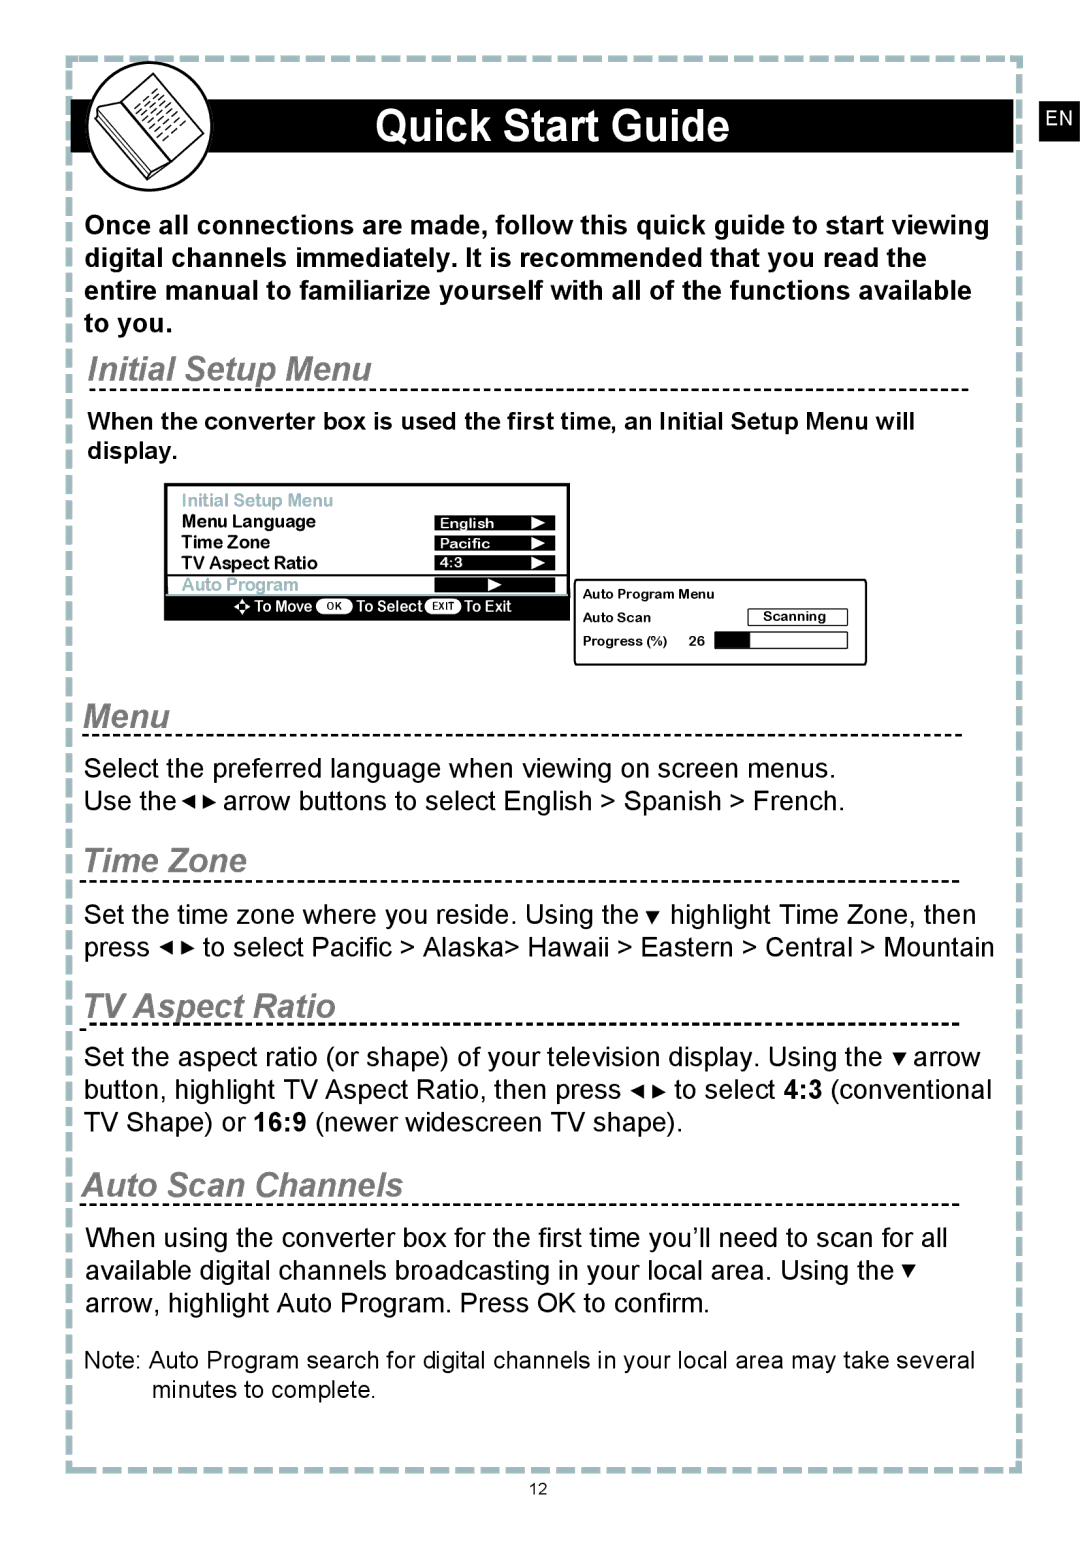
When the converter box is used the first time, an Initial Setup Menu will display.
EN
Initial Setup Menu |
|
|
|
Menu Language |
|
|
|
| English | ||
Time Zone |
|
|
|
| Pacific | ||
TV Aspect Ratio |
|
|
|
4:3 |
| ||
Auto Program |
|
|
|
|
|
| |
|
|
|
|
To Move OK | To Select EXIT To Exit | ||
|
|
|
|
Auto Program Menu
Auto Scan | Scanning |
Progress (%) 26
Menu
Select the preferred language when viewing on screen menus. Use the![]()
![]() arrow buttons to select English > Spanish > French.
arrow buttons to select English > Spanish > French.
Time Zone
Set the time zone where you reside. Using the highlight Time Zone, then
press | to select Pacific > Alaska> Hawaii > Eastern > Central > Mountain |
TV Aspect Ratio
Set the aspect ratio (or shape) of your television display. Using the arrow button, highlight TV Aspect Ratio, then press to select 4:3 (conventional TV Shape) or 16:9 (newer widescreen TV shape).
Auto Scan Channels
When using the converter box for the first time you’ll need to scan for all available digital channels broadcasting in your local area. Using the arrow, highlight Auto Program. Press OK to confirm.
Note: Auto Program search for digital channels in your local area may take several minutes to complete.
12
