AVR350 specifications
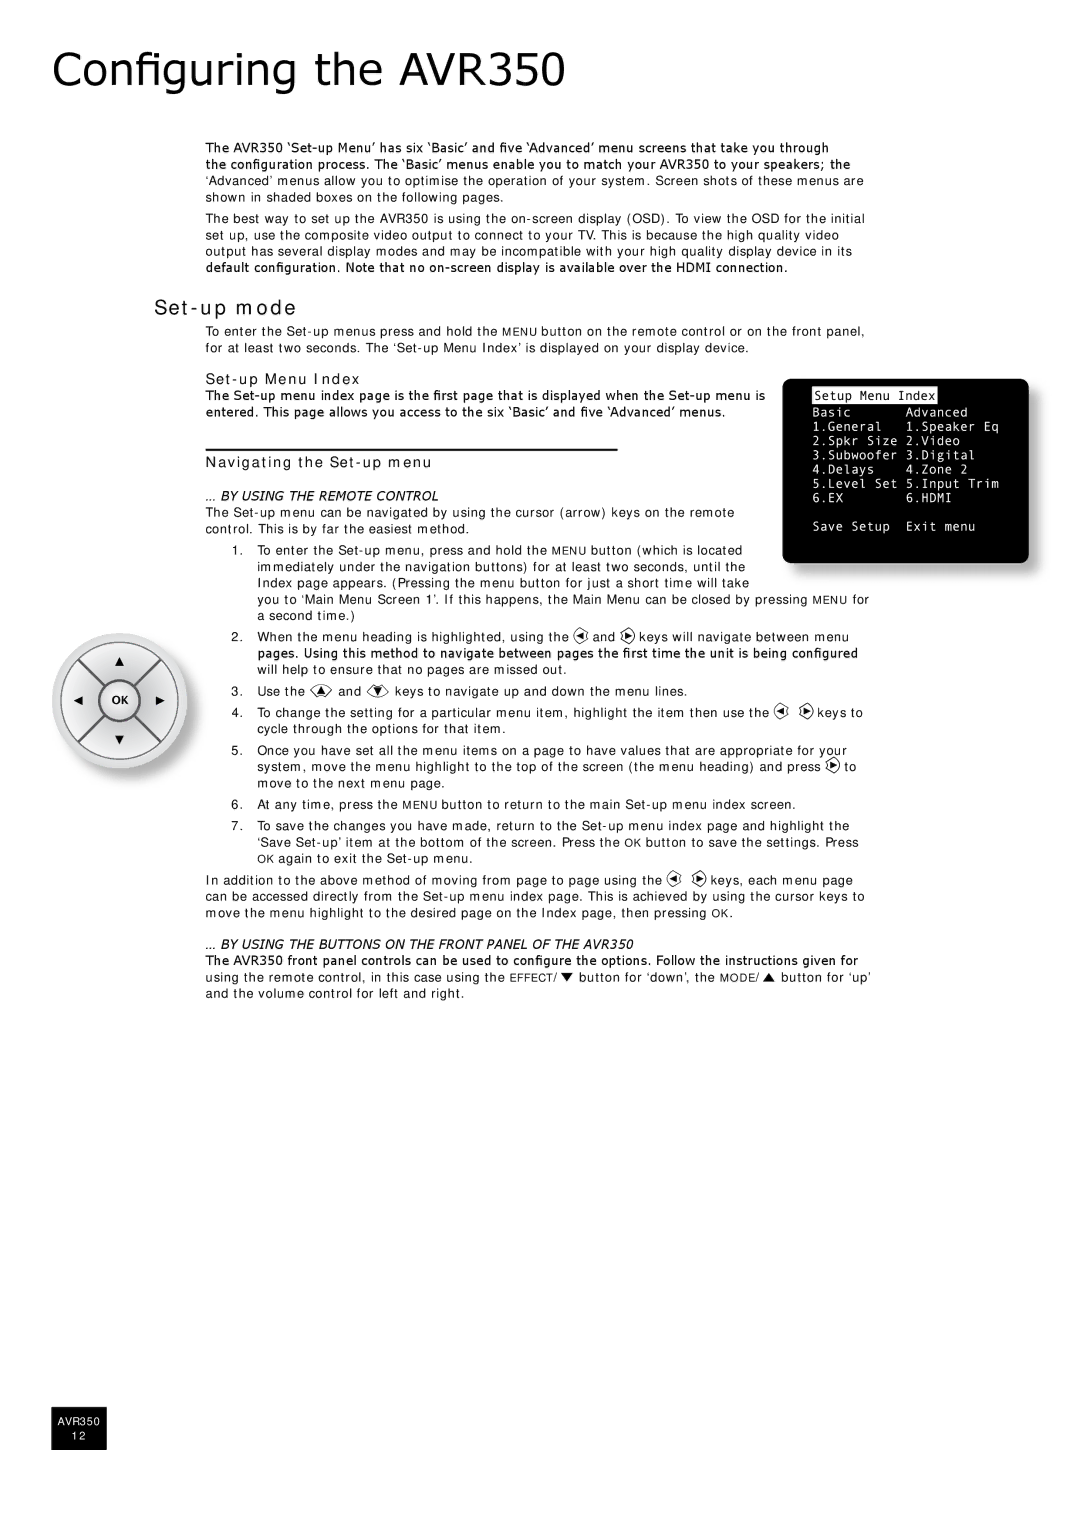
The Arcam AVR350 is a high-performance AV receiver that epitomizes the blend of cutting-edge technology and sophisticated design. Known for its exceptional sound quality and advanced features, it caters to audiophiles and home theater enthusiasts alike. The AVR350 stands out with its robust build quality and user-friendly interface, making it an attractive option for those looking to enhance their home entertainment experience.One of the key features of the Arcam AVR350 is its 7.1-channel amplification, delivering a powerful audio output of 90 watts per channel. This ensures that every sound in your favorite movies, music, or games is reproduced with clarity and depth. The receiver is equipped with advanced Dolby Digital and DTS decoding technologies, which allow it to support high-definition audio formats. This means users can enjoy a truly immersive surround sound experience, whether it’s the booming effects of an action movie or the delicate nuances of a classical performance.
Another standout characteristic of the AVR350 is its digital signal processing. Incorporating sophisticated algorithms, it optimizes audio performance for different environments, ensuring that listeners achieve the best sound quality no matter the size or shape of the room. The inclusion of Arcam's proprietary room EQ technology further enhances the listening experience by adjusting the sound to compensate for the room acoustics, providing a balanced audio output tailored to individual environments.
Connectivity options are comprehensive, with multiple HDMI inputs and outputs supporting high-definition video formats. The AVR350 also supports a variety of other audio-video inputs, including component and composite video connections, as well as analog audio inputs. This versatility makes it easy to integrate with a range of devices, including Blu-ray players, gaming consoles, and streaming devices.
For users keen on multi-room audio solutions, the AVR350 offers the capability to distribute audio to several zones, allowing you to enjoy different music or media in various parts of the home simultaneously. The intuitive on-screen menu simplifies setup and operation, ensuring that users can easily configure their systems according to their preferences.
In summary, the Arcam AVR350 is a well-rounded AV receiver that combines impressive audio performance, advanced decoding technologies, and flexible connectivity options. Its focus on high-quality sound and user convenience makes it an ideal choice for those looking to elevate their home entertainment systems. With the AVR350, enthusiasts can expect a level of audio fidelity that truly transforms the way they experience sound.

