Installation
LEVELLING
Your cooker is heavy, so it would be advisable for two people to move it. The cooker is fitted with rear wheels and will slide into position easily. Movement of your cooker is most easily achieved as follows. Open the grill/oven door sufficiently to allow a comfortable grip on the underside front edge of the oven roof, avoiding any grill or oven interior furniture, and then lift and slide back at the same time.
Your cooker must stand on a flat surface so that the hob is perfectly level, and the cooker is stable and cannot be rocked, this is easily achieved by adjusting the three feet which are under the front of the cooker and the 3 castors under the rear of the cooker, if necessary.
Installing the shelves
When inserting the shelves onto the guide rails, ensure the raised section is towards the rear of the oven. This prevents food from falling off the back of the tray.
Safety Chain
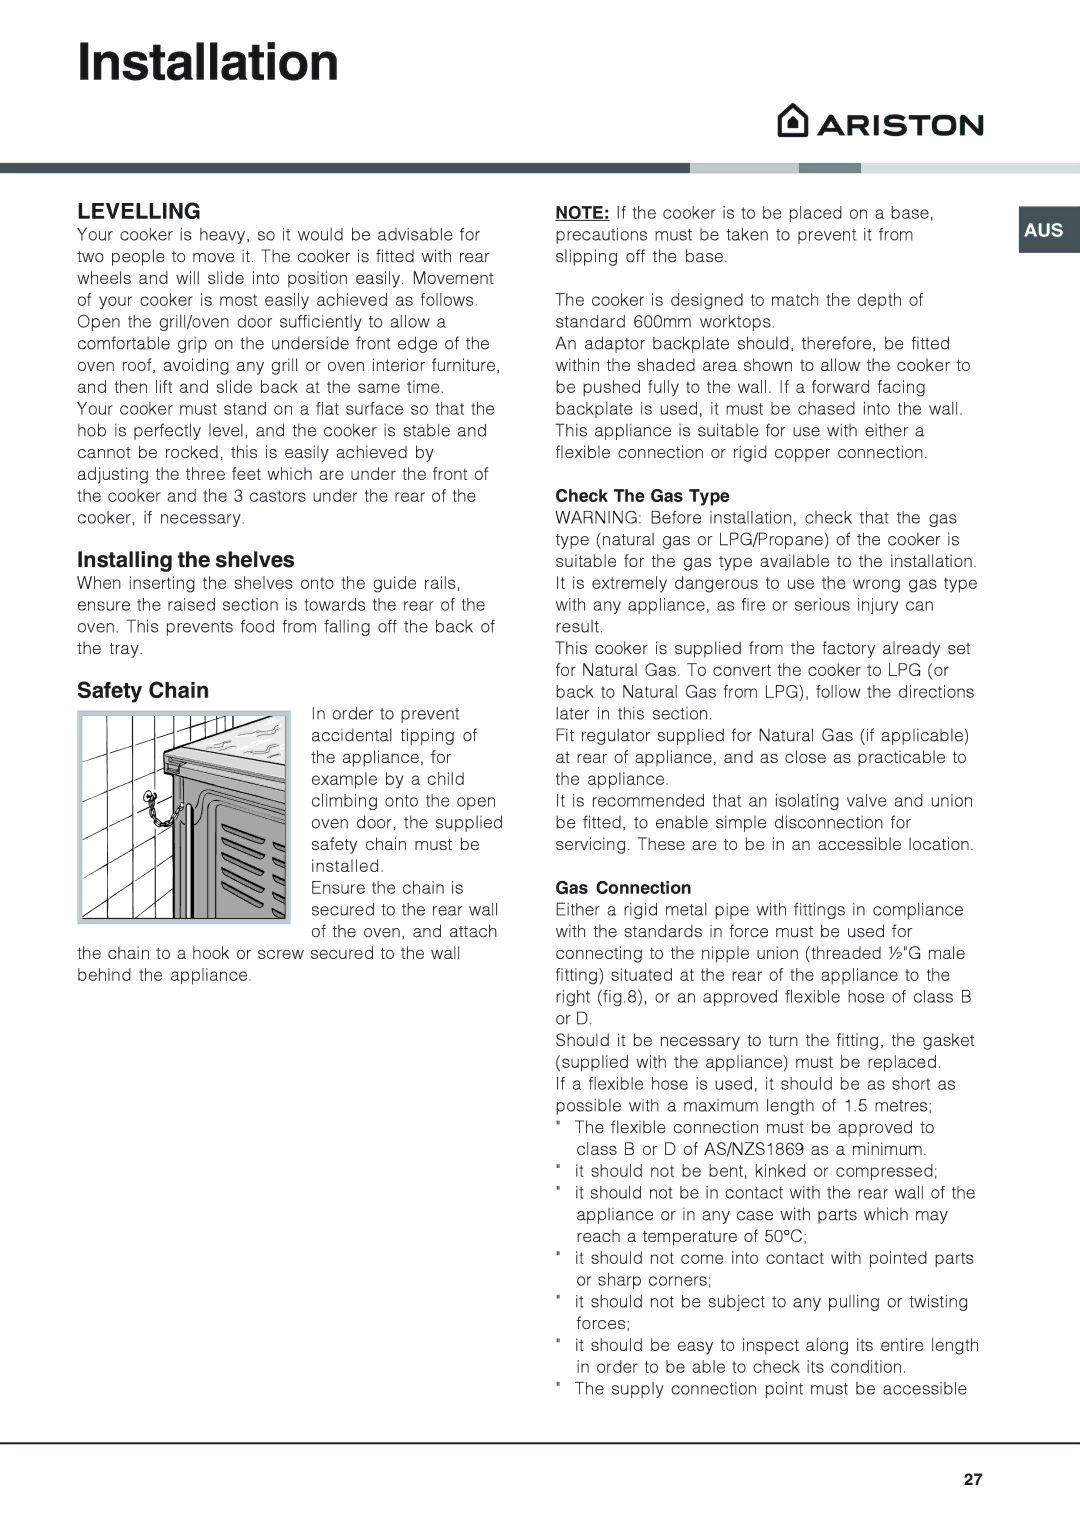
In order to prevent
accidental tipping of
the appliance, for
example by a child
climbing onto the open
oven door, the supplied
safety chain must be
installed.
Ensure the chain is
secured to the rear wall of the oven, and attach
the chain to a hook or screw secured to the wall behind the appliance.
NOTE: If the cooker is to be placed on a base,
precautions must be taken to prevent it fromAUS slipping off the base.
The cooker is designed to match the depth of standard 600mm worktops.
An adaptor backplate should, therefore, be fitted within the shaded area shown to allow the cooker to be pushed fully to the wall. If a forward facing backplate is used, it must be chased into the wall. This appliance is suitable for use with either a flexible connection or rigid copper connection.
Check The Gas Type
WARNING: Before installation, check that the gas type (natural gas or LPG/Propane) of the cooker is suitable for the gas type available to the installation. It is extremely dangerous to use the wrong gas type with any appliance, as fire or serious injury can result.
This cooker is supplied from the factory already set for Natural Gas. To convert the cooker to LPG (or back to Natural Gas from LPG), follow the directions later in this section.
Fit regulator supplied for Natural Gas (if applicable) at rear of appliance, and as close as practicable to the appliance.
It is recommended that an isolating valve and union be fitted, to enable simple disconnection for servicing. These are to be in an accessible location.
Gas Connection
Either a rigid metal pipe with fittings in compliance with the standards in force must be used for connecting to the nipple union (threaded ½"G male fitting) situated at the rear of the appliance to the right (fig.8), or an approved flexible hose of class B or D.
Should it be necessary to turn the fitting, the gasket (supplied with the appliance) must be replaced.
If a flexible hose is used, it should be as short as possible with a maximum length of 1.5 metres;
"The flexible connection must be approved to class B or D of AS/NZS1869 as a minimum.
"it should not be bent, kinked or compressed;
"it should not be in contact with the rear wall of the appliance or in any case with parts which may reach a temperature of 50°C;
"it should not come into contact with pointed parts or sharp corners;
"it should not be subject to any pulling or twisting forces;
"it should be easy to inspect along its entire length in order to be able to check its condition.
"The supply connection point must be accessible
27