Display Setup and On Screen Display
Connect and secure cables to the display and the computer, except for the USB cable. The AC cordset provided with your display should be appropriate for your region. If the proper cordset has not been provided, you may use any cordset with an IEC320 connector at the appliance end to connect to the external power supply of your touch display.
Notice: Unless your Aspen touch display has a serial data interface, or you are connecting this touch display to a computer that already has Aspen touchscreen MSR and Customer Display drivers installed, please leave the USB cable disconnected until the appropriate drivers for your computer’s operating system have been installed.
You can now set up the display for operation with your computer. Display setup requires use of some of the main features of the OSD, listed below. Detailed use of the OSD is described later in this section.
OSD Controls
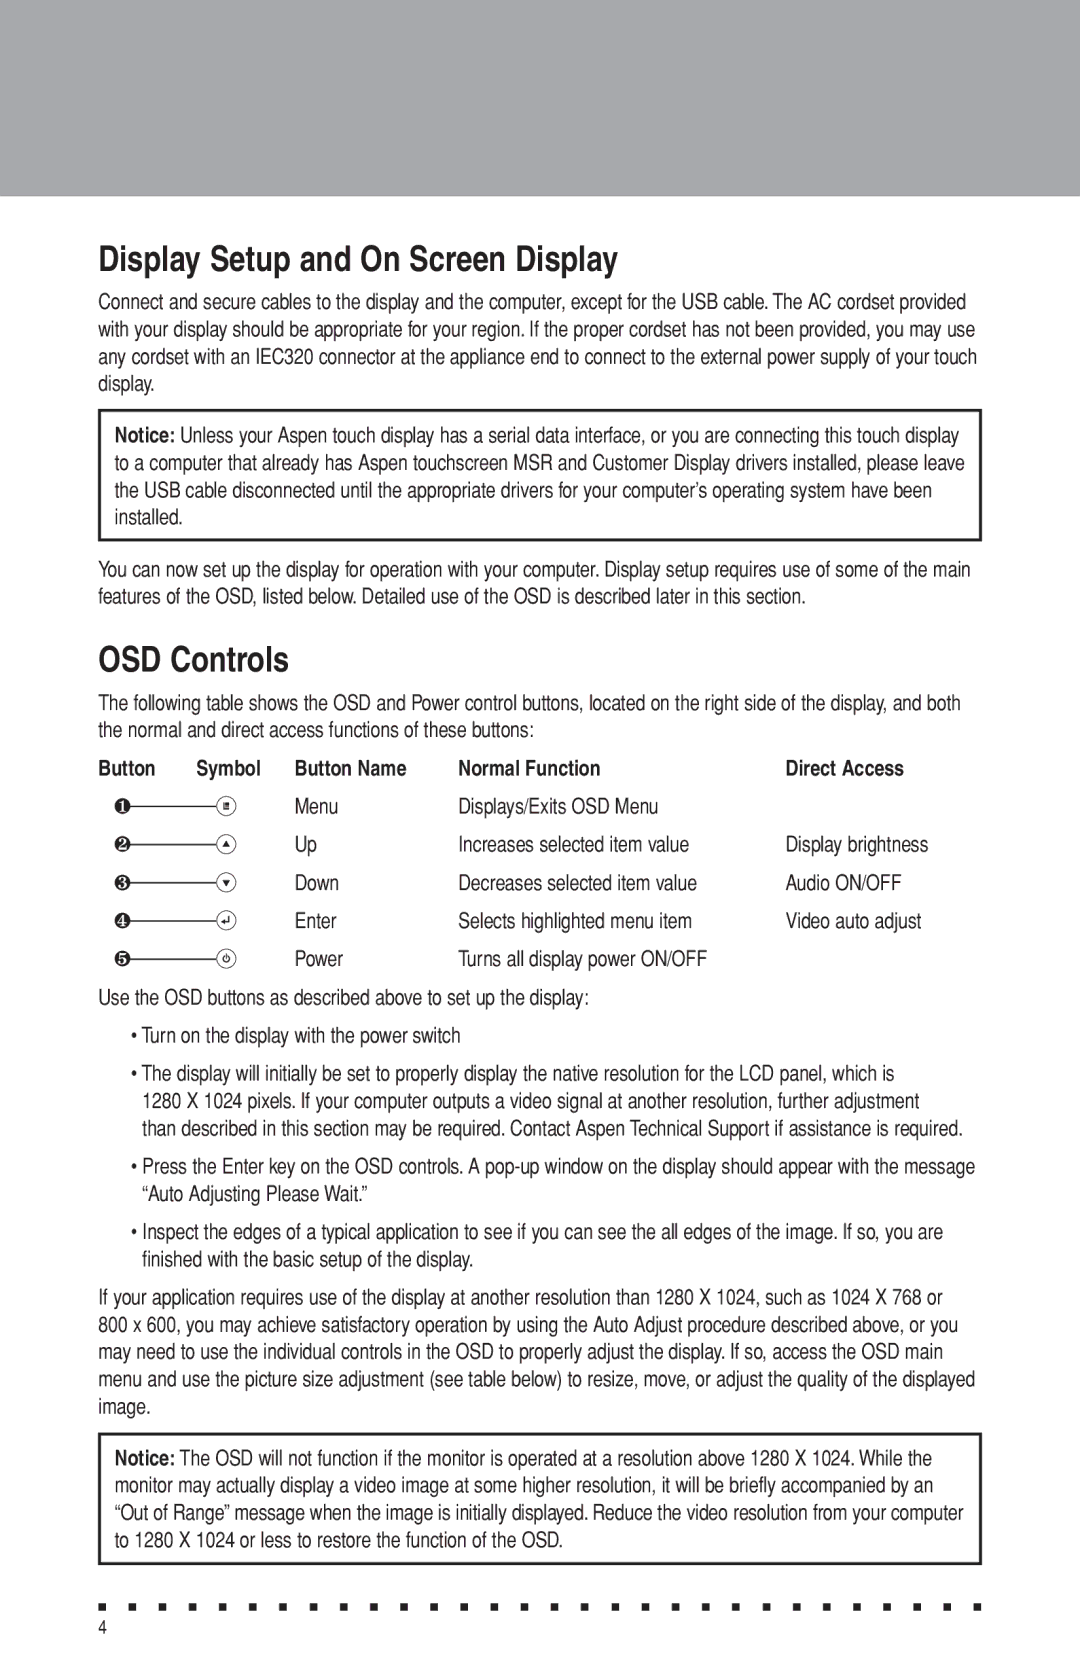
The following table shows the OSD and Power control buttons, located on the right side of the display, and both the normal and direct access functions of these buttons:
Button | Symbol | Button Name | Normal Function | Direct Access | ||
❶ |
|
|
| Menu | Displays/Exits OSD Menu |
|
|
|
|
| |||
❷ |
|
|
| Up | Increases selected item value | Display brightness |
|
|
| ||||
❸ |
|
|
| Down | Decreases selected item value | Audio ON/OFF |
|
|
| ||||
❹ |
|
|
| Enter | Selects highlighted menu item | Video auto adjust |
|
|
| ||||
❺ |
|
|
| Power | Turns all display power ON/OFF |
|
|
|
|
| |||
Use the OSD buttons as described above to set up the display:
•Turn on the display with the power switch
•The display will initially be set to properly display the native resolution for the LCD panel, which is
1280 X 1024 pixels. If your computer outputs a video signal at another resolution, further adjustment
than described in this section may be required. Contact Aspen Technical Support if assistance is required.
•Press the Enter key on the OSD controls. A
•Inspect the edges of a typical application to see if you can see the all edges of the image. If so, you are finished with the basic setup of the display.
If your application requires use of the display at another resolution than 1280 X 1024, such as 1024 X 768 or
800 x 600, you may achieve satisfactory operation by using the Auto Adjust procedure described above, or you may need to use the individual controls in the OSD to properly adjust the display. If so, access the OSD main menu and use the picture size adjustment (see table below) to resize, move, or adjust the quality of the displayed image.
Notice: The OSD will not function if the monitor is operated at a resolution above 1280 X 1024. While the monitor may actually display a video image at some higher resolution, it will be briefly accompanied by an “Out of Range” message when the image is initially displayed. Reduce the video resolution from your computer to 1280 X 1024 or less to restore the function of the OSD.
■ ■ ■ ■ ■ ■ ■ ■ ■ ■ ■ ■ ■ ■ ■ ■ ■ ■ ■ ■ ■ ■ ■ ■ ■ ■ ■ ■ ■ ■
4
