
960GC-GS FX specifications
The ASRock 960GC-GS FX is a notable motherboard designed primarily for AMD processors, offering a solid foundation for building a reliable and cost-effective desktop PC. This motherboard is particularly appealing to users who are looking for a budget-friendly option without sacrificing essential features and performance.One of the standout characteristics of the ASRock 960GC-GS FX is its compatibility with AMD's AM3+ and AM3 processors, catering to a wide range of users looking to harness the power of AMD's FX lineup. The motherboard supports multi-core processors, which allows for efficient multitasking and improved overall system responsiveness.
The ASRock 960GC-GS FX incorporates the NVIDIA GeForce 7025 and the nForce 630a chipset, ensuring robust performance and stability. It features a standard ATX form factor, which enables it to fit into a variety of PC cases, providing flexibility for users during their build process.
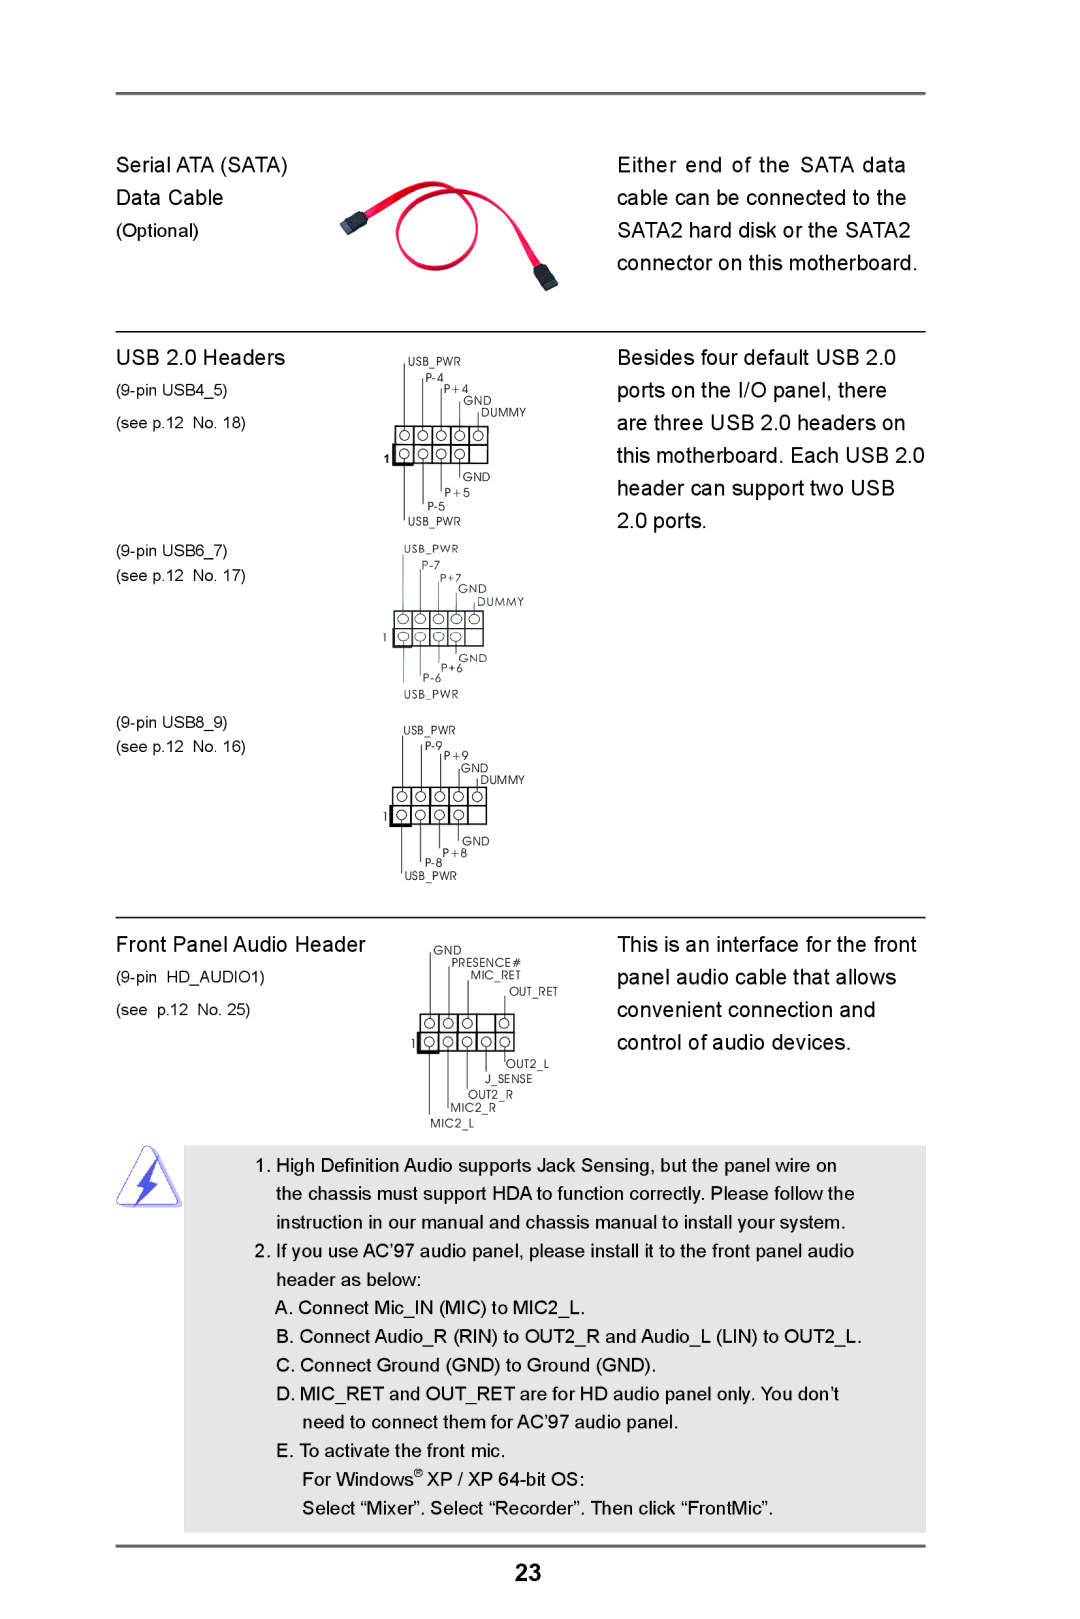
For memory, the motherboard supports up to 32GB of DDR3 RAM across four DIMM slots, with speeds of up to 1866 MHz (OC). This capability maximizes memory bandwidth, enhancing performance in memory-intensive applications and tasks. Additionally, the motherboard includes USB 2.0 and USB 3.0 ports, allowing for rapid data transfer rates and peripheral connectivity.
Storage options on the ASRock 960GC-GS FX are versatile, with four SATA II connections supporting RAID modes for data redundancy and performance enhancement. The inclusion of a Realtek ALC662 audio codec ensures high-quality audio output for an enhanced multimedia experience, making it a decent choice for both entertainment and everyday productivity.
The motherboard also features a range of onboard connectors, including a PS/2 port, serial port, and multiple video outputs such as VGA and HDMI, providing compatibility with various display options. Another significant feature is the motherboard's solid-state capacitors, which contribute to improved stability and longevity.
In terms of expansion, the ASRock 960GC-GS FX is equipped with PCIe x16 and PCIe x1 slots, allowing users to upgrade graphics cards and other expansion cards as needed. This flexibility supports a variety of use cases, from casual gaming to productivity tasks, making it a valuable choice for budding tech enthusiasts.
Overall, the ASRock 960GC-GS FX combines essential features and reliable performance at an affordable price point, making it an excellent choice for those constructing a robust AMD-based system. Whether for gaming, office work, or media consumption, this motherboard has the versatility to meet diverse computing needs.