| Dip Switch Settings |
|
| |
DS1 | DS2 | DS3 | DS4 | CAT5 Output Connection and EDID |
0 | 0 | 0 | 0 | Auto EDID and Copy EDID |
1 | 0 | 0 | 0 | Dual CAT5, 1080p, 2ch audio |
1 | 0 | 0 | 1 | Single CAT5, 1080p, 2ch audio |
1 | 0 | 1 | 0 | Dual CAT5, 1080p, 5.1ch audio |
1 | 0 | 1 | 1 | Single CAT5, 1080p, 5.1ch audio |
1 | 1 | 0 | 0 | Dual CAT5, 1080p, 7.1ch audio |
1 | 1 | 0 | 1 | Single CAT5, 1080p, 7.1ch audio |
1 | 1 | 1 | 0 | Dual CAT5, 1080i, 2ch audio |
1 | 1 | 1 | 1 | Single CAT5, 1080i, 2ch audio |
C). Copy EDID: Please set the dip switch to “0000” (off). Make sure to power cycle the
Note: If you wish to return the copied EDID back to the auto EDID functionality use the following steps. Step
1: Set the dip switch to
Step 2: Set the dip switch to
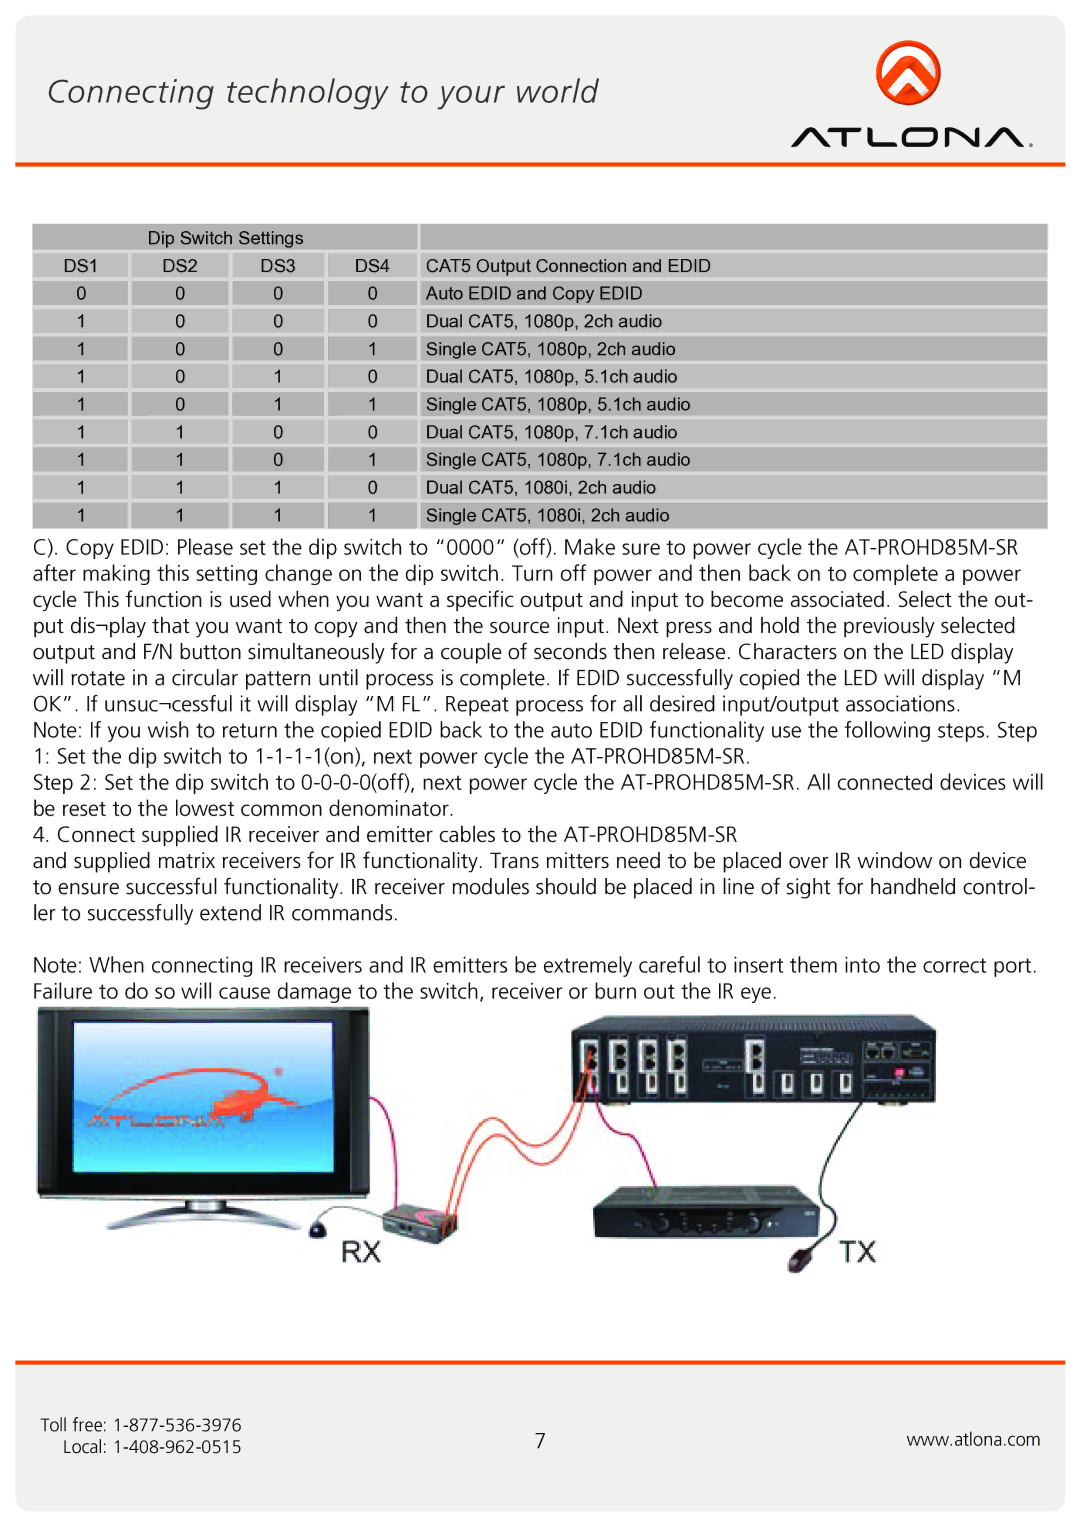
4. Connect supplied IR receiver and emitter cables to the
and supplied matrix receivers for IR functionality. Trans mitters need to be placed over IR window on device to ensure successful functionality. IR receiver modules should be placed in line of sight for handheld control- ler to successfully extend IR commands.
Note: When connecting IR receivers and IR emitters be extremely careful to insert them into the correct port. Failure to do so will cause damage to the switch, receiver or burn out the IR eye.
Toll free: | 7 | www.atlona.com |
Local: |
