OPERATING
MOUNTING | BRIGHTNESS ADJUSTMENT |
1.Slightly loosen the horizontal and vertical fixing screws on the 7/8” weaver rail built into the scope.
2.Place the scope on the dovetail mount of the fire arm making certain that the mount aligns with the receptor attachment screw groove. Adjust as necessary.
3.Tighten the horizontal fixing screws.
NOTE: Receptor attachment screws may need to be tightened after continuous shooting.
MOUNTING SYSTEM
The ATN Night Vision Riflescopes Mounting System allows to change the position of the riflescope flexibly on the weapon in relation to a shooter in combination with the fixed posi- tions already available on the weaver rail. For this purpose in the base of the mounting bracket there is a rail with a fixing projection. There are three grooves in the mounting bracket for mounting this rail. Besides it is possible to change the position of the rifle- scope additionally by 1/3 of inch. For doing this one needs to
Rail with a fixing | Screws |
projection |
|
Grooves
Weaver rail
To change the position of the riflescope on the weaver rail additionally follow the steps mentioned below:
1.Unscrew the two screws, which attach the rail to the mounting bracket.
2.Take the rail out of the groove.
3.
4.Place the rail into another groove.
5.Fix the rail with the two screws.
NOTE: If the rail is not taken out easily, screw up tight one of screws into the threaded aper- ture in the middle of a fixing projection of the rail. Continue rotation of the screw. Thus the screw will push out a rail from a groove.
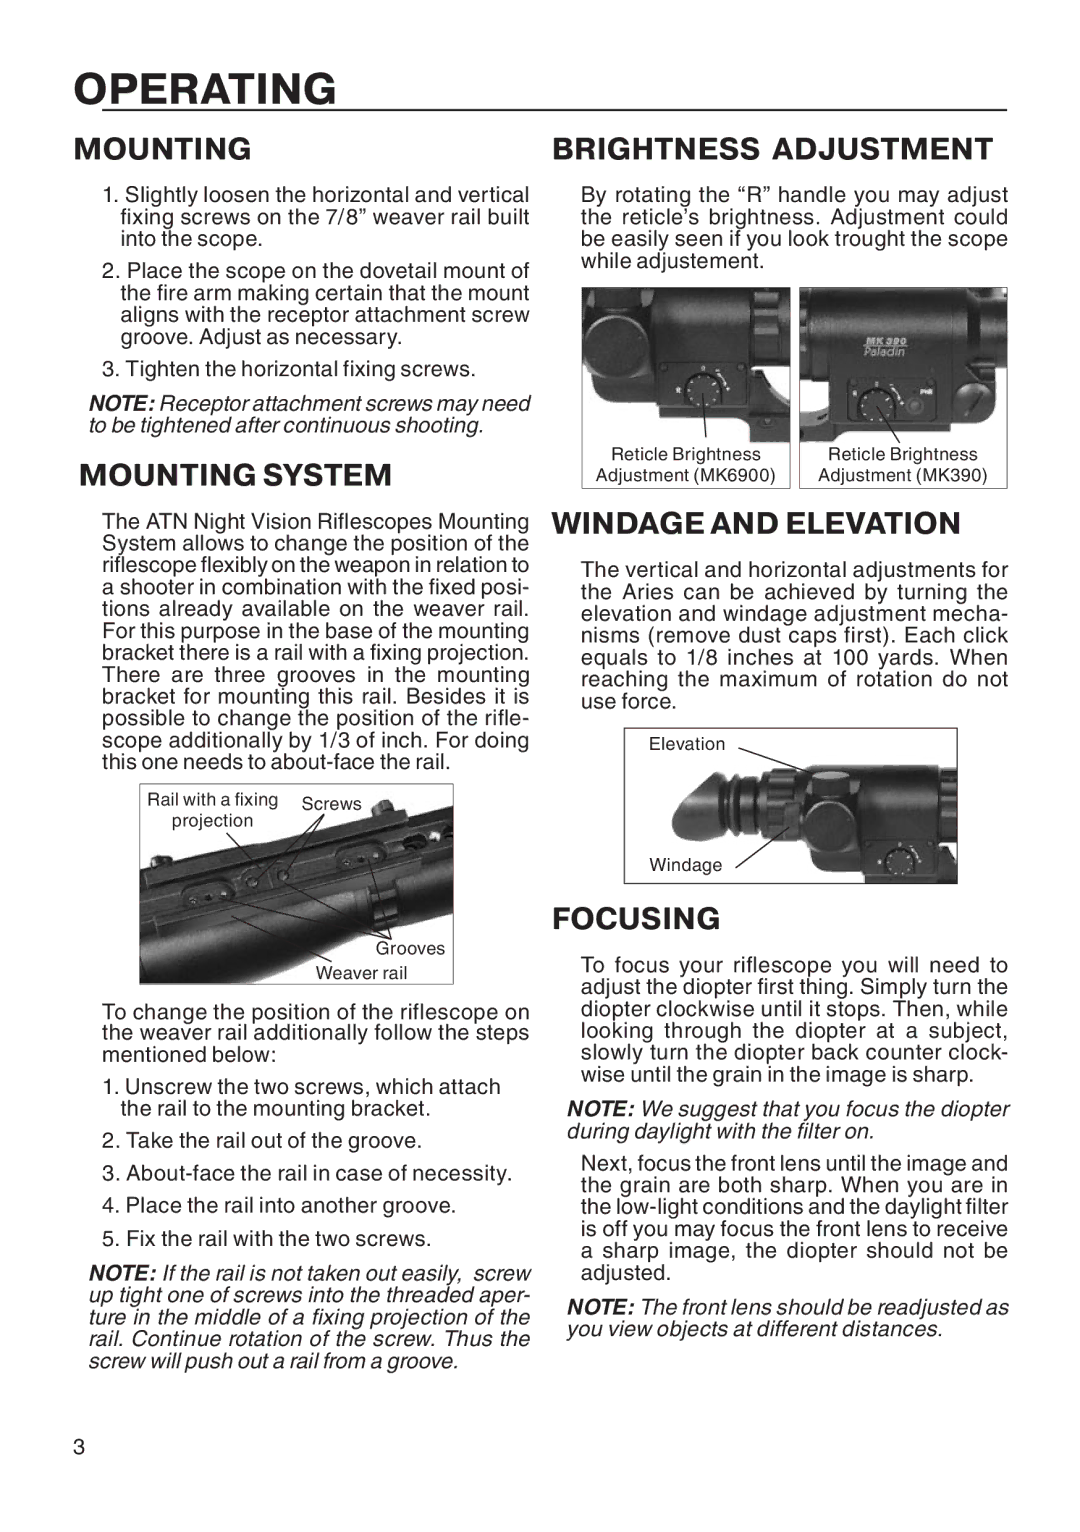
By rotating the “R” handle you may adjust the reticle’s brightness. Adjustment could be easily seen if you look trought the scope while adjustement.
Reticle Brightness | Reticle Brightness |
Adjustment (MK6900) | Adjustment (MK390) |
WINDAGE AND ELEVATION
The vertical and horizontal adjustments for the Aries can be achieved by turning the elevation and windage adjustment mecha- nisms (remove dust caps first). Each click equals to 1/8 inches at 100 yards. When reaching the maximum of rotation do not use force.
Elevation
Windage
FOCUSING
To focus your riflescope you will need to adjust the diopter first thing. Simply turn the diopter clockwise until it stops. Then, while looking through the diopter at a subject, slowly turn the diopter back counter clock- wise until the grain in the image is sharp.
NOTE: We suggest that you focus the diopter during daylight with the filter on.
Next, focus the front lens until the image and the grain are both sharp. When you are in the
NOTE: The front lens should be readjusted as you view objects at different distances.
3