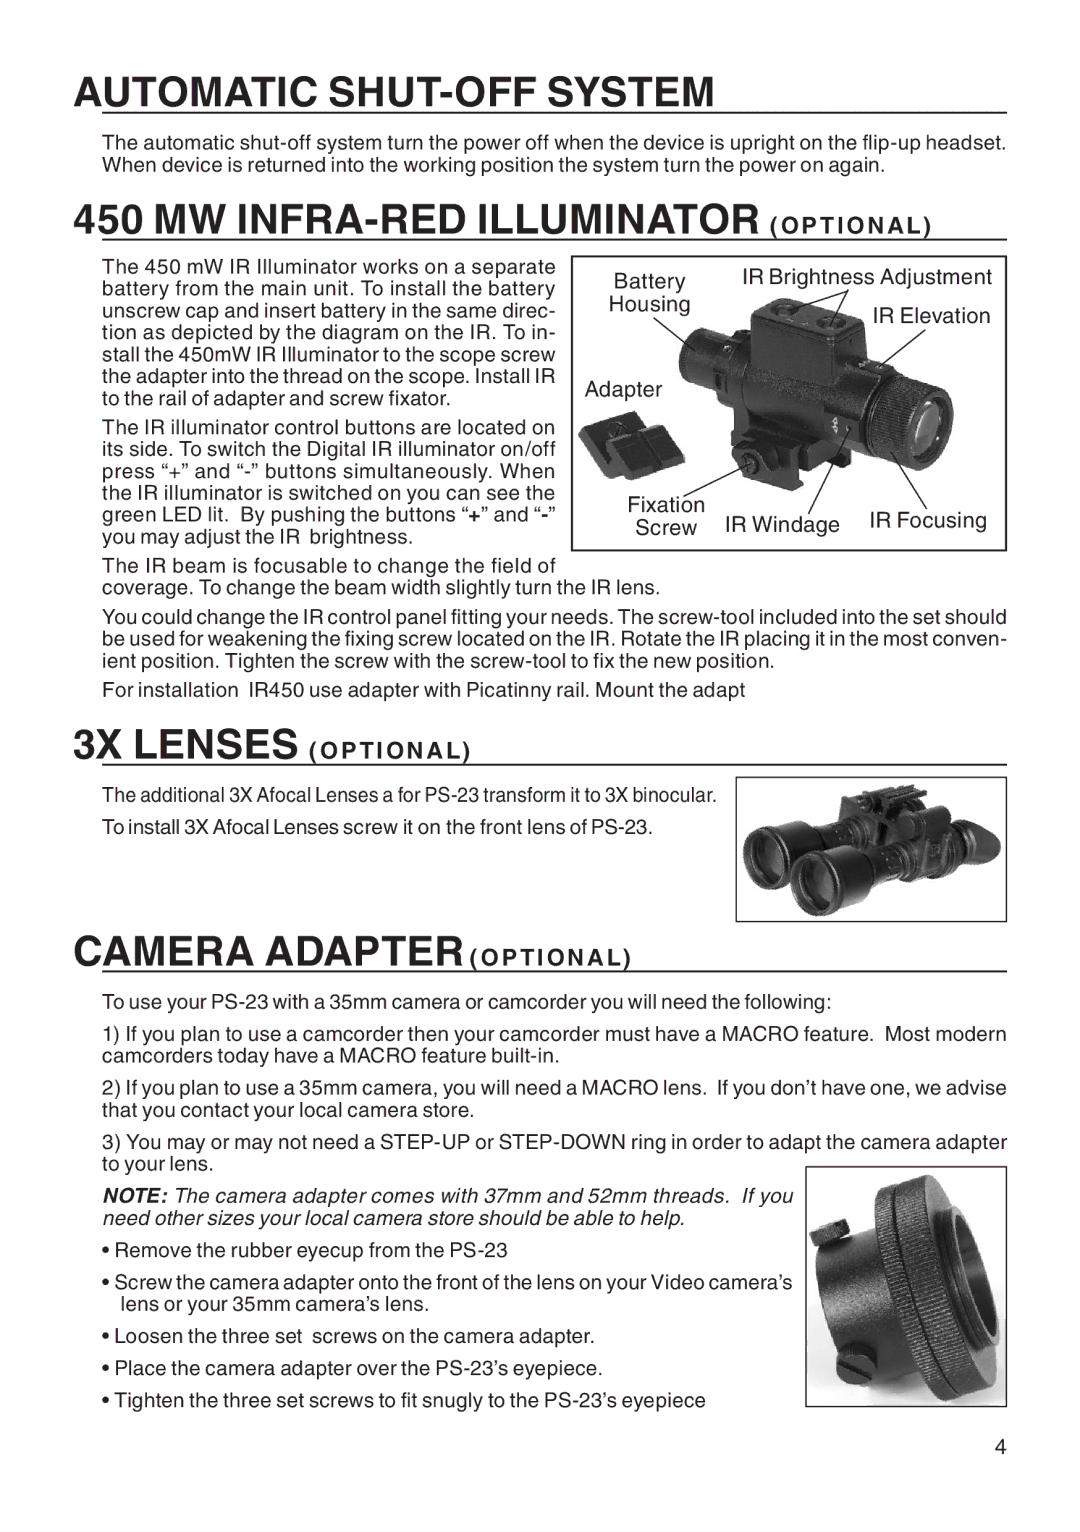
automatic shut-off system
The automatic
450 mw infra-red illuminator (optio n a l)
The 450 mW IR Illuminator works on a separate battery from the main unit. To install the battery unscrew cap and insert battery in the same direc- tion as depicted by the diagram on the IR. To in- stall the 450mW IR Illuminator to the scope screw the adapter into the thread on the scope. Install IR to the rail of adapter and screw fixator.
The IR illuminator control buttons are located on its side. To switch the Digital IR illuminator on/off press “+” and
Battery | IR Brightness Adjustment |
Housing | IR Elevation |
|
Adapter
Fixation | IR Windage | IR Focusing |
Screw |
The IR beam is focusable to change the field of
coverage. To change the beam width slightly turn the IR lens.
You could change the IR control panel fitting your needs. The
For installation IR450 use adapter with Picatinny rail. Mount the adapt
3X lenses (optio n a l)
The additional 3X Afocal Lenses a for
To install 3X Afocal Lenses screw it on the front lens of
camera adapter (Optional)
To use your
1)If you plan to use a camcorder then your camcorder must have a MACRO feature. Most modern camcorders today have a MACRO feature
2)If you plan to use a 35mm camera, you will need a MACRO lens. If you don’t have one, we advise that you contact your local camera store.
3)You may or may not need a
NOTE: The camera adapter comes with 37mm and 52mm threads. If you need other sizes your local camera store should be able to help.
•Remove the rubber eyecup from the
•Screw the camera adapter onto the front of the lens on your Video camera’s lens or your 35mm camera’s lens.
•Loosen the three set screws on the camera adapter.
•Place the camera adapter over the
•Tighten the three set screws to fit snugly to the
