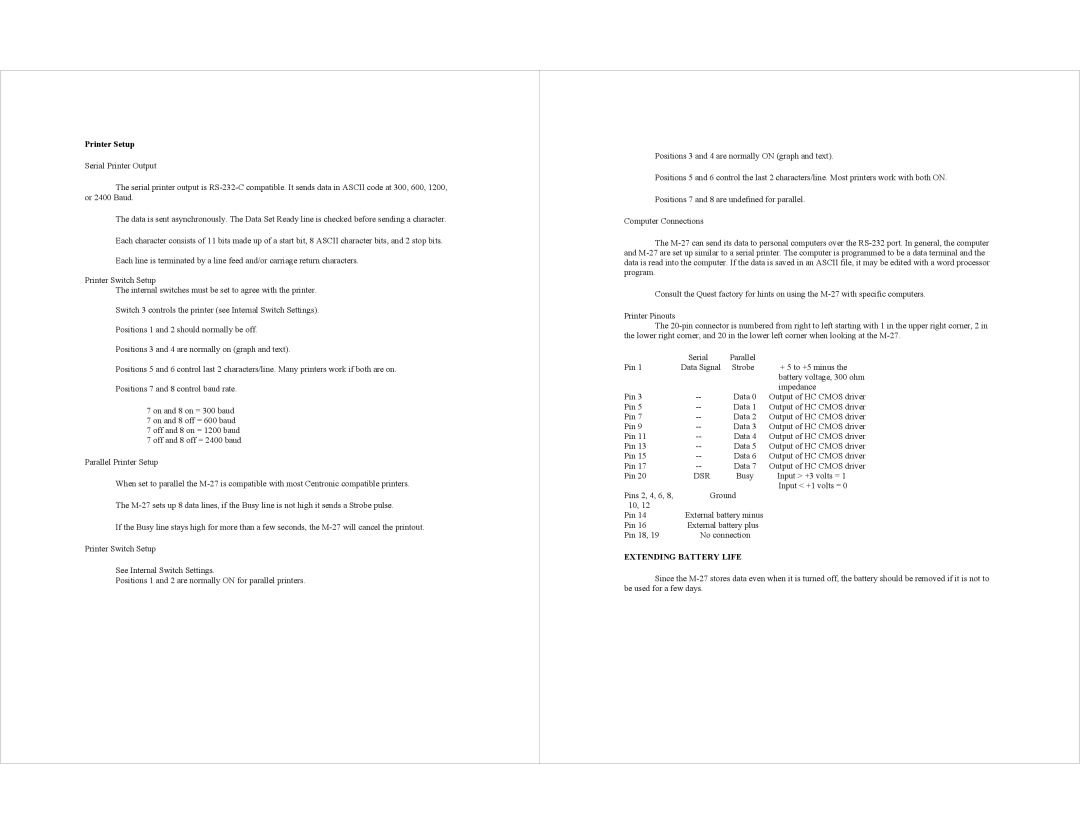
M-27 specifications
AudioQuest M-27 is a standout speaker designed for audiophiles who demand high performance and exquisite sound quality. As part of AudioQuest's commitment to providing unparalleled audio experiences, the M-27 blends advanced technologies with premium materials to deliver exceptional musical clarity and accuracy.One of the key features of the M-27 is its innovative driver design, which utilizes a new-generation ceramic cone. This cone is engineered to minimize distortion while enhancing transient response. The result is a speaker that offers a clear, detailed sound across a wide frequency range. The drivers are also matched with an advanced neodymium magnet system, ensuring efficient energy transfer and improved bass response.
The M-27 is equipped with a sophisticated crossover network that has been meticulously designed to maintain the integrity of the audio signal. By employing high-quality components, including precision resistors and capacitors, the crossover effectively divides the audio signal into specific frequency bands, allowing each driver to perform at its best. This attention to detail not only enhances sound quality but also helps to create a more cohesive listening experience.
Another notable characteristic of the M-27 is its sturdy and well-constructed cabinet. Built from high-density MDF, the cabinet is engineered to minimize resonance and vibration, which can color sound. Moreover, AudioQuest has incorporated internal bracing to further enhance structural integrity. The elegantly finished exterior not only adds to the speaker's aesthetic appeal but also serves to complement various home decors.
Connectivity is made simple with the M-27, thanks to its standard speaker terminals that accommodate a wide range of wire gauges. This flexibility allows audiophiles to use their preferred cables for optimal performance. Additionally, the speaker is designed to work seamlessly with a variety of amplifier configurations, making it an adaptable choice for different audio setups.
Incorporating these advanced technologies and design principles, the AudioQuest M-27 is not just a speaker; it's a gateway to an immersive listening experience. With its ability to reproduce sound with remarkable accuracy, it will appeal to discerning listeners looking to elevate their audio playback and enjoy their favorite music in a whole new light. Overall, the M-27 stands as a testament to AudioQuest's dedication to crafting high-quality audio products that meet the needs of serious music enthusiasts.

