The monitor can be detached from the system by depressing the button below the screen with one hand and removing the monitor with the other hand. Take the AC to DC adapter from the lower compartment, plug one end into the DC 12V jack on the right side of the monitor, then plug the other end into the 110V AC power receptacle.
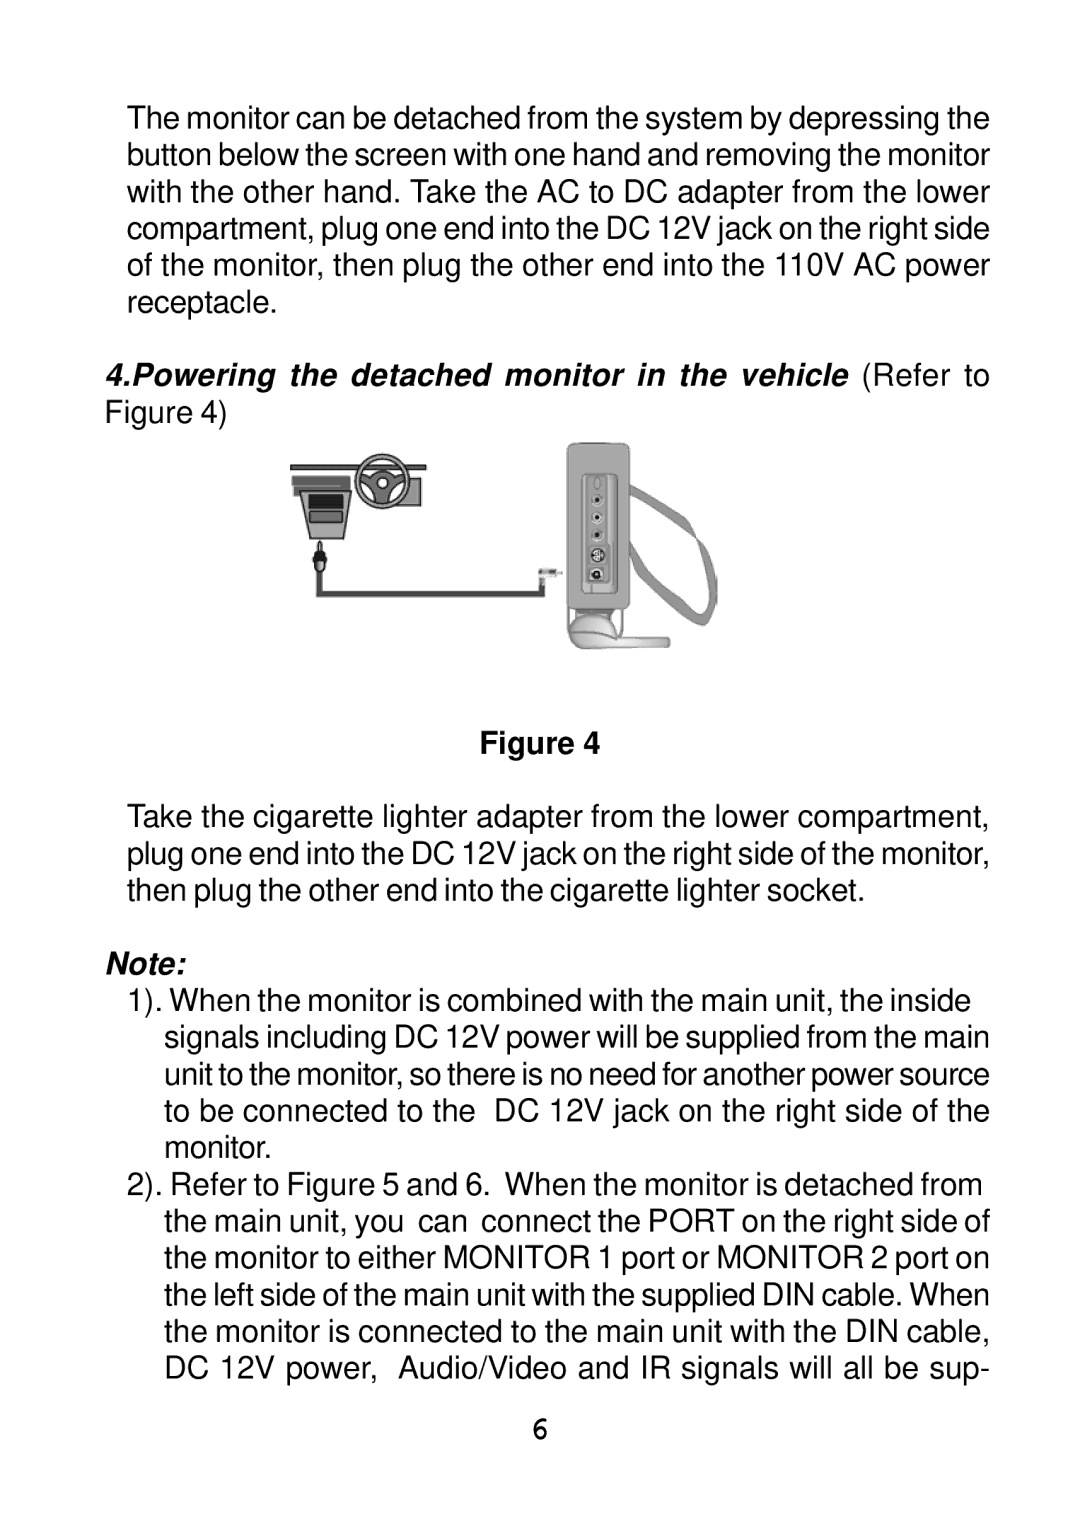
4.Powering the detached monitor in the vehicle (Refer to Figure 4)
Figure 4
Take the cigarette lighter adapter from the lower compartment, plug one end into the DC 12V jack on the right side of the monitor, then plug the other end into the cigarette lighter socket.
Note:
1). When the monitor is combined with the main unit, the inside signals including DC 12V power will be supplied from the main unit to the monitor, so there is no need for another power source to be connected to the DC 12V jack on the right side of the monitor.
2). Refer to Figure 5 and 6. When the monitor is detached from the main unit, you can connect the PORT on the right side of the monitor to either MONITOR 1 port or MONITOR 2 port on the left side of the main unit with the supplied DIN cable. When the monitor is connected to the main unit with the DIN cable, DC 12V power, Audio/Video and IR signals will all be sup-
6