XCH10RF specifications
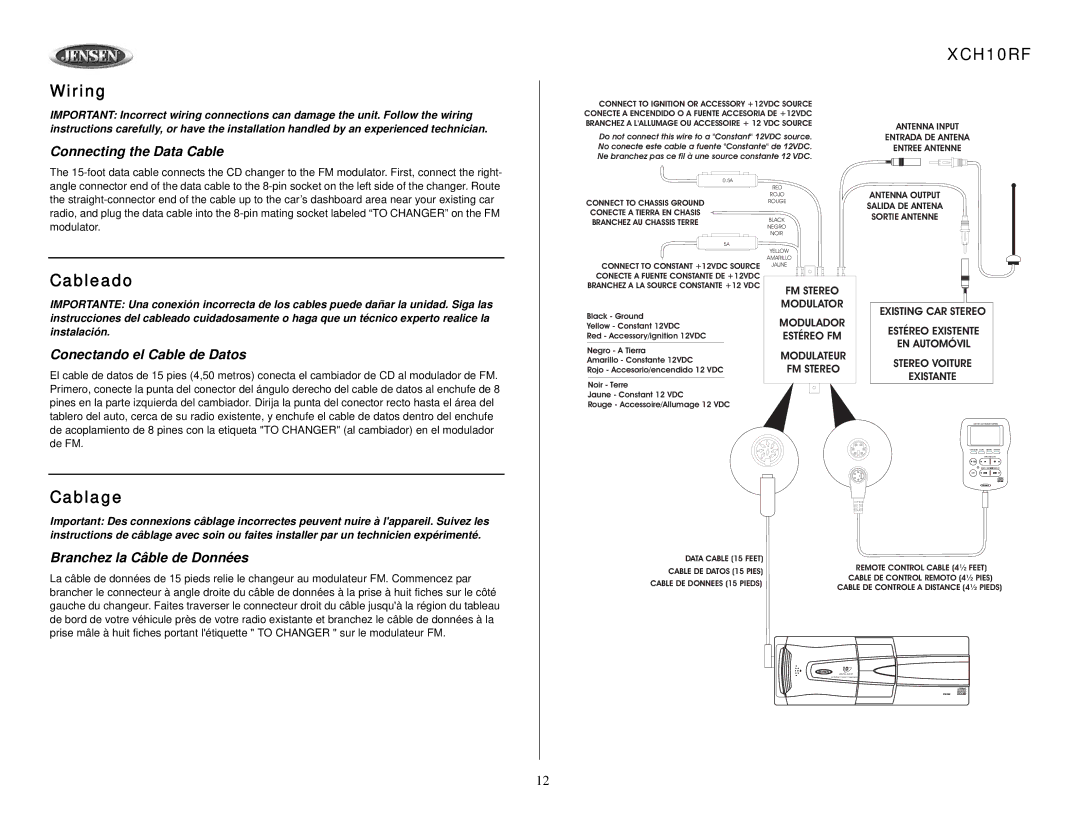
The Audiovox XCH10RF is a state-of-the-art satellite radio receiver that exemplifies the fusion of cutting-edge technology and user-friendly design. This device is specifically engineered to provide an exceptional audio experience and is compatible with a range of audio systems, making it a versatile choice for music lovers and radio enthusiasts alike.One of the standout features of the Audiovox XCH10RF is its robust connectivity options. It is equipped with a built-in RF modulator, allowing seamless integration with various head units and amplifiers. This feature ensures that users can enjoy high-quality sound without the hassle of complicated installations. The device also supports both wired and wireless connections, providing flexibility for different audio setups.
The XCH10RF offers access to a wide array of satellite radio channels, catering to diverse musical tastes and preferences. With hundreds of channels available, users can explore everything from commercial-free music to the latest news, sports, and talk shows. The receiver is compatible with SiriusXM, one of the leading satellite radio services, providing users with high-definition audio quality and uninterrupted signal reception.
In terms of usability, the Audiovox XCH10RF boasts an intuitive interface with a vibrant display. The clear and easy-to-navigate menu allows users to browse channels effortlessly, saving their favorite stations for quick access. Additionally, the device features a robust search function, enabling users to find specific genres, artists, or programs quickly.
Another notable feature is the receiver's portability. The XCH10RF is compact and lightweight, making it easy to transport between vehicles or to use in different settings. Its durable construction ensures reliability and longevity, even when exposed to varying environmental conditions.
In conclusion, the Audiovox XCH10RF is an exemplary satellite radio receiver that combines advanced technology with a user-oriented design. Its extensive channel offerings, flexible connectivity options, and portable nature make it an ideal choice for anyone looking to enjoy high-quality audio on the go. Whether you're driving, relaxing at home, or hosting a gathering, the Audiovox XCH10RF ensures you never miss out on your favorite music and entertainment.

