3600 Series Wireless Phone User Guide
Quad Chargers
The Quad Charger is designed to simultaneously charge four Nickel Metal Hydride (NiMH) battery packs.
GCX100 is designed to charge the BPX100 Battery Pack in the 3626 phone.
GCN100 is designed to charge the BPN100 Battery Pack in the 3620 phone.
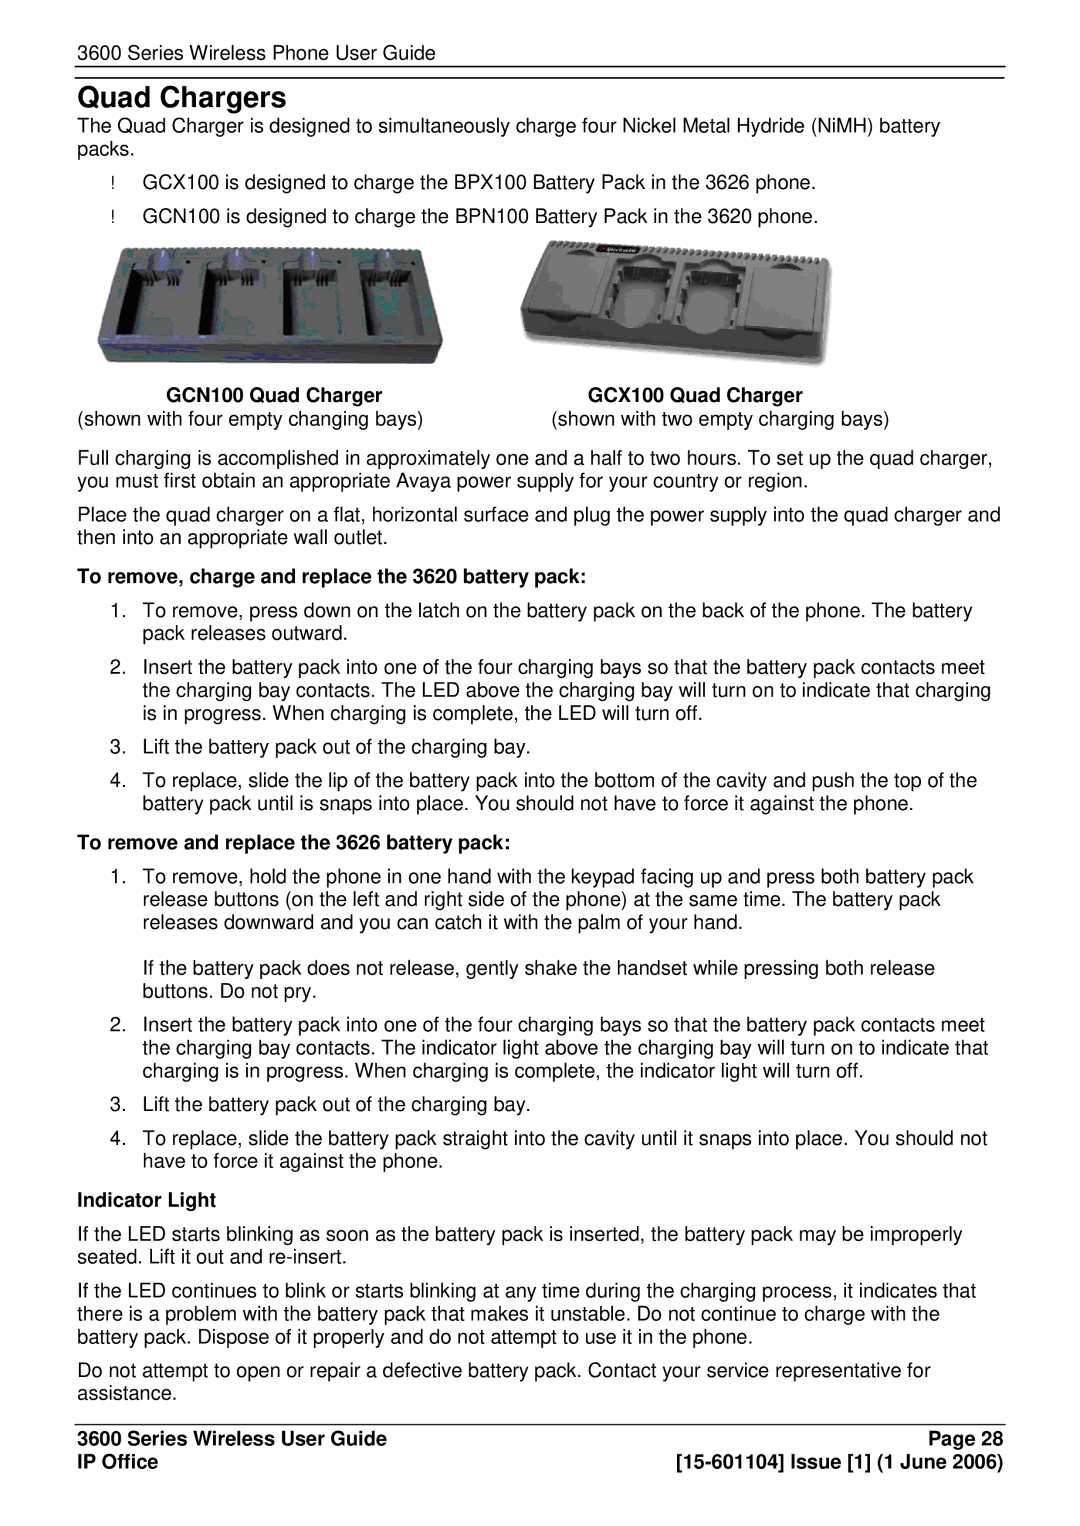
GCN100 Quad Charger | GCX100 Quad Charger |
(shown with four empty changing bays) | (shown with two empty charging bays) |
Full charging is accomplished in approximately one and a half to two hours. To set up the quad charger, you must first obtain an appropriate Avaya power supply for your country or region.
Place the quad charger on a flat, horizontal surface and plug the power supply into the quad charger and then into an appropriate wall outlet.
To remove, charge and replace the 3620 battery pack:
1.To remove, press down on the latch on the battery pack on the back of the phone. The battery pack releases outward.
2.Insert the battery pack into one of the four charging bays so that the battery pack contacts meet the charging bay contacts. The LED above the charging bay will turn on to indicate that charging is in progress. When charging is complete, the LED will turn off.
3.Lift the battery pack out of the charging bay.
4.To replace, slide the lip of the battery pack into the bottom of the cavity and push the top of the battery pack until is snaps into place. You should not have to force it against the phone.
To remove and replace the 3626 battery pack:
1.To remove, hold the phone in one hand with the keypad facing up and press both battery pack release buttons (on the left and right side of the phone) at the same time. The battery pack releases downward and you can catch it with the palm of your hand.
If the battery pack does not release, gently shake the handset while pressing both release buttons. Do not pry.
2.Insert the battery pack into one of the four charging bays so that the battery pack contacts meet the charging bay contacts. The indicator light above the charging bay will turn on to indicate that charging is in progress. When charging is complete, the indicator light will turn off.
3.Lift the battery pack out of the charging bay.
4.To replace, slide the battery pack straight into the cavity until it snaps into place. You should not have to force it against the phone.
Indicator Light
If the LED starts blinking as soon as the battery pack is inserted, the battery pack may be improperly seated. Lift it out and
If the LED continues to blink or starts blinking at any time during the charging process, it indicates that there is a problem with the battery pack that makes it unstable. Do not continue to charge with the battery pack. Dispose of it properly and do not attempt to use it in the phone.
Do not attempt to open or repair a defective battery pack. Contact your service representative for assistance.
3600 Series Wireless User Guide | Page 28 |
IP Office |