Avaya SG5, SG5X, & SG200 Security Gateway Hardware Installation Guide
The public port provides an Ethernet interface to the public network (through a DSL or cable modem), while the private port(s) connect to your local network, (typically through a hub in the case of the SG5).
All Ethernet ports are
Perform the following steps to install the security gateway in a typical
LAN:
1.Using a standard Ethernet cable, connect the VSU public port to your DSL or cable modem.
2.Connect the private port of the SG5 security gateway to your hub, or in the case of a single user, to your workstation’s Ethernet LAN connector.
For the SG5X security gateway, connect the private port to your workstations or IP devices on your LAN. If you’re attaching IP telephones, connect them to the private ports as well.
3.Connect the power cable from the power supply to the VSU, then connect the power supply to an AC outlet.
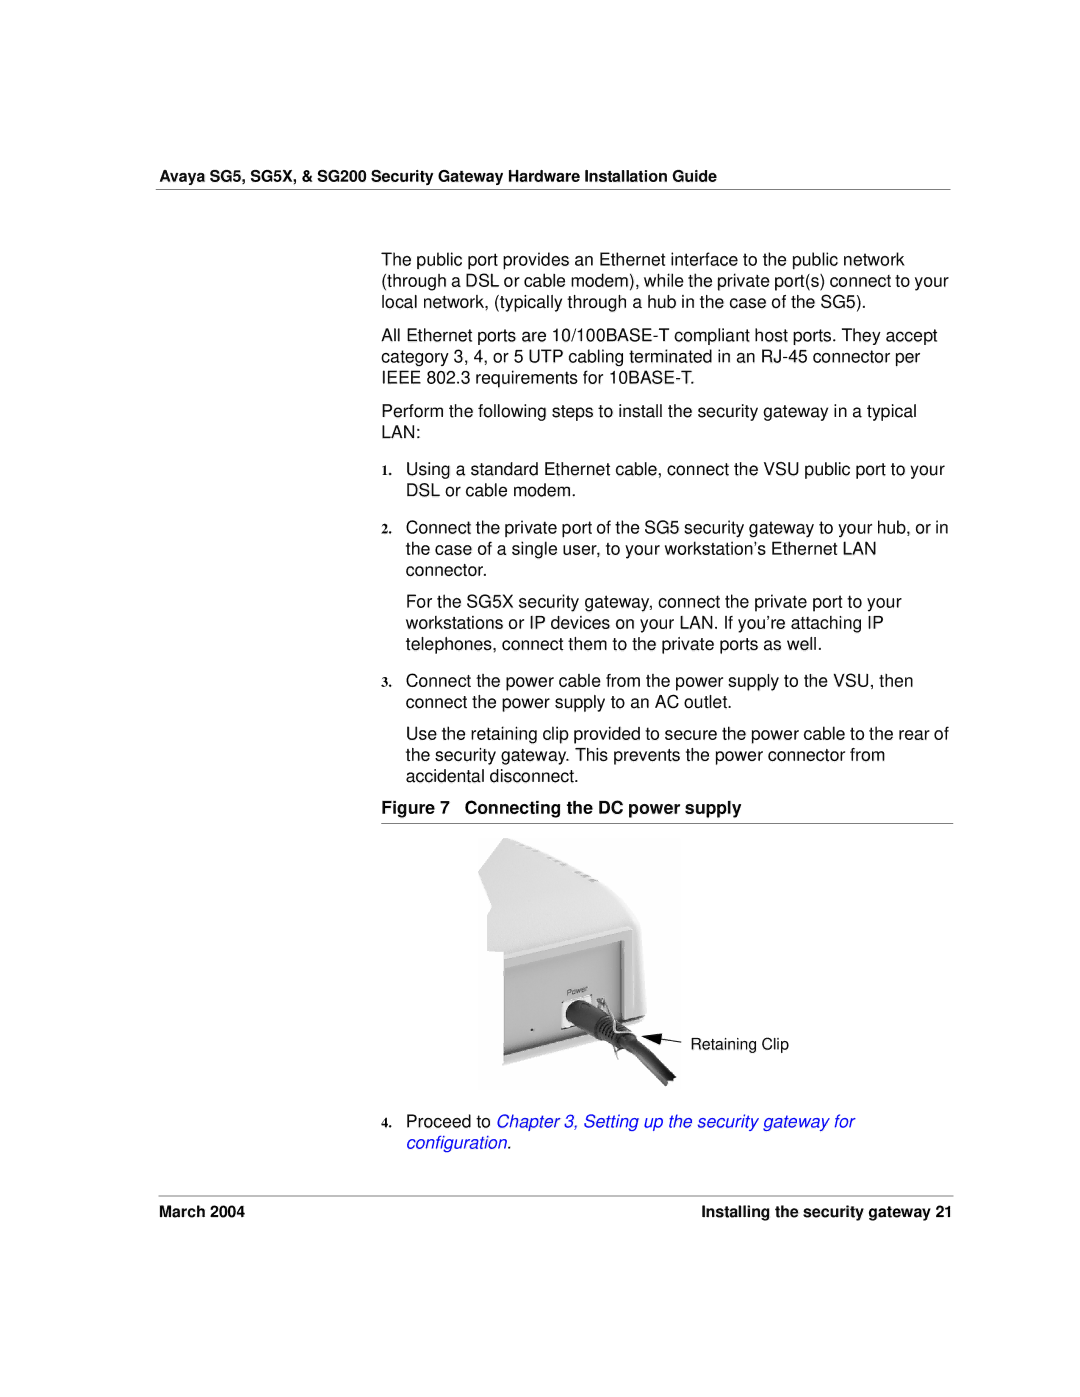
Use the retaining clip provided to secure the power cable to the rear of the security gateway. This prevents the power connector from accidental disconnect.
Figure 7 Connecting the DC power supply
Retaining Clip
4.Proceed to Chapter 3, Setting up the security gateway for configuration.
March 2004 | Installing the security gateway 21 |
