AXIS 240Q specifications
Axis Communications has long been a leading innovator in the field of network video surveillance, and one of its notable products is the AXIS 240Q. This powerful encoding unit has garnered attention for its versatility and robust feature set, making it an excellent choice for a variety of surveillance applications.One of the standout features of the AXIS 240Q is its ability to support multiple video formats, making it suitable for both analog and digital cameras. With four channels, this encoding unit allows users to connect and manage up to four cameras simultaneously, significantly enhancing surveillance capabilities in diverse environments. Whether it’s securing a retail space or monitoring a parking lot, the AXIS 240Q ensures seamless integration with existing systems.
The device employs advanced video compression technologies, including Motion JPEG and MPEG-4, enabling efficient use of bandwidth and storage. These compression methods allow for high-quality video streaming while minimizing data usage, which is essential for organizations looking to maintain efficient surveillance operations without overwhelming their network infrastructure.
In terms of security, the AXIS 240Q is equipped with multiple security features to protect video feeds and ensure the integrity of recorded data. It supports secure HTTPS and SSL encryption, safeguarding data as it travels over the network. Additionally, the unit allows for user access control to manage permissions for different operators, further reinforcing the device's security profile.
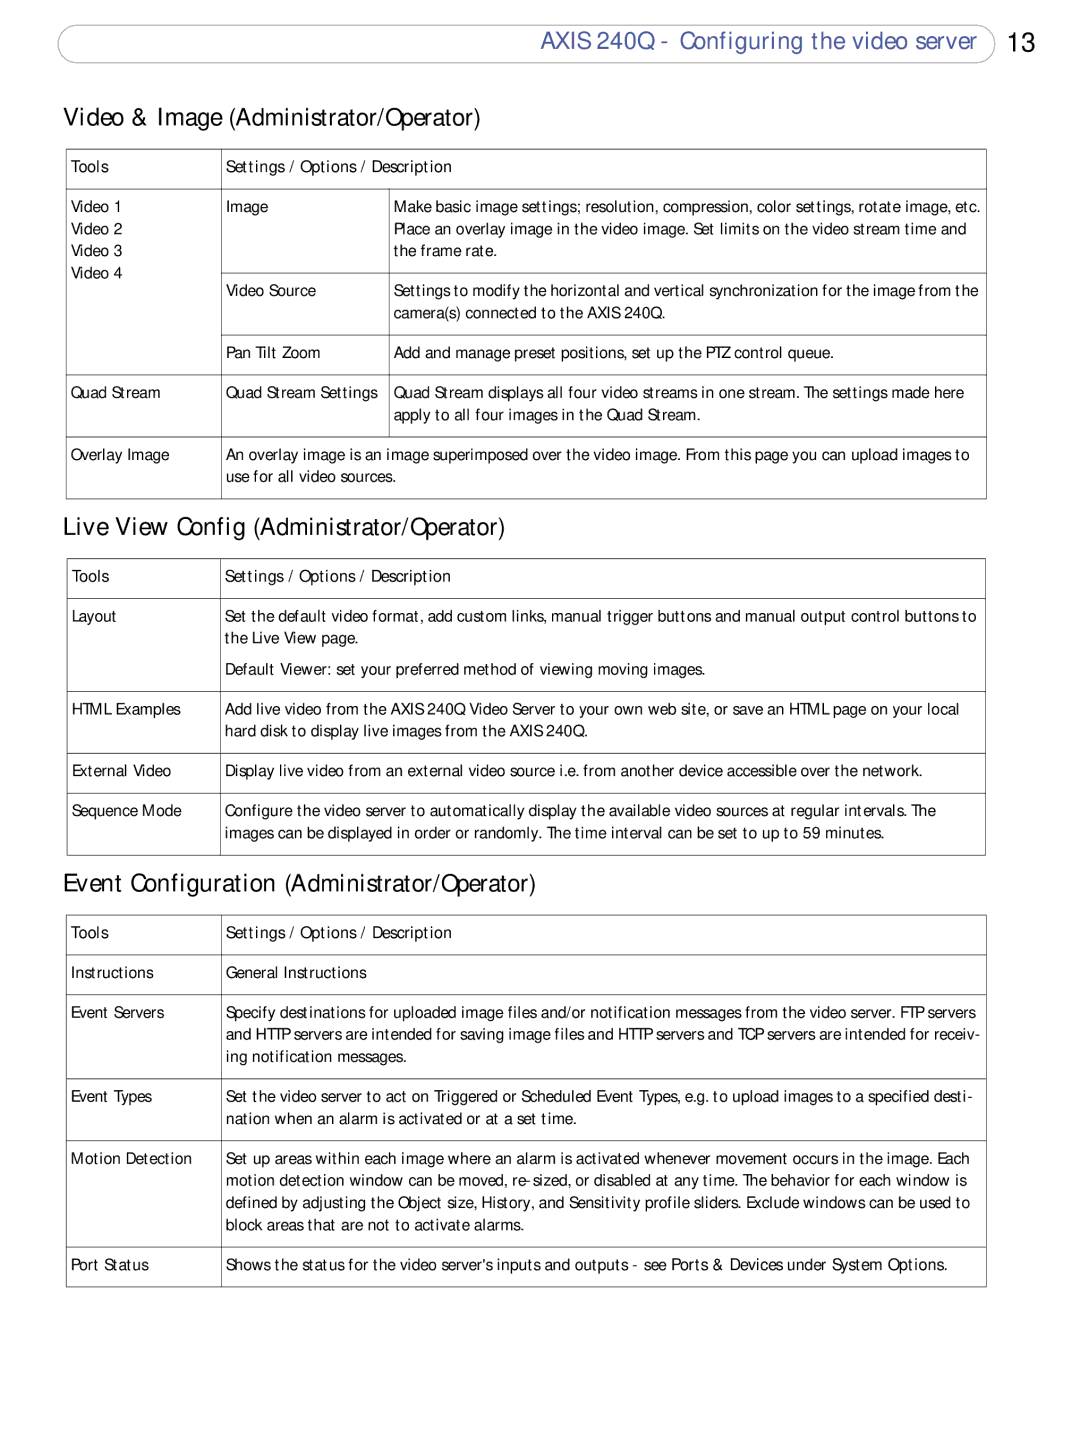
The AXIS 240Q also comes with an easy-to-use web-based interface, facilitating simple configuration and remote management. This feature is particularly beneficial for organizations that require continuous monitoring and need quick access to settings, regardless of location.
With its compact design and robust build quality, the AXIS 240Q is suitable for a range of indoor and outdoor installations. The unit is also designed with flexibility in mind, allowing for easy integration with various third-party software solutions due to its compliance with industry standards such as ONVIF.
In summary, the AXIS 240Q from Axis Communications showcases a powerful blend of features and technologies tailored for modern surveillance needs. Its multi-channel capability, advanced compression methods, security features, and ease of use make it an essential tool for organizations aiming to enhance their security systems while optimizing operational efficiency. Whether used in small businesses or large enterprises, the AXIS 240Q continues to set the standard for reliability and performance in the surveillance market.
