OESWC-CLASS2H specifications
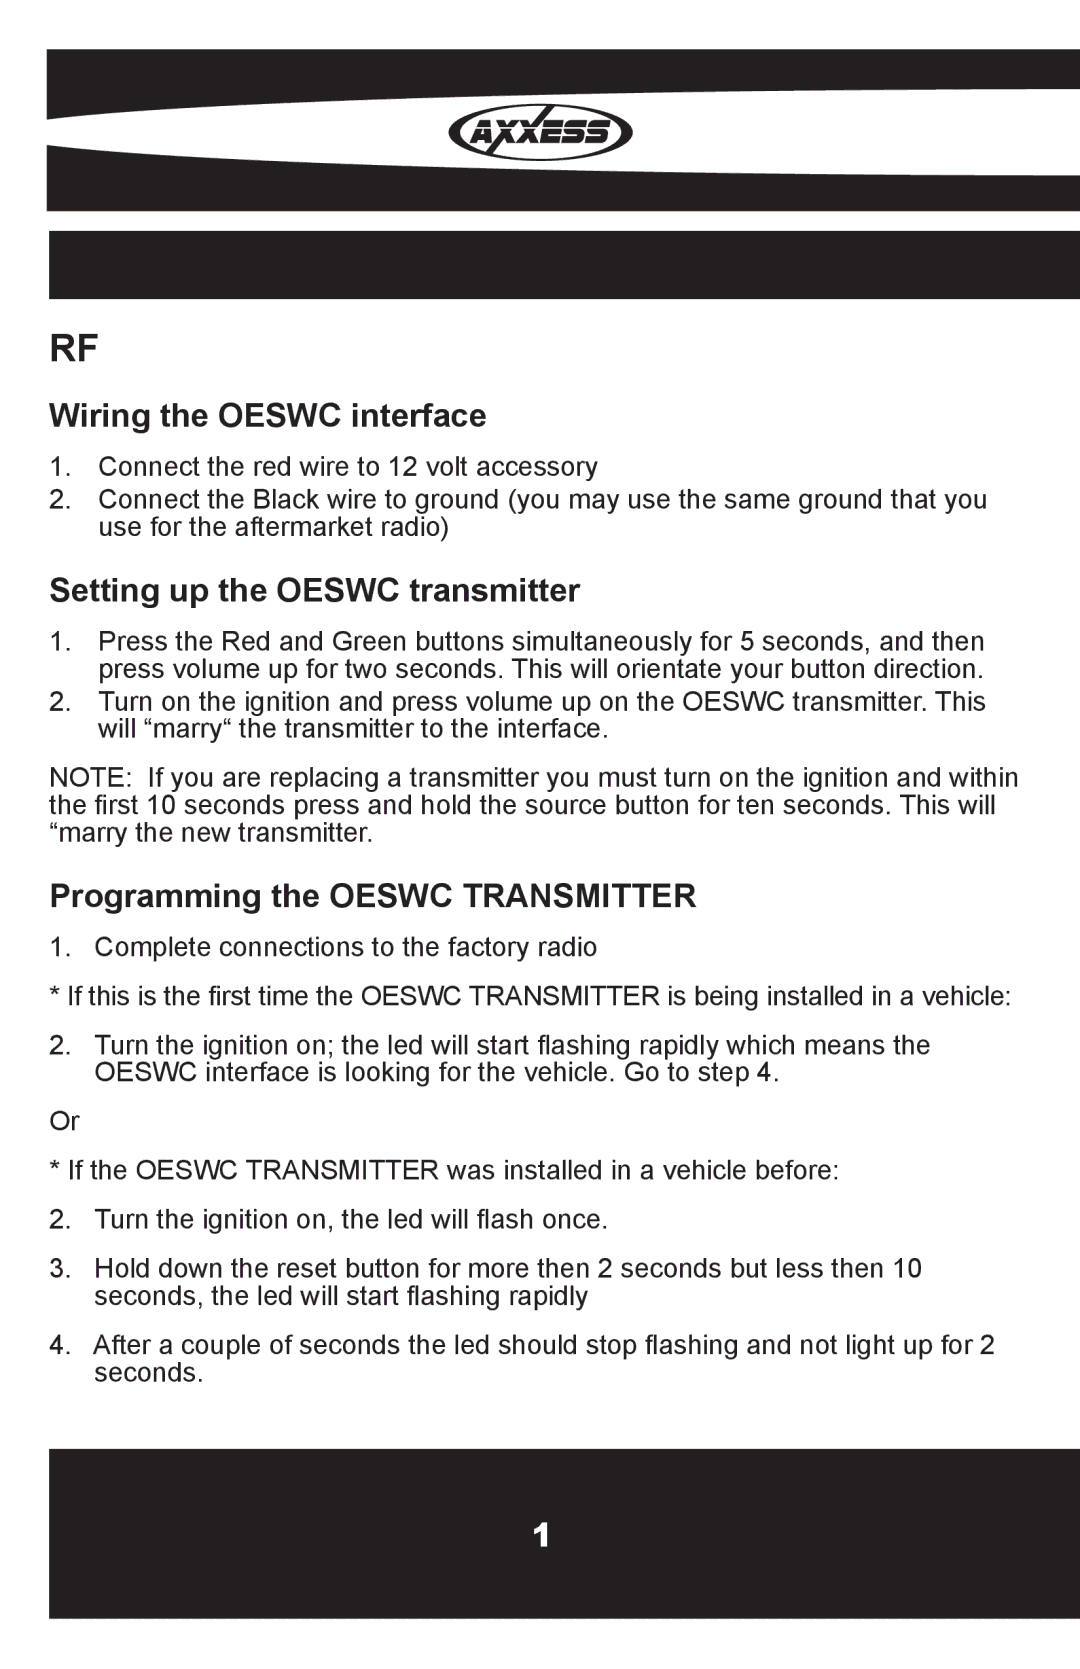
The Axxess Interface OESWC-CLASS2H is a cutting-edge solution designed to seamlessly integrate aftermarket radios with select Chrysler, Dodge, Jeep, and RAM vehicles. This interface offers a range of features that significantly enhance the connectivity and functionality of your audio system, ensuring an upgraded in-car experience.One of the standout features of the OESWC-CLASS2H is its ability to retain steering wheel control access. This allows users to maintain full control over their audio settings directly from the vehicle's steering wheel, providing both convenience and safety while driving. The interface supports various control configurations, ensuring compatibility with different vehicle models.
Additionally, the OESWC-CLASS2H incorporates a built-in CANBUS system that facilitates communication between the aftermarket radio and the vehicle. This feature is critical as it allows for the retention of essential data functions, including vehicle settings and features that can be displayed on the radio screen. Users can conveniently access important information without compromising their auditory experience.
The OESWC-CLASS2H also supports amplified systems, ensuring compatibility with factory-installed amplifiers. This means that users can enjoy high-quality sound output without losing the audio fidelity provided by their vehicle’s advanced sound system. Another significant characteristic is its simple installation process, which reduces the complexity and time typically associated with aftermarket upgrades. The interface is designed to eliminate the need for extensive rewiring, making it accessible for both professional installers and DIY enthusiasts.
In terms of technology, the Axxess Interface is equipped with advanced microprocessor capabilities for enhanced processing speed and performance. This technology ensures that the interface operates smoothly, minimizing the chances of glitches or interruptions during usage.
Moreover, the OESWC-CLASS2H comes with comprehensive vehicle compatibility information included in its user manual, allowing users to confirm fitment before purchase. This attention to detail is part of what makes Axxess a trusted name in automotive audio integration. Overall, the Axxess Interface OESWC-CLASS2H is an essential tool for anyone looking to replace or upgrade their vehicle’s sound system while retaining critical functions and features seamlessly.

