NOTE: Short bar with connector knobs should be facing inward.
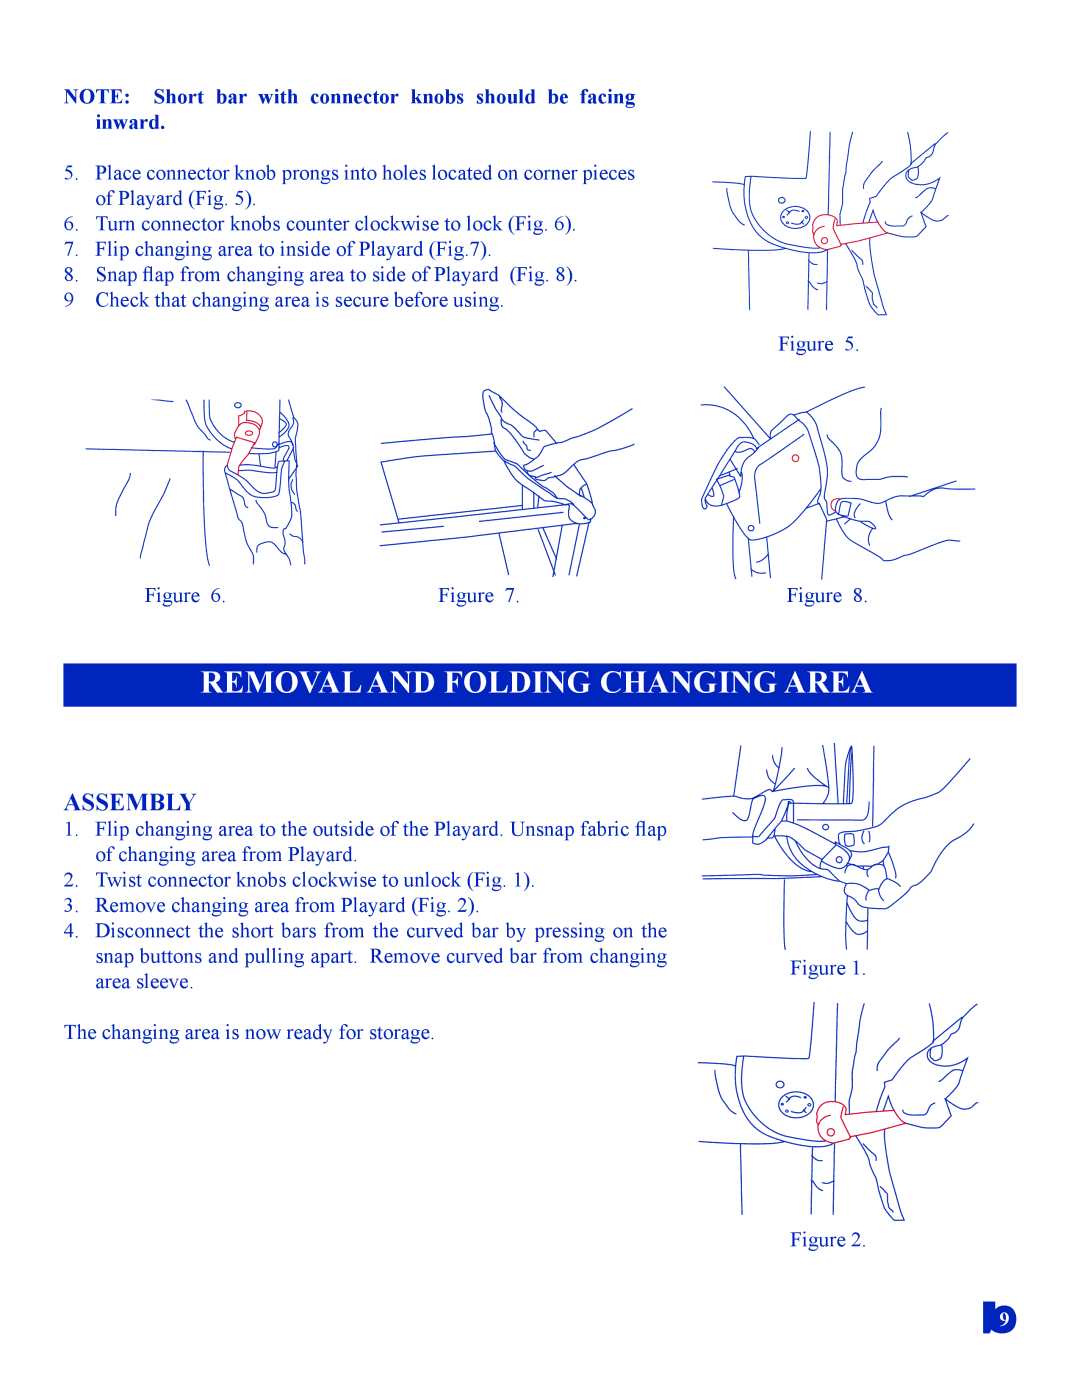
5. Place connector knob prongs into holes located on corner pieces of Playard (Fig. 5).
6. Turn connector knobs counter clockwise to lock (Fig. 6).
7. Flip changing area to inside of Playard (Fig.7).
8. Snap flap from changing area to side of Playard (Fig. 8).
9 Check that changing area is secure before using.
Figure 5.
Figure 6. | Figure 7. | Figure 8. |
REMOVAL AND FOLDING CHANGING AREA
ASSEMBLY
1. | Flip changing area to the outside of the Playard. Unsnap fabric flap |
|
| of changing area from Playard. |
|
2. | Twist connector knobs clockwise to unlock (Fig. 1). |
|
3. | Remove changing area from Playard (Fig. 2). |
|
4. | Disconnect the short bars from the curved bar by pressing on the |
|
| snap buttons and pulling apart. Remove curved bar from changing | Figure 1. |
| area sleeve. | |
|
|
The changing area is now ready for storage.
Figure 2.
9
