EP-2-2828 specifications
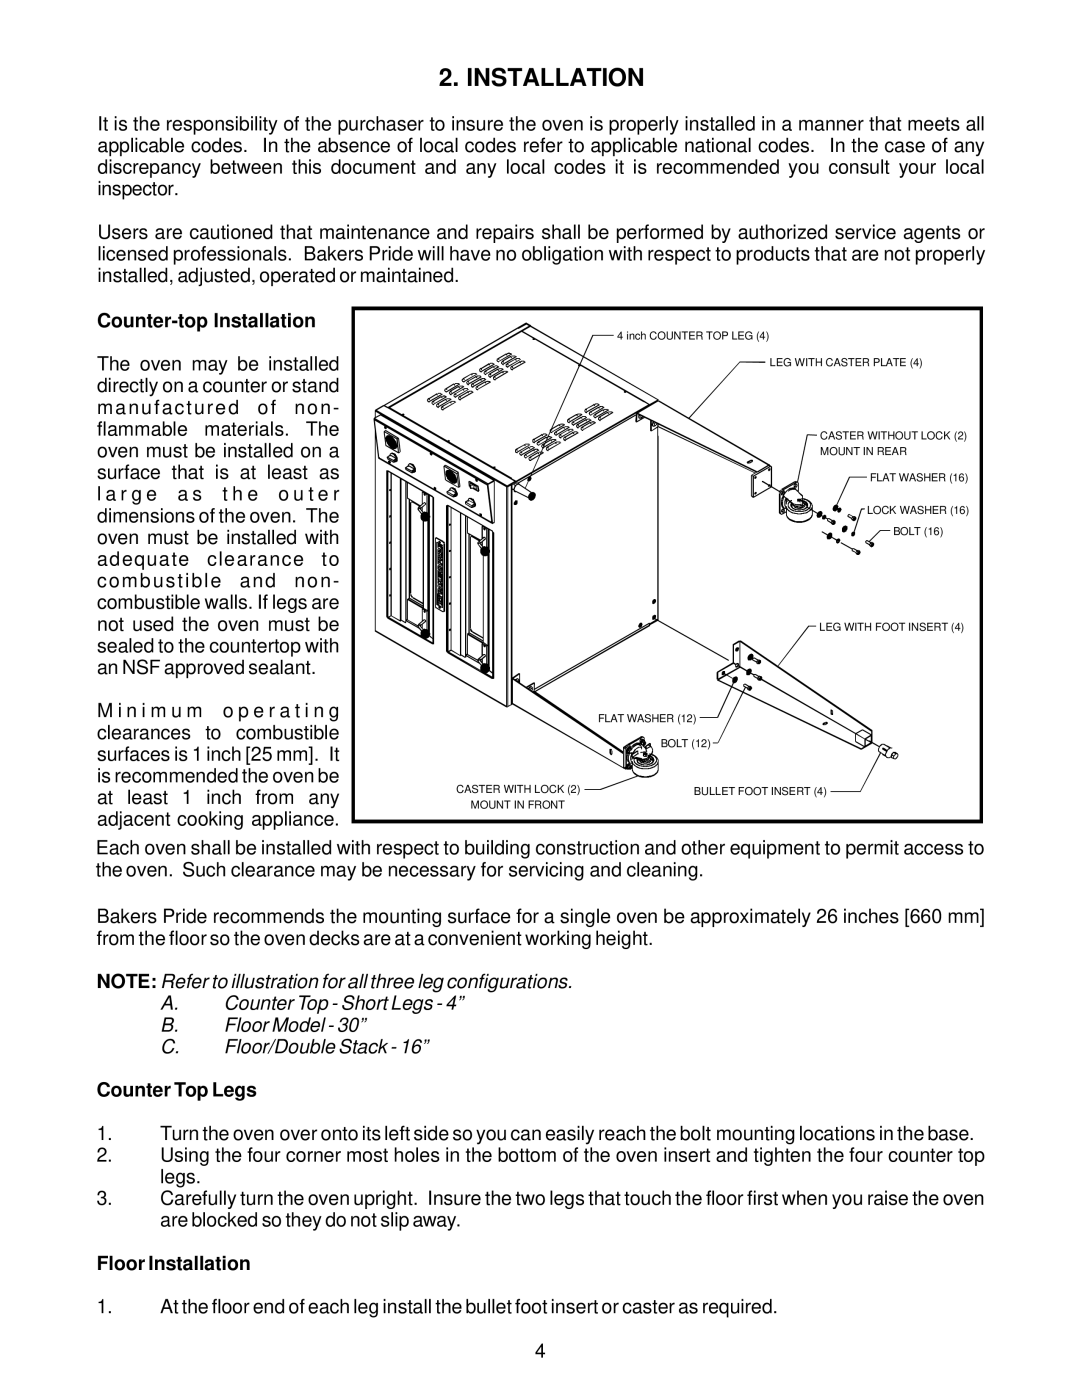
The Bakers Pride Oven EP-2-2828 is a high-performance piece of equipment that caters to the needs of professional kitchens and food service operations. Renowned for its quality construction and exceptional baking capabilities, this oven is designed for restaurants, bakeries, and catering services that demand consistent results and efficiency.One of the standout features of the EP-2-2828 is its dual deck configuration. This allows chefs to cook multiple trays simultaneously, effectively doubling the output without compromising quality. With ample cooking space, each deck measures 28 inches by 28 inches, providing plenty of room for pizzas, pastries, breads, and a variety of other dishes.
The oven is built with a heavy-duty stainless steel exterior, ensuring durability and ease of cleaning. Inside, it features high-quality refractory bricks that retain and radiate heat effectively, providing an even baking environment. This is crucial for achieving the perfect crust on pizzas and uniform baking for baked goods.
Incorporating advanced technology, the Bakers Pride EP-2-2828 features manual control knobs and a digital thermometer, allowing precise temperature regulation and monitoring. Chefs can easily adjust the temperature up to 650 degrees Fahrenheit, providing the flexibility needed for different baking applications. Moreover, the oven includes top and bottom heat controls, enabling optimal heat distribution and customized baking based on specific requirements.
The EP-2-2828 is also equipped with a powerful heating system. The high-performance burners ensure rapid heat-up times and consistent temperature retention, minimizing any fluctuations during the cooking process. This efficiency is vital for busy kitchens where speed and reliability are paramount.
Another remarkable aspect of this oven is its ease of use. Designed with the operator in mind, the EP-2-2828 includes a user-friendly interface that simplifies operation. The oven's loading height is ideal for accessibility, helping users to load and unload product with minimal effort.
Overall, the Bakers Pride Oven EP-2-2828 stands out due to its combination of durability, high-capacity design, advanced technology, and user-friendly features. Its considerable baking capabilities and robust construction make it an excellent choice for any professional kitchen looking to enhance its baking operations.

