Manuals
/
Belkin
/
Computer Equipment
/
Network Card
Belkin
F5D5000t
manual
Click Next and the following screen will appear
Models:
F5D5000t
1
36
53
53
Download
53 pages
27.51 Kb
33
34
35
36
37
38
39
40
Specification
Install
Connecting the hardware
Warranty
Configuring your computer
Using static addressing
Page 36
Image 36
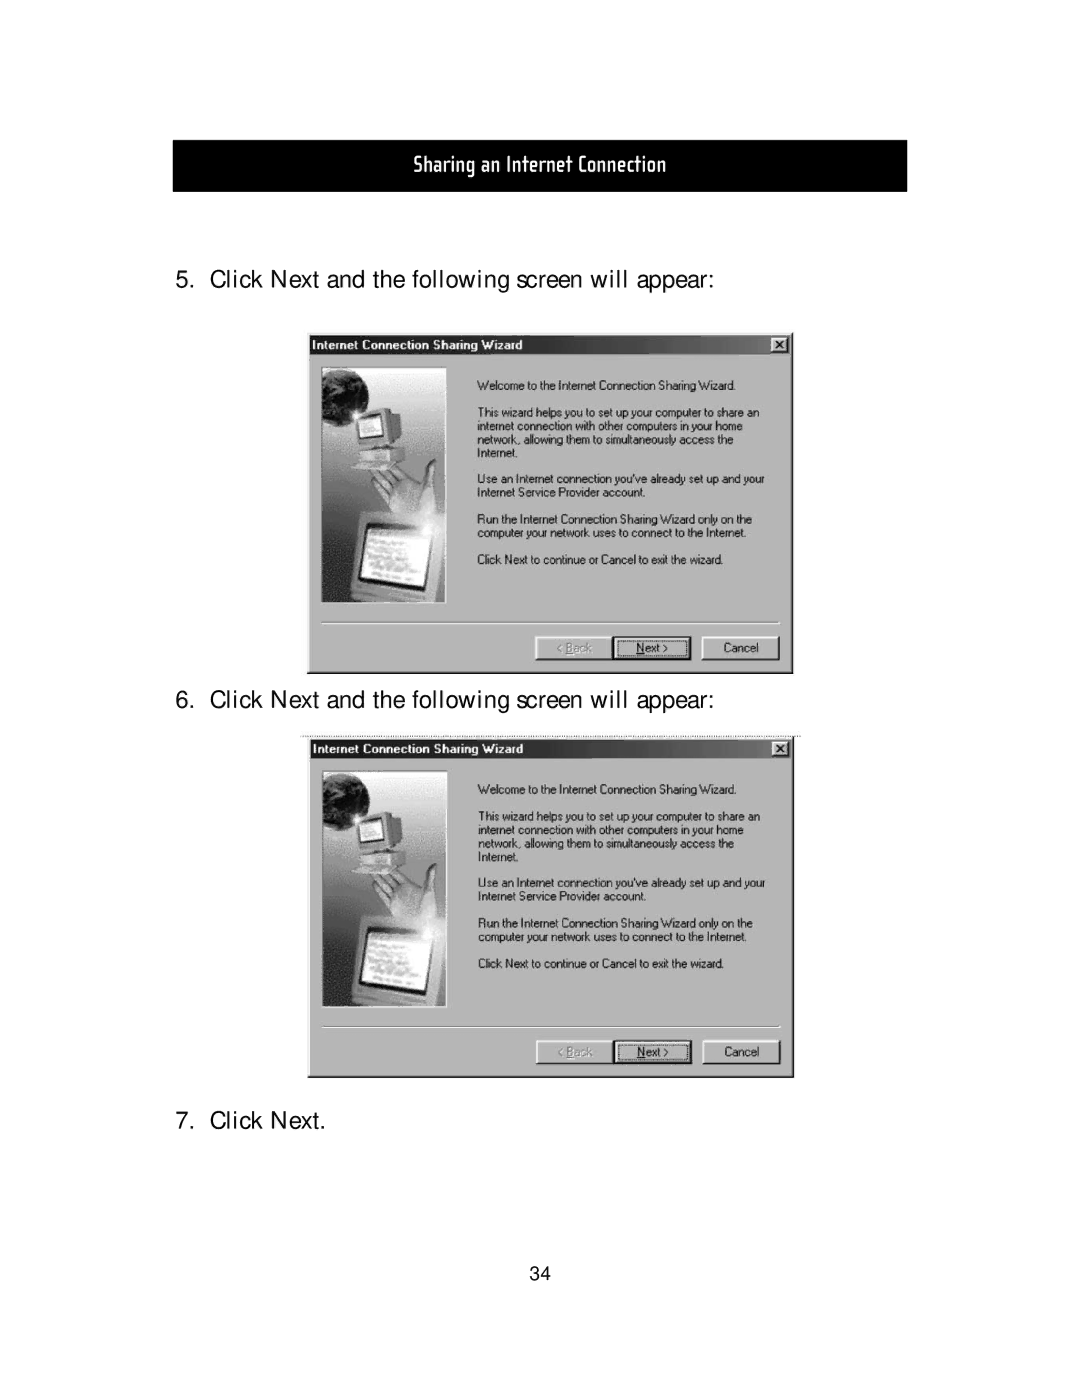
Sharing an Internet Connection
5. Click Next and the following screen will appear:
6. Click Next and the following screen will appear:
7. Click Next.
34
Page 35
Page 37
Page 36
Image 36
Page 35
Page 37
Contents
Desktop Network PCICard
Table of Contents
Features
Contents of Package
Installing the Hardware
WOL connection on the motherboard
Installing the Hardware
Installing the network drivers
Installing the Network Drivers
Installing the Network Drivers
Installing the Network Drivers
Connecting the hardware
Connecting to a DSL or Cable Modem
Configuring your computer
Using static addressing
Connecting to a DSL or Cable Modem
Connecting to a DSL or Cable Modem
Using dynamic addressing
Connecting to a DSL or Cable Modem
Click OK to close the window
Creating a Simple Network
Connecting two computers
Connecting three or more computers
Configuring your computers
Creating a Simple Network
Configuring network software
Creating a Simple Network
Creating a Simple Network
Creating a Simple Network
Creating a Simple Network
Accessing resources on other computers
Sharing files and disk drives
Using a shared printer on the network
Sharing a printer with the network
Creating a Simple Network
Creating a Simple Network
Creating a Simple Network
Sharing an Internet Connection
Hardware Internet sharing
Windows 98 SE host configuration
Software Internet sharing
Click Next and the following screen will appear
Sharing an Internet Connection
Windows 98 SE host configuration check
Configuring client computers
Sharing an Internet Connection
Client configuration check
Sharing an Internet Connection
Sharing an Internet Connection
Windows Me host configuration
Sharing an Internet Connection
Sharing an Internet Connection
Sharing an Internet Connection
Configuring client computers
Sharing an Internet Connection
Sharing an Internet Connection
Product Specifications
Belkin Components Limited Lifetime Product Warranty
Warranty, FCC, CE Statement
FCC Statement
CE Declaration of Conformity
21MS074
Top
Page
Image
Contents