Using the projector and remote control
Preparations
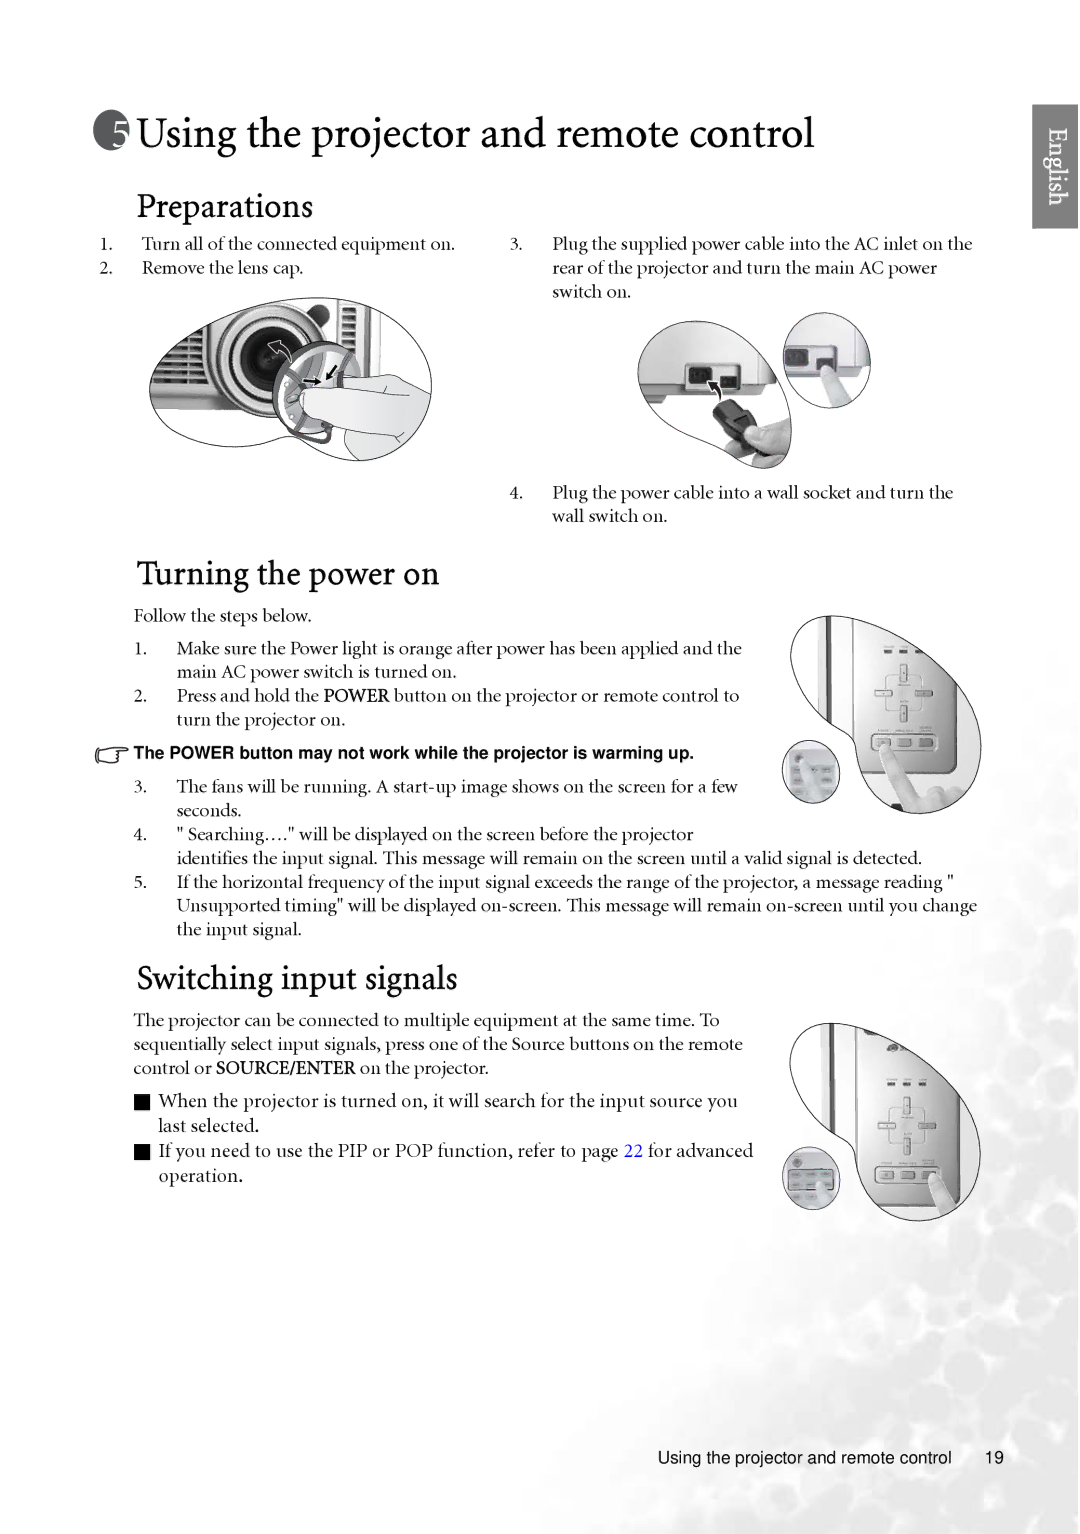
1. | Turn all of the connected equipment on. | 3. Plug the supplied power cable into the AC inlet on the | ||
2. | Remove the lens cap. | rear of the projector and turn the main AC power | ||
|
|
|
| switch on. |
|
|
|
| |
|
|
|
|
|
4.Plug the power cable into a wall socket and turn the wall switch on.
Turning the power on
Follow the steps below.
1.Make sure the Power light is orange after power has been applied and the main AC power switch is turned on.
2.Press and hold the POWER button on the projector or remote control to turn the projector on.
![]() The POWER button may not work while the projector is warming up.
The POWER button may not work while the projector is warming up.
3.The fans will be running. A
4." Searching…." will be displayed on the screen before the projector
identifies the input signal. This message will remain on the screen until a valid signal is detected.
5.If the horizontal frequency of the input signal exceeds the range of the projector, a message reading " Unsupported timing" will be displayed
Switching input signals
The projector can be connected to multiple equipment at the same time. To sequentially select input signals, press one of the Source buttons on the remote control or SOURCE/ENTER on the projector.
When the projector is turned on, it will search for the input source you last selected.
If you need to use the PIP or POP function, refer to page 22 for advanced operation.
English
Using the projector and remote control | 19 |