2500 specifications
The Bernina 2500 is a sophisticated serger designed for both the amateur and professional sewist, offering an impressive array of features and technologies that elevate the sewing experience. This model is known for its versatility, enabling users to tackle a range of projects, from garment construction to home décor.One of the standout features of the Bernina 2500 is its differential feed system, which allows for precise control over the material being sewn. This system minimizes puckering in lightweight fabrics and ensures seamless feeding of stretchy materials, making it an ideal choice for various fabric types. Users can easily adjust the differential feed ratio, enhancing their ability to work with a broad spectrum of textiles.
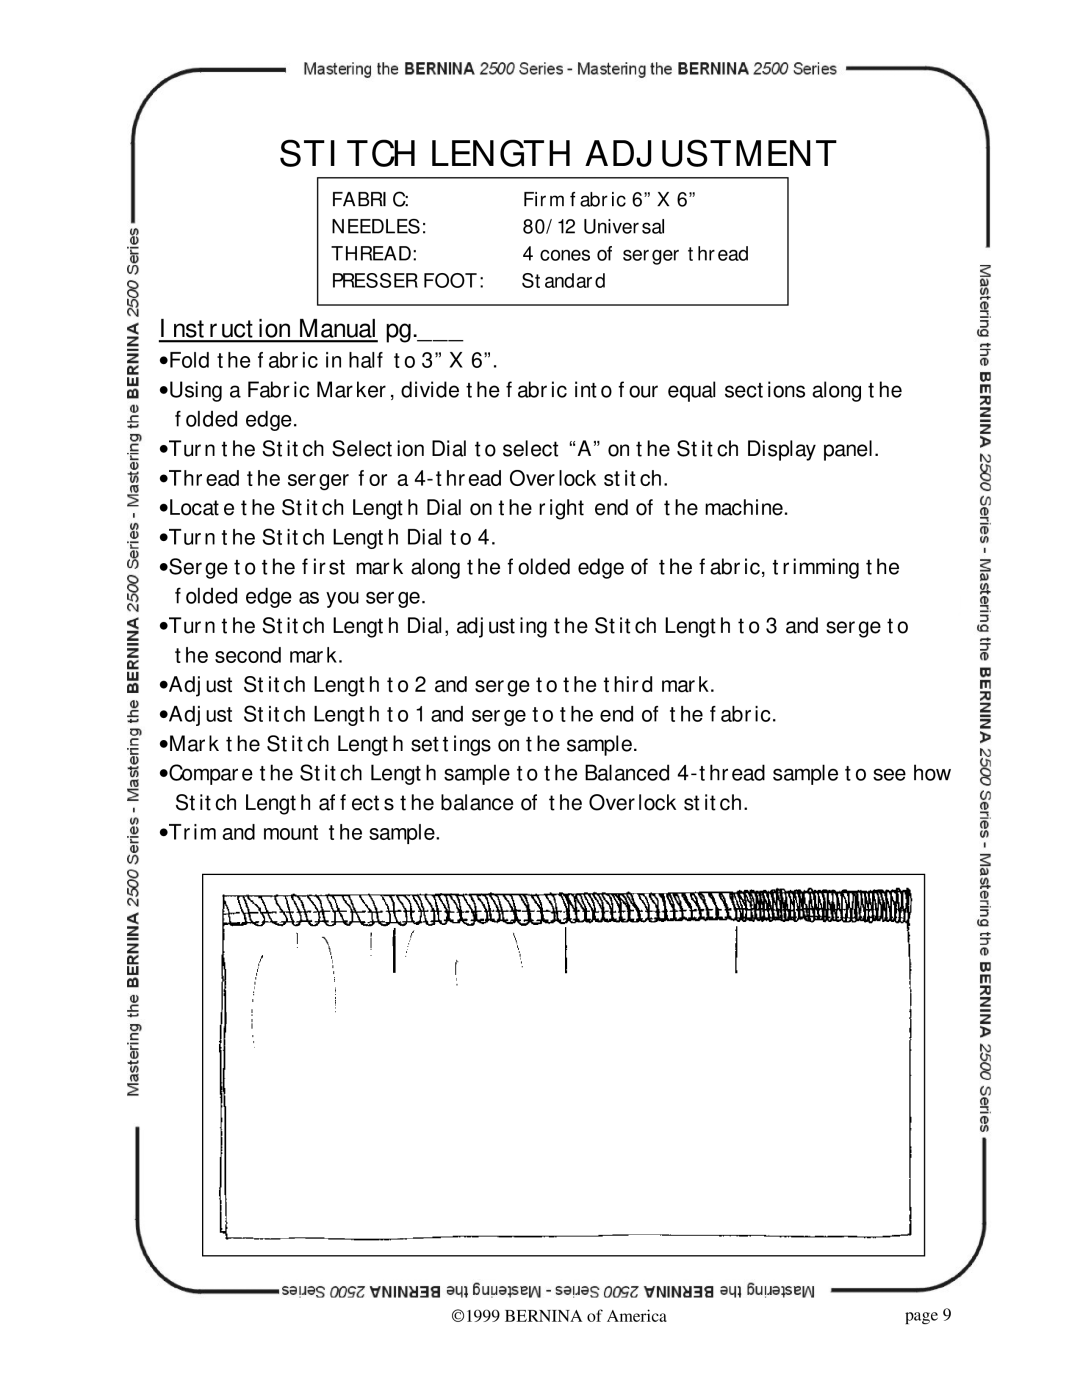
The Bernina 2500 boasts an intuitive user interface that simplifies the sewing process. With color-coded threading paths, needle threading is a breeze. The model includes a built-in needle threader, which speeds up setup time and reduces frustration when preparing to sew. Additionally, the adjustable stitch length and width settings provide further customization, allowing sewists to create stitches that perfectly suit their project needs.
Among its technological innovations, the Bernina 2500 features a powerful motor that delivers consistent stitching speed and reliability. This machine can handle heavy fabrics with ease, ensuring smooth operation even under demanding conditions. The extension table is another asset, providing extra workspace for larger projects and enhancing stability during sewing.
The functionality of the Bernina 2500 is reflected in its variety of stitch options, including overlock, rolled hem, and flatlock stitches. These stitches promote creativity and allow users to achieve professional-quality finishes on their projects. The efficient cutting blade ensures a clean edge, and adjustments can easily be made for different stitch types.
Constructed with durability in mind, the Bernina 2500 comes with a robust chassis and high-quality components, making it a long-lasting addition to any sewing room. With its combination of advanced technology, user-friendly features, and the ability to tackle a variety of materials and techniques, the Bernina 2500 is a valuable machine for anyone looking to elevate their sewing skills and produce high-quality work. Whether you're working on simple hems or intricate designs, this serger is designed to meet and exceed expectations, making it a must-have for serious sewers.

