DCME10.Pub178918RV01 3/16/05 12:08 PM Page 6
SETTING THE CLOCK (D)
1.Plug in the unit. The digital display clock flashes 12:00 a.m. until the correct time is set.
2.Press the Hour button until the correct a.m. or p.m. hour is reached. The letters PM appear in the upper left corner of the display.
3.Press the Min button until the correct minutes are reached.
4.When the correct Hour and Min are set, the two dots between the hour and minute flash indicating that the time is set.
Note: Unplugging the unit will reset the clock to 12:00.
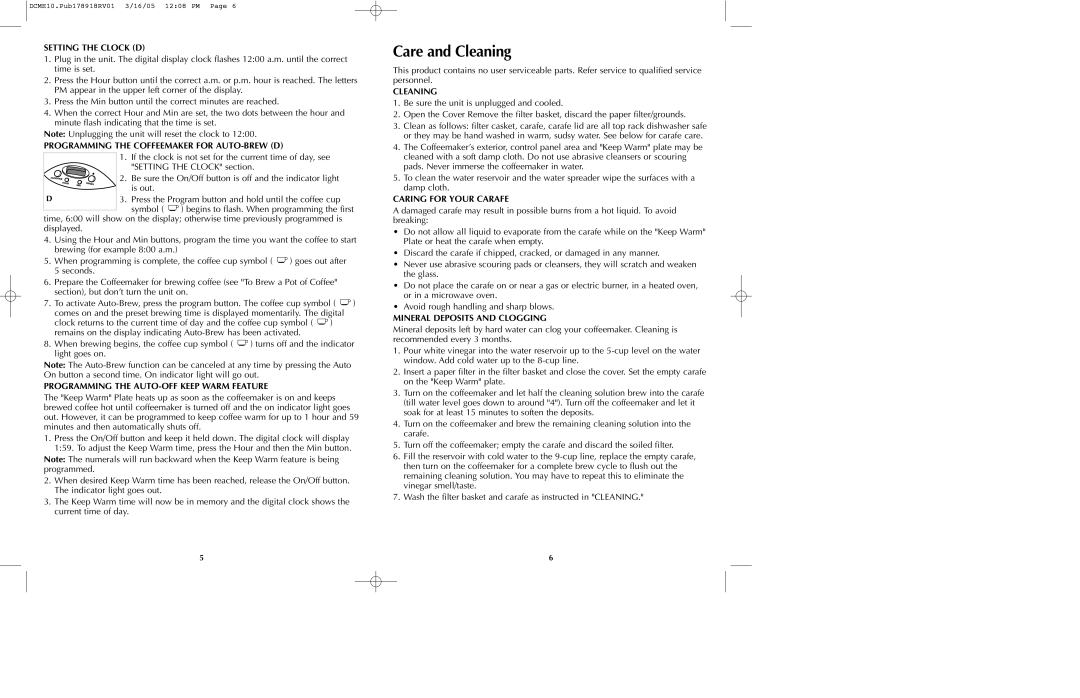
PROGRAMMING THE COFFEEMAKER FOR AUTO-BREW (D)
1.If the clock is not set for the current time of day, see "SETTING THE CLOCK" section.
| 2. | Be sure the On/Off button is off and the indicator light |
| | is out. | |
D | 3. | Press the Program button and hold until the coffee cup |
| | symbol ( | ) begins to flash. When programming the first |
time, 6:00 will show on the display; otherwise time previously programmed is displayed.
4.Using the Hour and Min buttons, program the time you want the coffee to start brewing (for example 8:00 a.m.)
5.When programming is complete, the coffee cup symbol (  ) goes out after 5 seconds.
6.Prepare the Coffeemaker for brewing coffee (see "To Brew a Pot of Coffee" section), but don’t turn the unit on.
7.To activate Auto-Brew, press the program button. The coffee cup symbol (  ) comes on and the preset brewing time is displayed momentarily. The digital
clock returns to the current time of day and the coffee cup symbol (  ) remains on the display indicating Auto-Brew has been activated.
8.When brewing begins, the coffee cup symbol (  ) turns off and the indicator light goes on.
Note: The Auto-Brew function can be canceled at any time by pressing the Auto On button a second time. On indicator light will go out.
PROGRAMMING THE AUTO-OFF KEEP WARM FEATURE
The "Keep Warm" Plate heats up as soon as the coffeemaker is on and keeps brewed coffee hot until coffeemaker is turned off and the on indicator light goes out. However, it can be programmed to keep coffee warm for up to 1 hour and 59 minutes and then automatically shuts off.
1.Press the On/Off button and keep it held down. The digital clock will display 1:59. To adjust the Keep Warm time, press the Hour and then the Min button.
Note: The numerals will run backward when the Keep Warm feature is being programmed.
2.When desired Keep Warm time has been reached, release the On/Off button. The indicator light goes out.
3.The Keep Warm time will now be in memory and the digital clock shows the current time of day.
Care and Cleaning
This product contains no user serviceable parts. Refer service to qualified service personnel.
CLEANING
1.Be sure the unit is unplugged and cooled.
2.Open the Cover Remove the filter basket, discard the paper filter/grounds.
3.Clean as follows: filter casket, carafe, carafe lid are all top rack dishwasher safe or they may be hand washed in warm, sudsy water. See below for carafe care.
4.The Coffeemaker’s exterior, control panel area and "Keep Warm" plate may be cleaned with a soft damp cloth. Do not use abrasive cleansers or scouring pads. Never immerse the coffeemaker in water.
5.To clean the water reservoir and the water spreader wipe the surfaces with a damp cloth.
CARING FOR YOUR CARAFE
A damaged carafe may result in possible burns from a hot liquid. To avoid breaking:
•Do not allow all liquid to evaporate from the carafe while on the "Keep Warm" Plate or heat the carafe when empty.
•Discard the carafe if chipped, cracked, or damaged in any manner.
•Never use abrasive scouring pads or cleansers, they will scratch and weaken the glass.
•Do not place the carafe on or near a gas or electric burner, in a heated oven, or in a microwave oven.
•Avoid rough handling and sharp blows.
MINERAL DEPOSITS AND CLOGGING
Mineral deposits left by hard water can clog your coffeemaker. Cleaning is recommended every 3 months.
1.Pour white vinegar into the water reservoir up to the 5-cup level on the water window. Add cold water up to the 8-cup line.
2.Insert a paper filter in the filter basket and close the cover. Set the empty carafe on the "Keep Warm" plate.
3.Turn on the coffeemaker and let half the cleaning solution brew into the carafe (till water level goes down to around "4"). Turn off the coffeemaker and let it soak for at least 15 minutes to soften the deposits.
4.Turn on the coffeemaker and brew the remaining cleaning solution into the carafe.
5.Turn off the coffeemaker; empty the carafe and discard the soiled filter.
6.Fill the reservoir with cold water to the 9-cup line, replace the empty carafe, then turn on the coffeemaker for a complete brew cycle to flush out the remaining cleaning solution. You may have to repeat this to eliminate the vinegar smell/taste.
7.Wash the filter basket and carafe as instructed in "CLEANING."