TRO4200B specifications
The Black & Decker TRO4200B is a versatile and efficient toaster oven that has gained popularity among home cooks for its robust features and user-friendly design. Combining modern technology with practicality, this countertop appliance serves not just as a toaster oven, but as a multi-functional cooking tool suitable for various culinary tasks.One of the standout features of the TRO4200B is its spacious interior, which can easily accommodate a 9-inch pizza or multiple slices of bread, making it an ideal choice for families or individuals who often entertain guests. The appliance is designed with a sleek black finish, ensuring it seamlessly integrates into any kitchen decor while maintaining a compact footprint.
The Black & Decker TRO4200B comes equipped with six cooking functions: bake, broil, toast, keep warm, and two additional settings for reheating and convection. This array of options allows users to prepare a wide range of meals, from crispy toast to perfectly baked casseroles. The convection feature circulates hot air to ensure even cooking and browning, enhancing the results whether you're roasting vegetables or baking cookies.
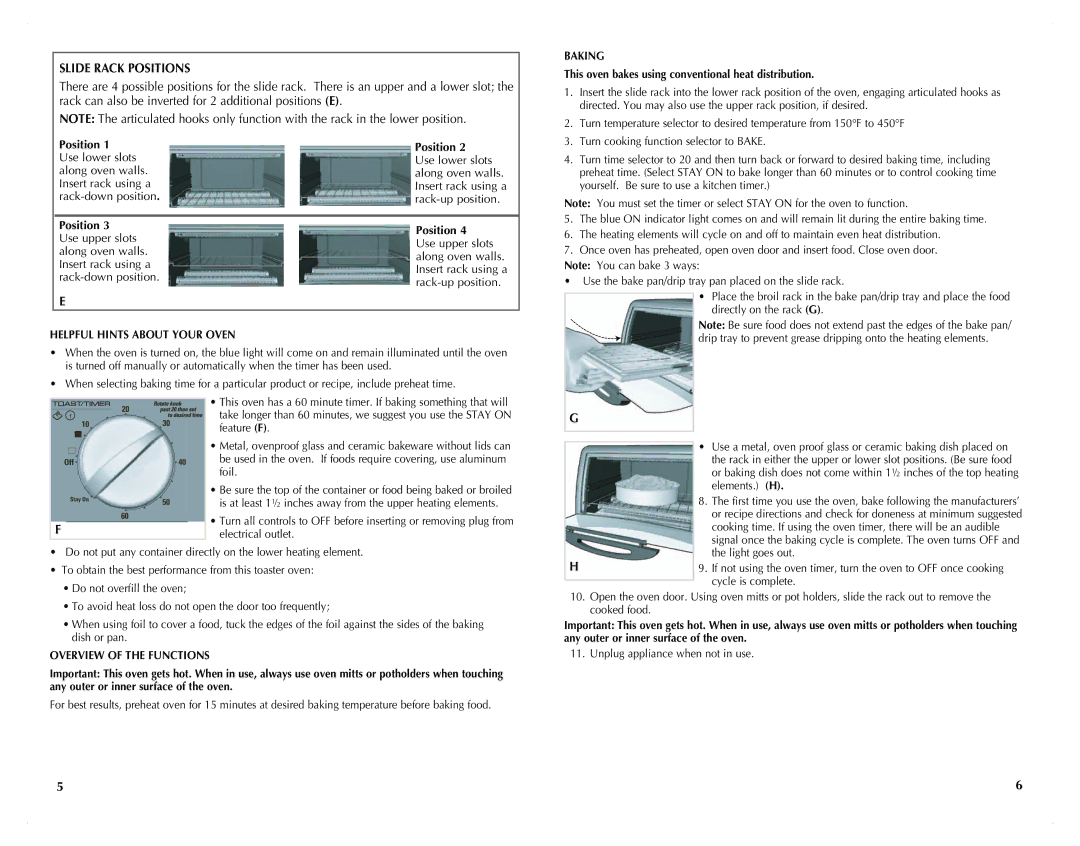
Featuring an easy-to-use control panel, the TRO4200B includes dials for temperature setting and cooking time, allowing for precise adjustments to achieve the desired results. The temperature can be set up to 450°F, accommodating various recipes and cooking styles. Additionally, the 30-minute timer with a signal bell alerts users when their food is ready, preventing overcooking or burning.
Safety is a priority with the TRO4200B, which includes a removable crumb tray that simplifies cleaning and maintains hygiene in your kitchen. The oven also has a cool-touch handle, ensuring safe operation without the risk of burns, even during high-temperature cooking sessions.
Overall, the Black & Decker TRO4200B is a marvelous addition to any kitchen. Its combination of multiple cooking functions, user-friendly design, and efficient performance makes it a valuable tool for any home chef. Whether you're toasting a quick breakfast or preparing a family-sized dinner, this toaster oven delivers versatility and convenience, proving that good things come packed in compact packages.

