LINE SHARE 120H
3.3 Placing the Line Share 120H
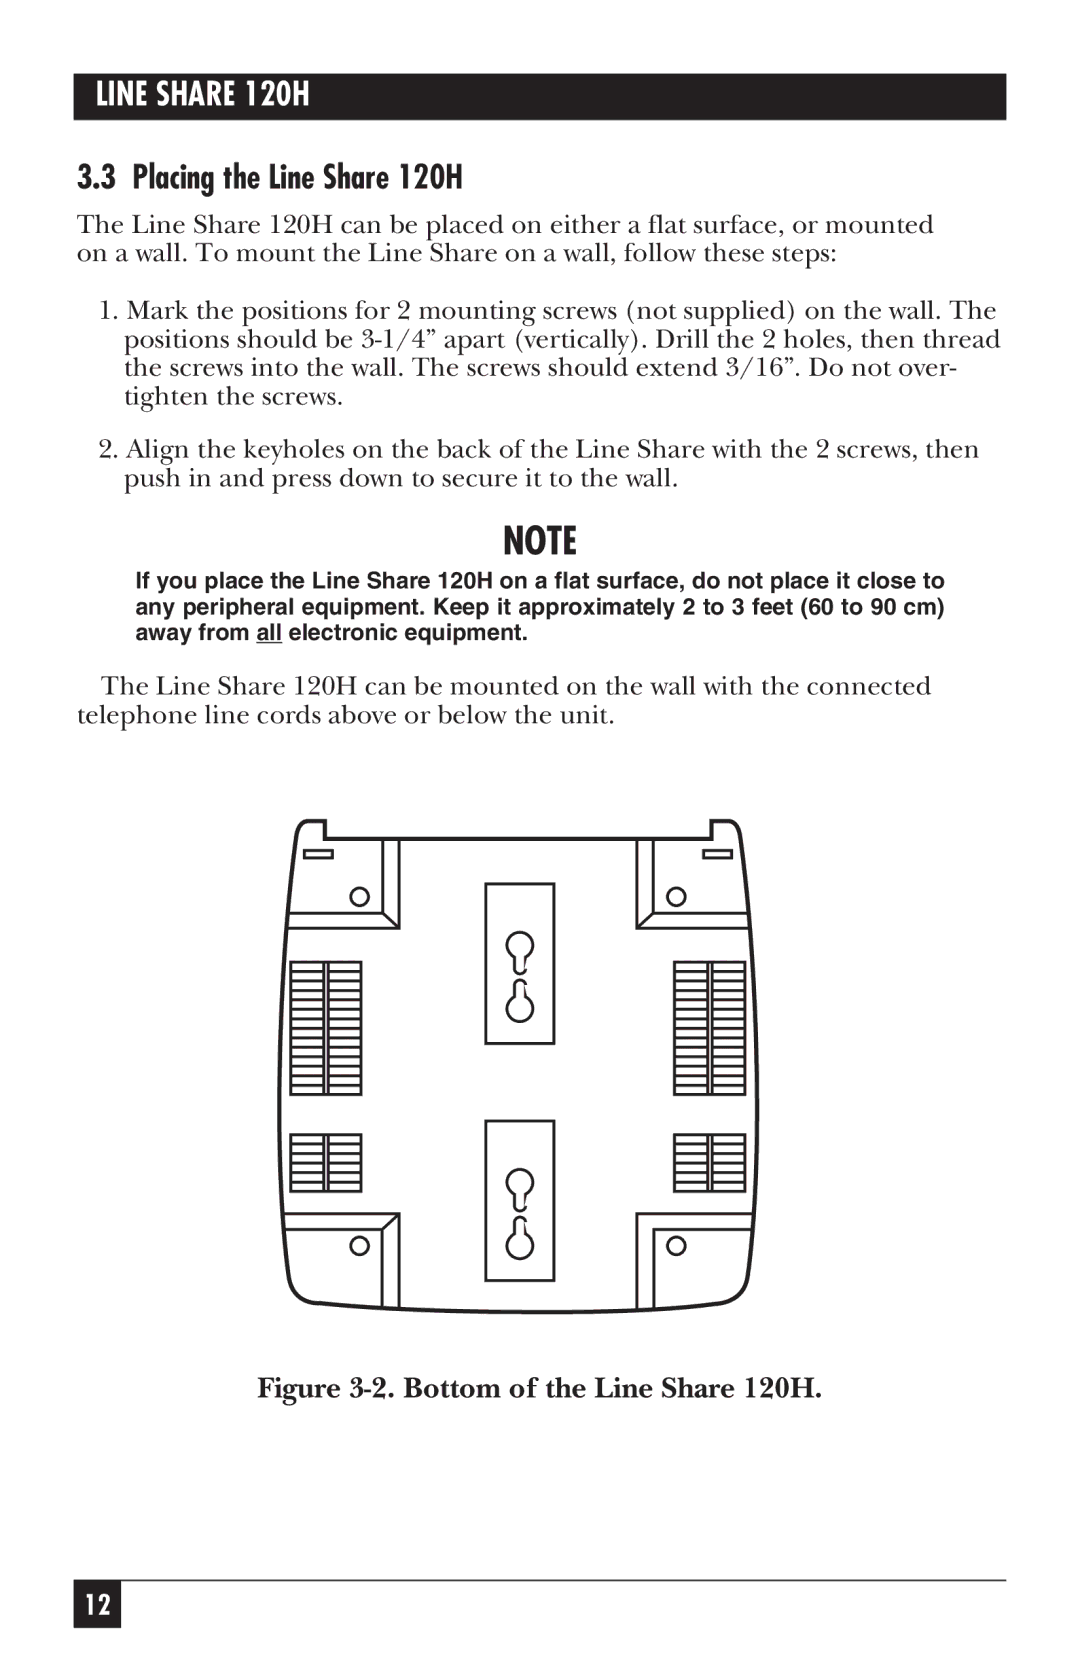
The Line Share 120H can be placed on either a flat surface, or mounted on a wall. To mount the Line Share on a wall, follow these steps:
1.Mark the positions for 2 mounting screws (not supplied) on the wall. The positions should be
2.Align the keyholes on the back of the Line Share with the 2 screws, then push in and press down to secure it to the wall.
NOTE
If you place the Line Share 120H on a flat surface, do not place it close to any peripheral equipment. Keep it approximately 2 to 3 feet (60 to 90 cm) away from all electronic equipment.
The Line Share 120H can be mounted on the wall with the connected telephone line cords above or below the unit.
Figure 3-2. Bottom of the Line Share 120H.
12