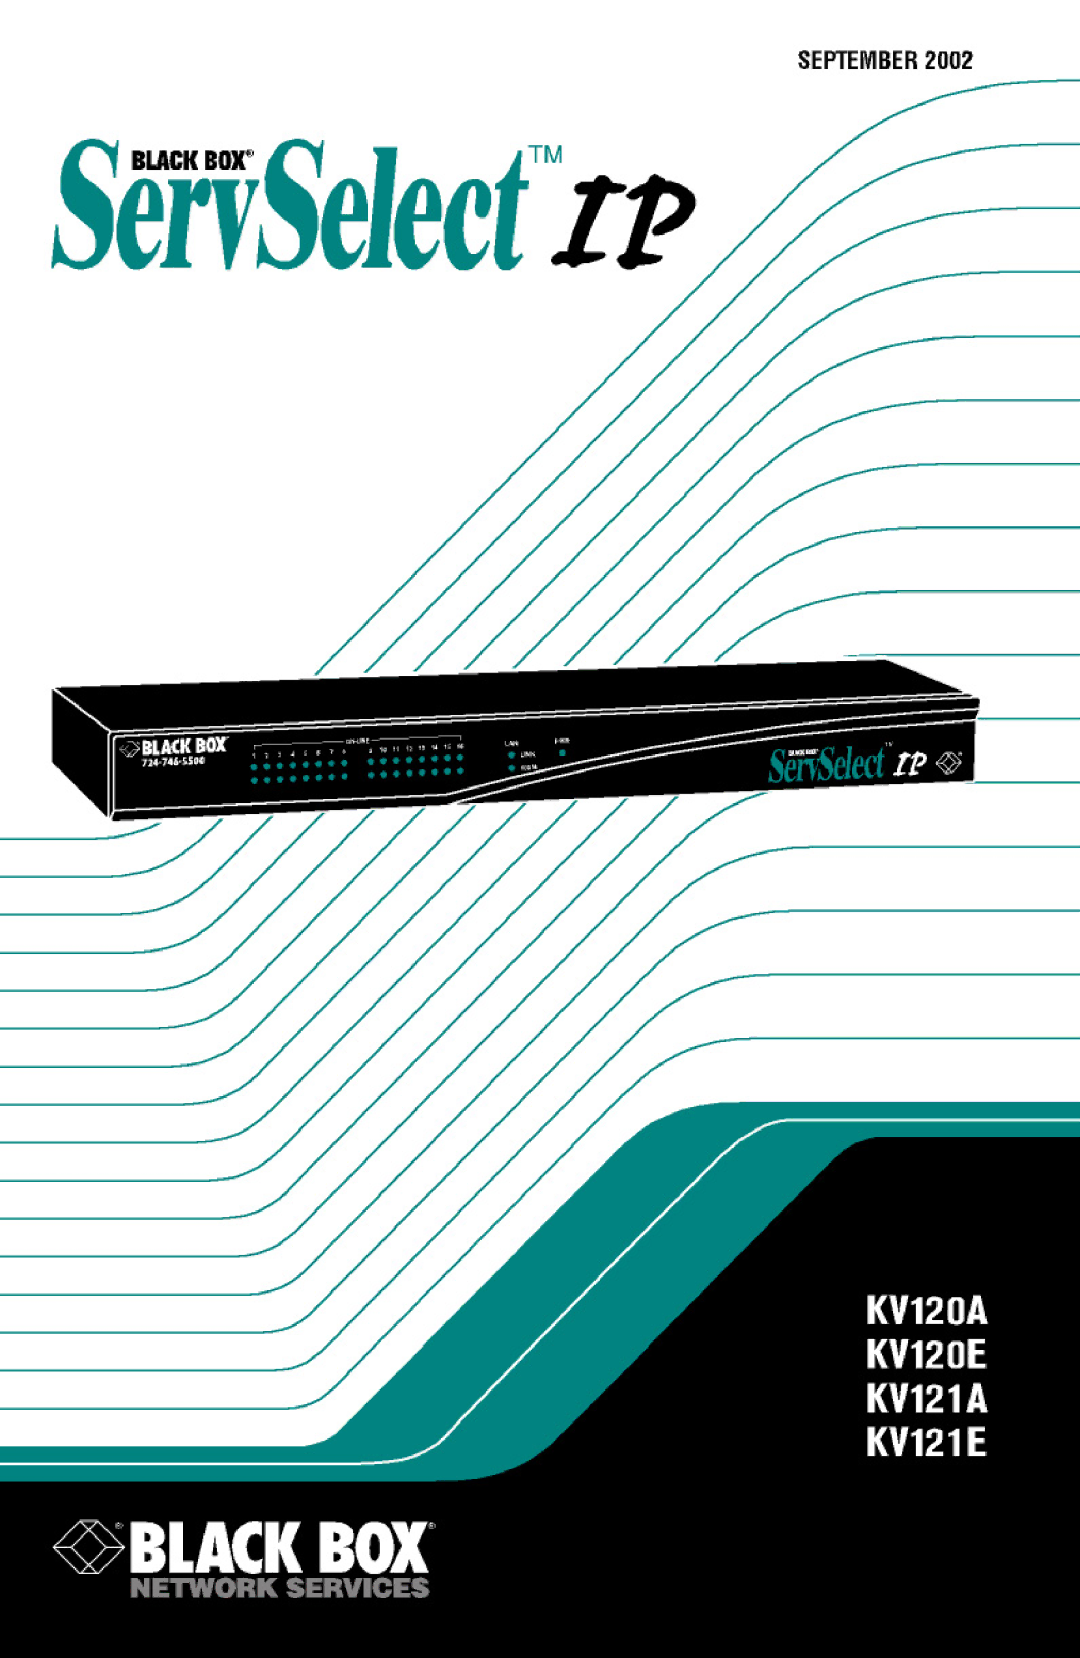
KV120A, KV212E, KV120E specifications
The Black Box KV120E, KV212E, and KV120A are innovative KVM (Keyboard, Video, Mouse) solutions that bring seamless control to various IT environments. These devices are particularly suited for computer rooms, data centers, and remote server management where efficiency and reliability are paramount.The KV120E is a compact 2-port KVM switch that allows users to control two computers from a single console. It features an easy-to-use interface that simplifies operations, ensuring users can switch between computers with minimal effort. It supports a maximum resolution of up to 1920 x 1200, ensuring excellent video quality for detailed screens. Its hot-key switching capability allows users to switch seamlessly between connected systems using keyboard shortcuts, a feature that significantly boosts productivity.
The KV212E model expands on this functionality by offering 2-port switching with dual-monitor support, perfect for users requiring extensive screen real estate. This model handles resolutions up to 2560 x 1600, catering to high-definition displays and intensive graphical applications. The KV212E also features advanced EDID (Extended Display Identification Data) emulation, ensuring that display settings remain consistent even when switching between computers. In addition, it supports USB and PS/2 connections, making it versatile for various environments and setups.
Similarly, the KV120A model is a 2-port KVM switch that emphasizes reliability and ease of use. Like its counterparts, it allows for quick toggling between computers and supports a high-resolution output. The KV120A incorporates audio support, allowing users to manage audio sources effectively alongside their visual displays. This feature is particularly useful in setups where multimedia presentation or audio monitoring is required.
All three models boast robust build quality, ensuring long-term durability in demanding environments. With simple plug-and-play installation, users can set them up quickly without additional software or complicated configurations. Moreover, their compact designs allow them to fit easily within standard server racks, optimizing space usage.
In conclusion, the Black Box KV120E, KV212E, and KV120A KVM switches offer critical functionality for IT professionals. Their advanced features help streamline operations in multi-computer environments, enhancing productivity while maintaining an effortless user experience. Whether managing two computers or requiring dual-monitor output, these models fulfill the diverse needs of today's tech-savvy users.