Black Box PG-VGA manual Installation 3.1 Read These Notes First, Using the Pattern Generator, Page

Models: BLACK BOX Pattern GeneratorVGA PG-VGA

1 24
Download 24 pages 1.12 Kb
Page 10
Image 10
3. Installation

Pattern Generator—VGA

3. Installation

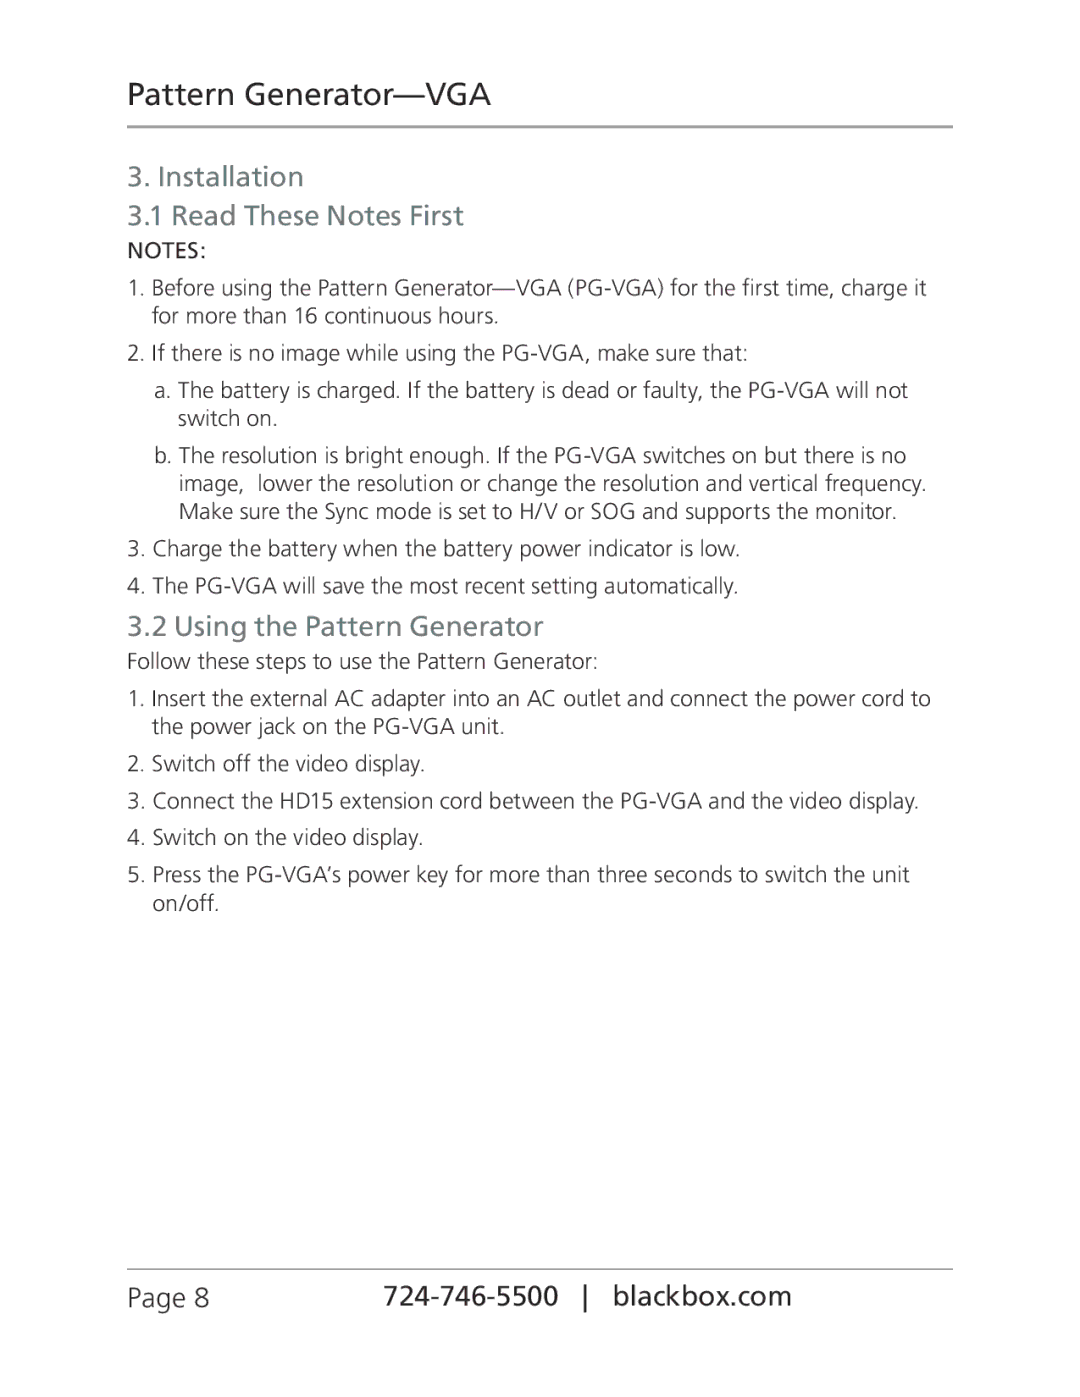
3.1 Read These Notes First

NOTES:

1.Before using the Pattern Generator—VGA (PG-VGA) for the first time, charge it for more than 16 continuous hours.

2.If there is no image while using the PG-VGA, make sure that:

a.The battery is charged. If the battery is dead or faulty, the PG-VGA will not switch on.

b.The resolution is bright enough. If the PG-VGA switches on but there is no image, lower the resolution or change the resolution and vertical frequency. Make sure the Sync mode is set to H/V or SOG and supports the monitor.

3.Charge the battery when the battery power indicator is low.

4.The PG-VGA will save the most recent setting automatically.

3.2 Using the Pattern Generator

Follow these steps to use the Pattern Generator:

1.Insert the external AC adapter into an AC outlet and connect the power cord to the power jack on the PG-VGA unit.

2.Switch off the video display.

3.Connect the HD15 extension cord between the PG-VGA and the video display.

4.Switch on the video display.

5.Press the PG-VGA’s power key for more than three seconds to switch the unit on/off.

Page 8

724-746-5500 blackbox.com

Page 10
Image 10
Black Box PG-VGA manual Installation 3.1 Read These Notes First, Using the Pattern Generator, Pattern Generator-VGA, Page