Chapter 5: Operation and Control
5.0Operation and Control
5.1RS-232, LAN, and Third-Party Control
The unit can be controlled one of four ways:
•Using controls on the front panel
•With the Remote Control unit that is provided with the Matrix Switch
•Using a PC and Black Box‘s software controller.
•Using the
5.2 Front Control/Operation
LCD display:
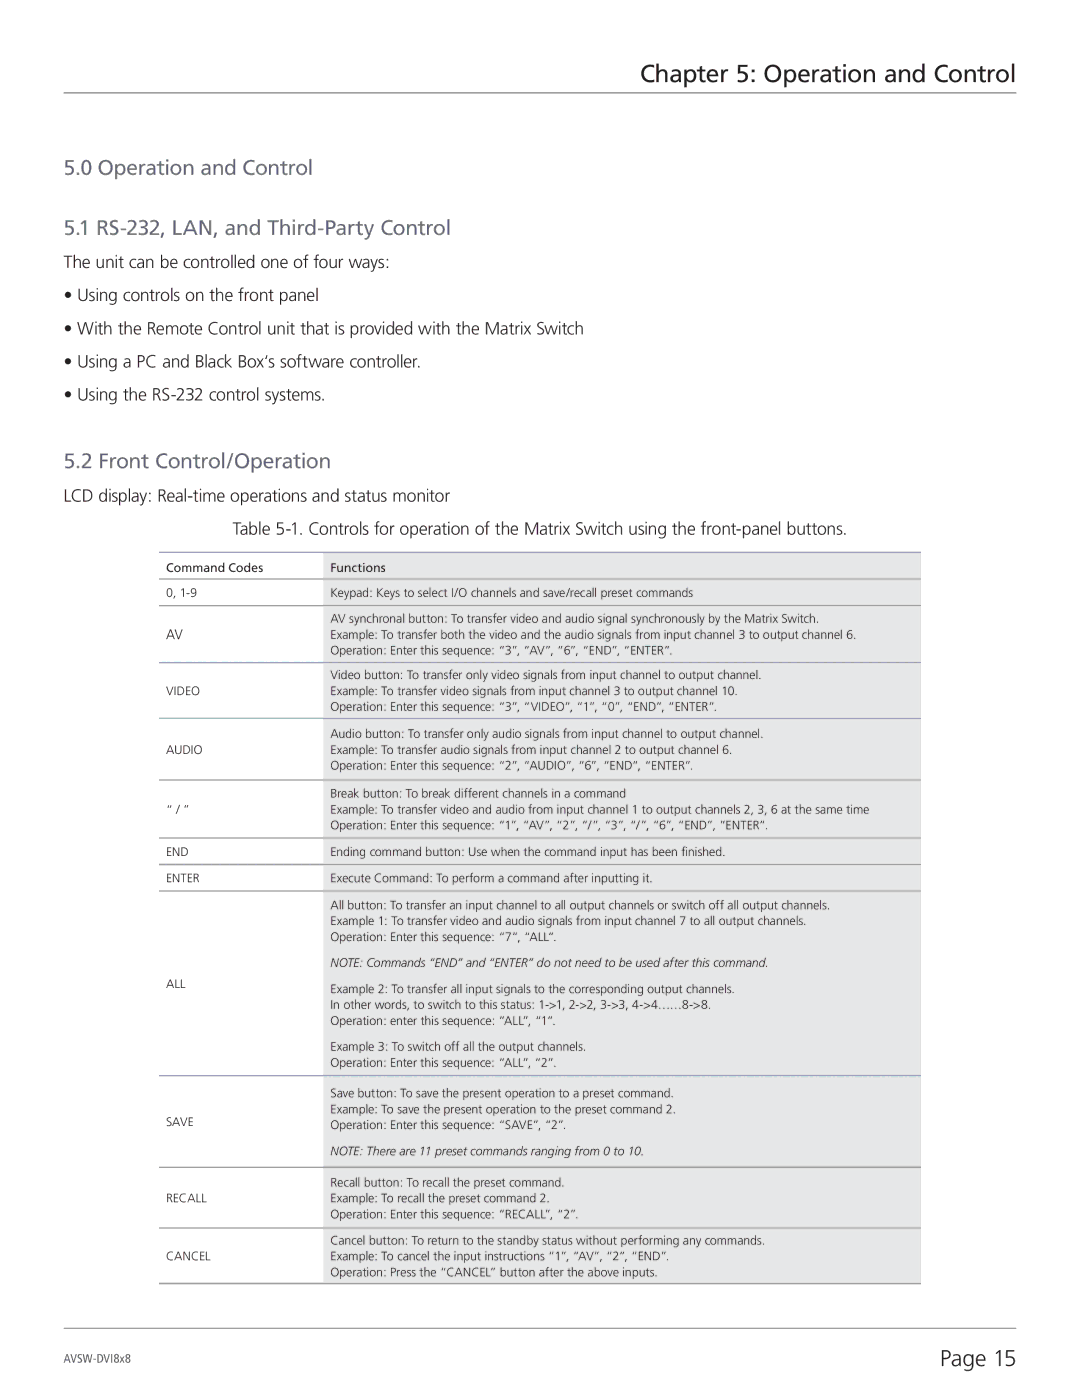
Table
Command Codes | Functions |
|
|
0, | Keypad: Keys to select I/O channels and save/recall preset commands |
|
|
| AV synchronal button: To transfer video and audio signal synchronously by the Matrix Switch. |
AV | Example: To transfer both the video and the audio signals from input channel 3 to output channel 6. |
| Operation: Enter this sequence: “3”, “AV”, “6”, “END”, “ENTER”. |
|
|
| Video button: To transfer only video signals from input channel to output channel. |
VIDEO | Example: To transfer video signals from input channel 3 to output channel 10. |
| Operation: Enter this sequence: “3”, “VIDEO”, “1”, “0”, “END”, “ENTER”. |
|
|
| Audio button: To transfer only audio signals from input channel to output channel. |
AUDIO | Example: To transfer audio signals from input channel 2 to output channel 6. |
| Operation: Enter this sequence: “2”, “AUDIO”, “6”, “END”, “ENTER”. |
|
|
| Break button: To break different channels in a command |
“ / ” | Example: To transfer video and audio from input channel 1 to output channels 2, 3, 6 at the same time |
| Operation: Enter this sequence: “1”, “AV”, “2”, “/”, “3”, “/”, “6”, “END”, “ENTER”. |
|
|
END | Ending command button: Use when the command input has been finished. |
|
|
ENTER | Execute Command: To perform a command after inputting it. |
|
|
| All button: To transfer an input channel to all output channels or switch off all output channels. |
| Example 1: To transfer video and audio signals from input channel 7 to all output channels. |
| Operation: Enter this sequence: “7”, “ALL“. |
| NOTE: Commands “END” and “ENTER” do not need to be used after this command. |
ALL | Example 2: To transfer all input signals to the corresponding output channels. |
| |
| In other words, to switch to this status: |
| Operation: enter this sequence: “ALL”, “1”. |
| Example 3: To switch off all the output channels. |
| Operation: Enter this sequence: “ALL”, “2”. |
|
|
| Save button: To save the present operation to a preset command. |
SAVE | Example: To save the present operation to the preset command 2. |
Operation: Enter this sequence: “SAVE”, “2”. | |
| NOTE: There are 11 preset commands ranging from 0 to 10. |
|
|
| Recall button: To recall the preset command. |
RECALL | Example: To recall the preset command 2. |
| Operation: Enter this sequence: “RECALL”, “2”. |
|
|
| Cancel button: To return to the standby status without performing any commands. |
CANCEL | Example: To cancel the input instructions “1”, “AV”, “2”, “END”. |
| Operation: Press the “CANCEL” button after the above inputs. |
|
|
Page 15 |
