8 en | |
|
|
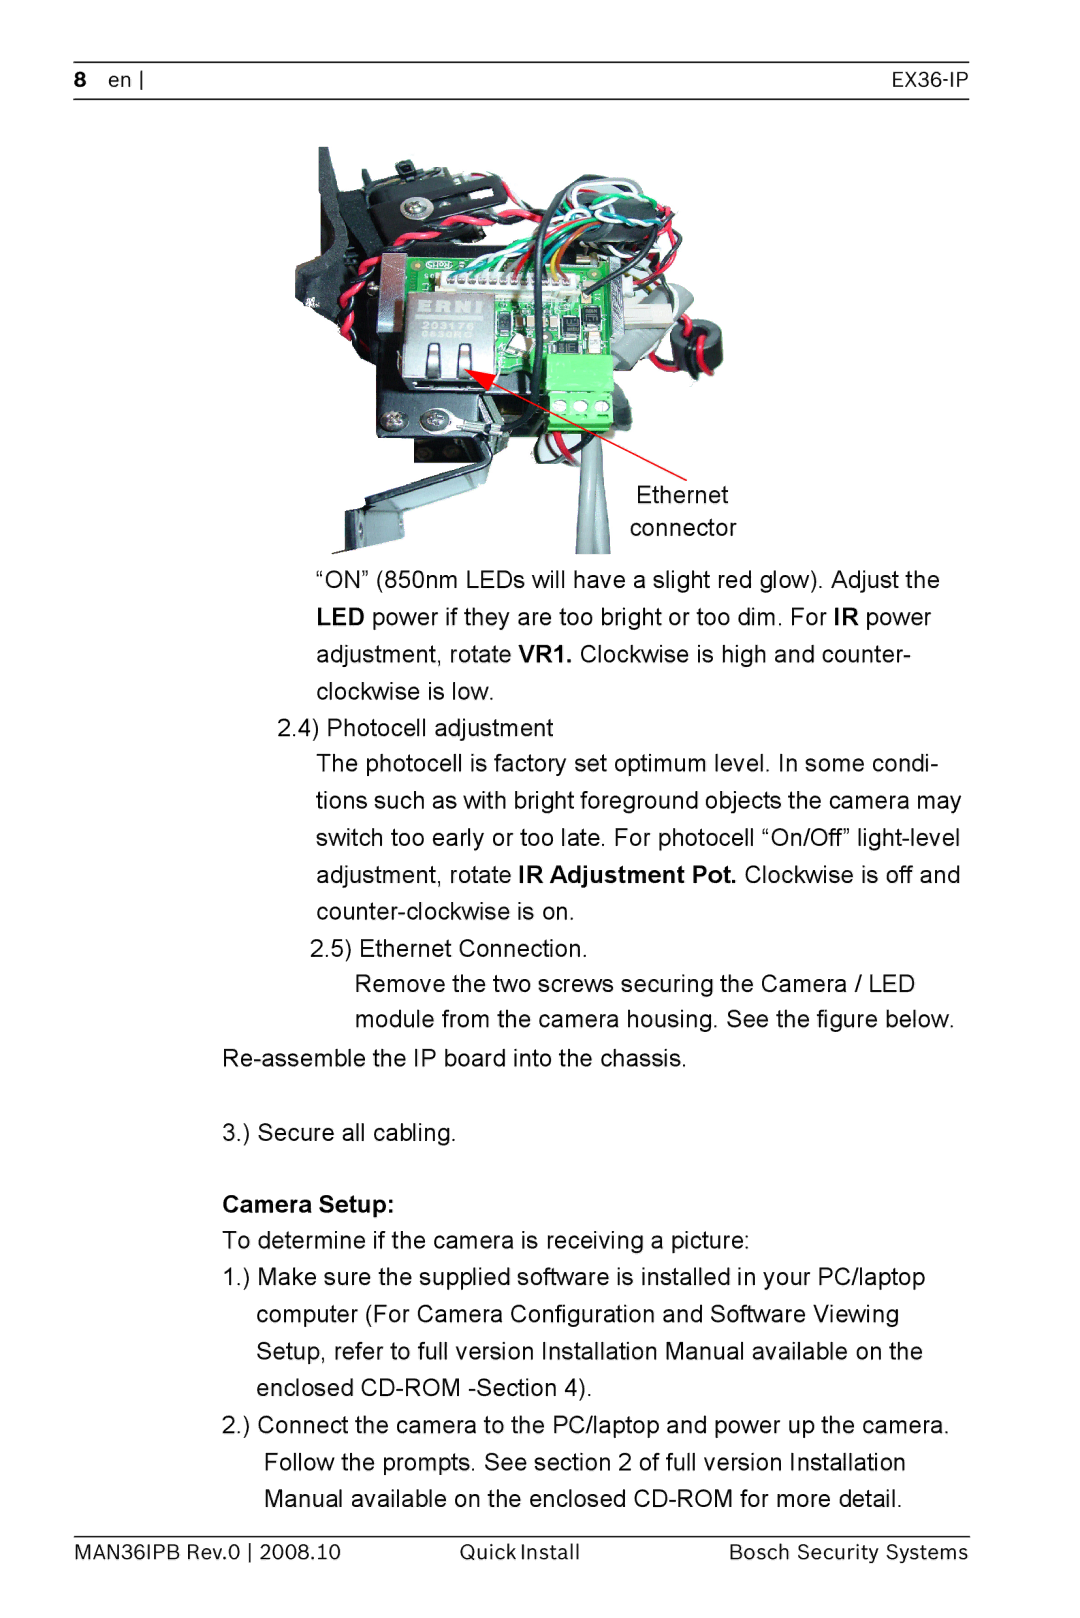
Ethernet connector
“ON” (850nm LEDs will have a slight red glow). Adjust the LED power if they are too bright or too dim. For IR power adjustment, rotate VR1. Clockwise is high and counter- clockwise is low.
2.4) Photocell adjustment
The photocell is factory set optimum level. In some condi- tions such as with bright foreground objects the camera may switch too early or too late. For photocell “On/Off”
2.5) Ethernet Connection.
Remove the two screws securing the Camera / LED module from the camera housing. See the figure below.
3.) Secure all cabling.
Camera Setup:
To determine if the camera is receiving a picture:
1.) Make sure the supplied software is installed in your PC/laptop computer (For Camera Configuration and Software Viewing Setup, refer to full version Installation Manual available on the enclosed
2.) Connect the camera to the PC/laptop and power up the camera. Follow the prompts. See section 2 of full version Installation Manual available on the enclosed
MAN36IPB Rev.0 2008.10 | Quick Install | Bosch Security Systems |