Getting Started
Table 2: Oven Control Panel
Clock– Shows the time of day with a 12 or 24 hour option. | Off - Press pad to turn off oven and/or warming drawer. | ||
Also displays the timer and times associated with delayed | Oven Temperature - Shows the oven temperature. | ||
cooking and cleaning modes. Turn the control knob to tog- | |||
Preheat Temperature - Displays temperature of oven dur- | |||
gle between timer and clock display. Press Time and turn | |||
the control knob to change the time of day or the | ing preheat mode. | ||
timer. |
| Probe Indicator (some models) - Indicates that the probe | |
|
| ||
Cooking Mode - Press pad to display cooking mode. | is properly inserted into the probe receptacle in the oven. | ||
Cooking Mode Icon – Shows the cooking burners that | Start - Press pad to complete an entry. | ||
are active for the mode that is selected. The icon will also | Temperature - Press pad to select cooking temperature. | ||
display a fan if the convection fan is utilized in the selected | |||
Time - Press pad to set or change the time of day or the | |||
mode. |
| ||
Control Knob - Used to set the clock, timers, select cook- | timer. | ||
Timer – There are two timers - TIMER 1 AND TIMER 2; | |||
ing mode and temperature. Turn clockwise to increase and | |||
turn counterclockwise to decrease. |
| Each counts down the time in hours and minutes. With | |
Light - Press pad to turn oven light on or off. | less than 60 minutes remaining, the timer also displays | ||
seconds. Press Time to access the timers. | |||
Door Locking Indicator - Icon is displayed during the | |||
Warming Drawer Indicator - Indicates that the warming | |||
drawer (some models) is on. Also displays the warming | |||
to open the door until the lock symbol is no longer present. | |||
drawer setting. | |||
|
| ||
|
|
| |
| You control the operation of the range by using the touch pads, dial and control | ||
| knobs. |
| |
| The touchpads, in conjunction with the dial, are used to select an oven mode, set | ||
| the oven temperature, set the time(s) and to set up your range. To use the touch- | ||
| pad, press the center part of the pad with the flat part of your fingertip. A beep will | ||
| sound to indicate that the selection has been made. Turn the dial to the desired | ||
| setting and press start. | ||
| The knobs are used to control the heat level of the burners. Push down and turn | ||
| to the symbol to light and then to the desired heat setting. | ||
| See the sections on Using the Cooktop, Using the Oven and Using the Warming | ||
| Drawer for detailed instructions. | ||
The Clock |
|
| |
About the Clock | • Always set the clock after installation or after a power failure. Once power | ||
| returns to the oven, the clock defaults to 12:00 am. | ||
| • The time of day is displayed in hours and minutes. | ||
| • The clock time will appear during all oven operations except when the timer is | ||
| running. |
| |
| • The oven is preset to a 12 hour clock and indicates AM and PM. To switch to | ||
| a 24 hour clock, see "Select Function” section. | ||
| • If you do not complete the operation of setting the clock, the oven will beep | ||
| periodically as a reminder to set the clock time. Press OFF to stop the beep- | ||
| ing. |
| |
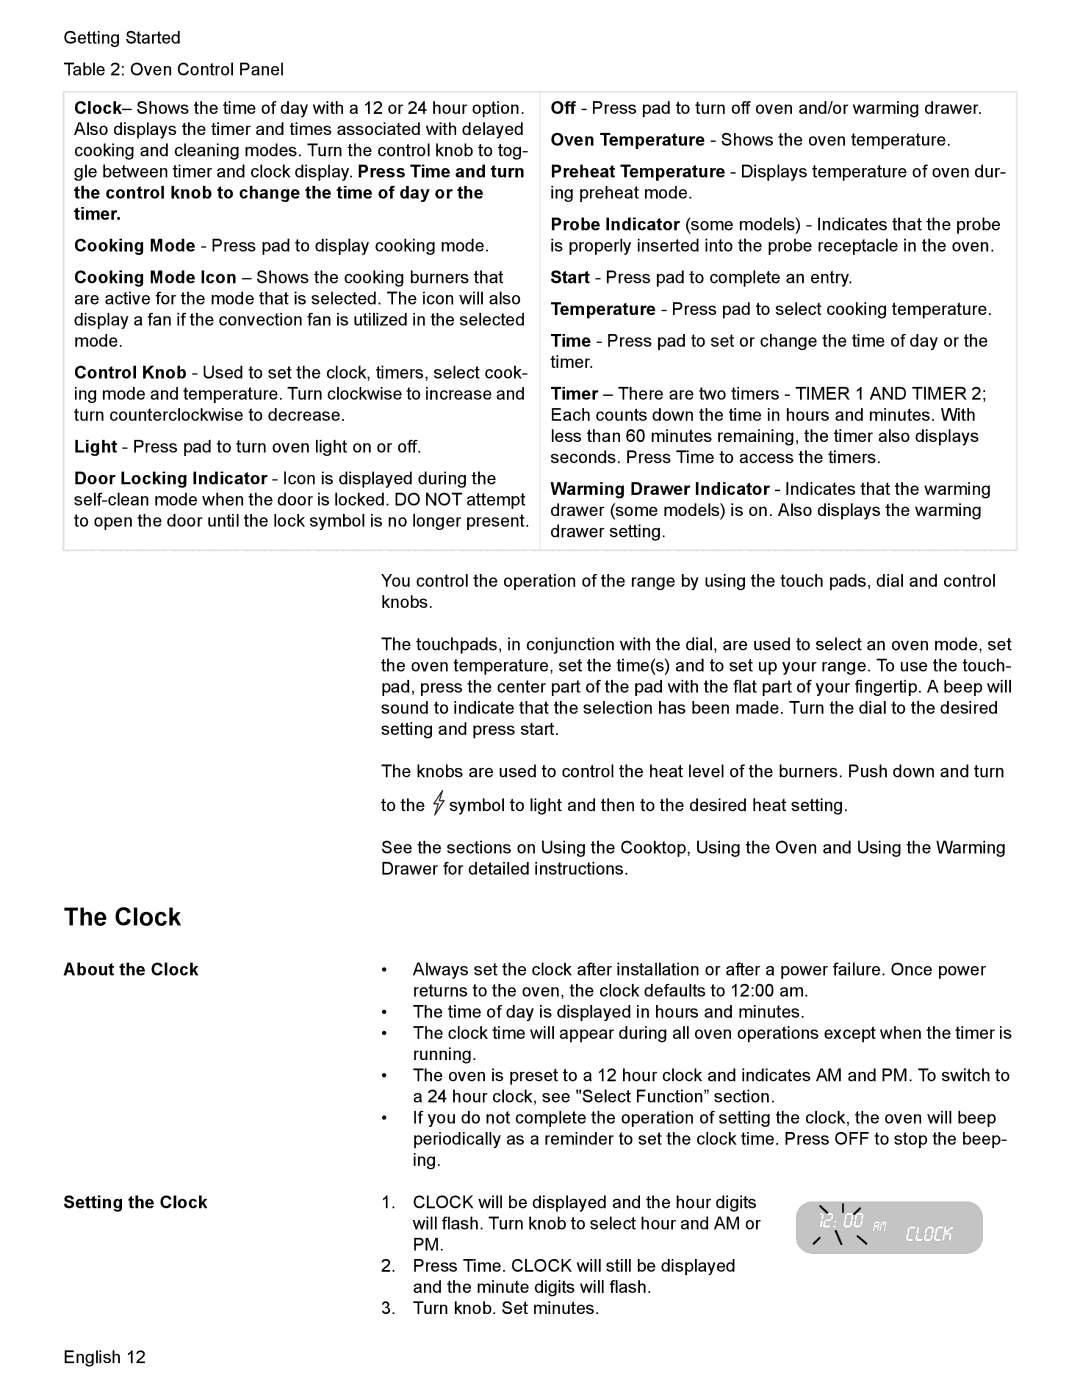
Setting the Clock | 1. CLOCK will be displayed and the hour digits | 12: |
| 00 AM |
|
|
| ||||
| will flash. Turn knob to select hour and AM or |
| CLOCK | ||
| PM. |
|
|
| |
|
|
|
|
|
2.Press Time. CLOCK will still be displayed and the minute digits will flash.
3.Turn knob. Set minutes.
English 12
