a. Check current at receptacle by plugging in a lamp or other appliance
b. Check to see if receptacle is connected to a light switch which turns power off when you turn out the lights.
c. Move charger and battery pack to a location where the surrounding air temperature is approximately 65°F - 75°F (18°- 24°C).
d. If charging problems persist, take the tool, battery pack and charger to your local service center.
4. The battery pack should be recharged when B it fails to produce sufficient power on jobs which
were easily done previously. DO NOT CONTINUE to use under these conditions. Follow the charging procedure. You may also charge a partially used pack whenever you desire with no adverse affect on the battery pack.
Installing and Removing the Battery |
|
Pack From the Tool |
|
WARNING: Make certain the |
|
engaged to prevent switch actuation before removing |
|
or installing battery. | C |
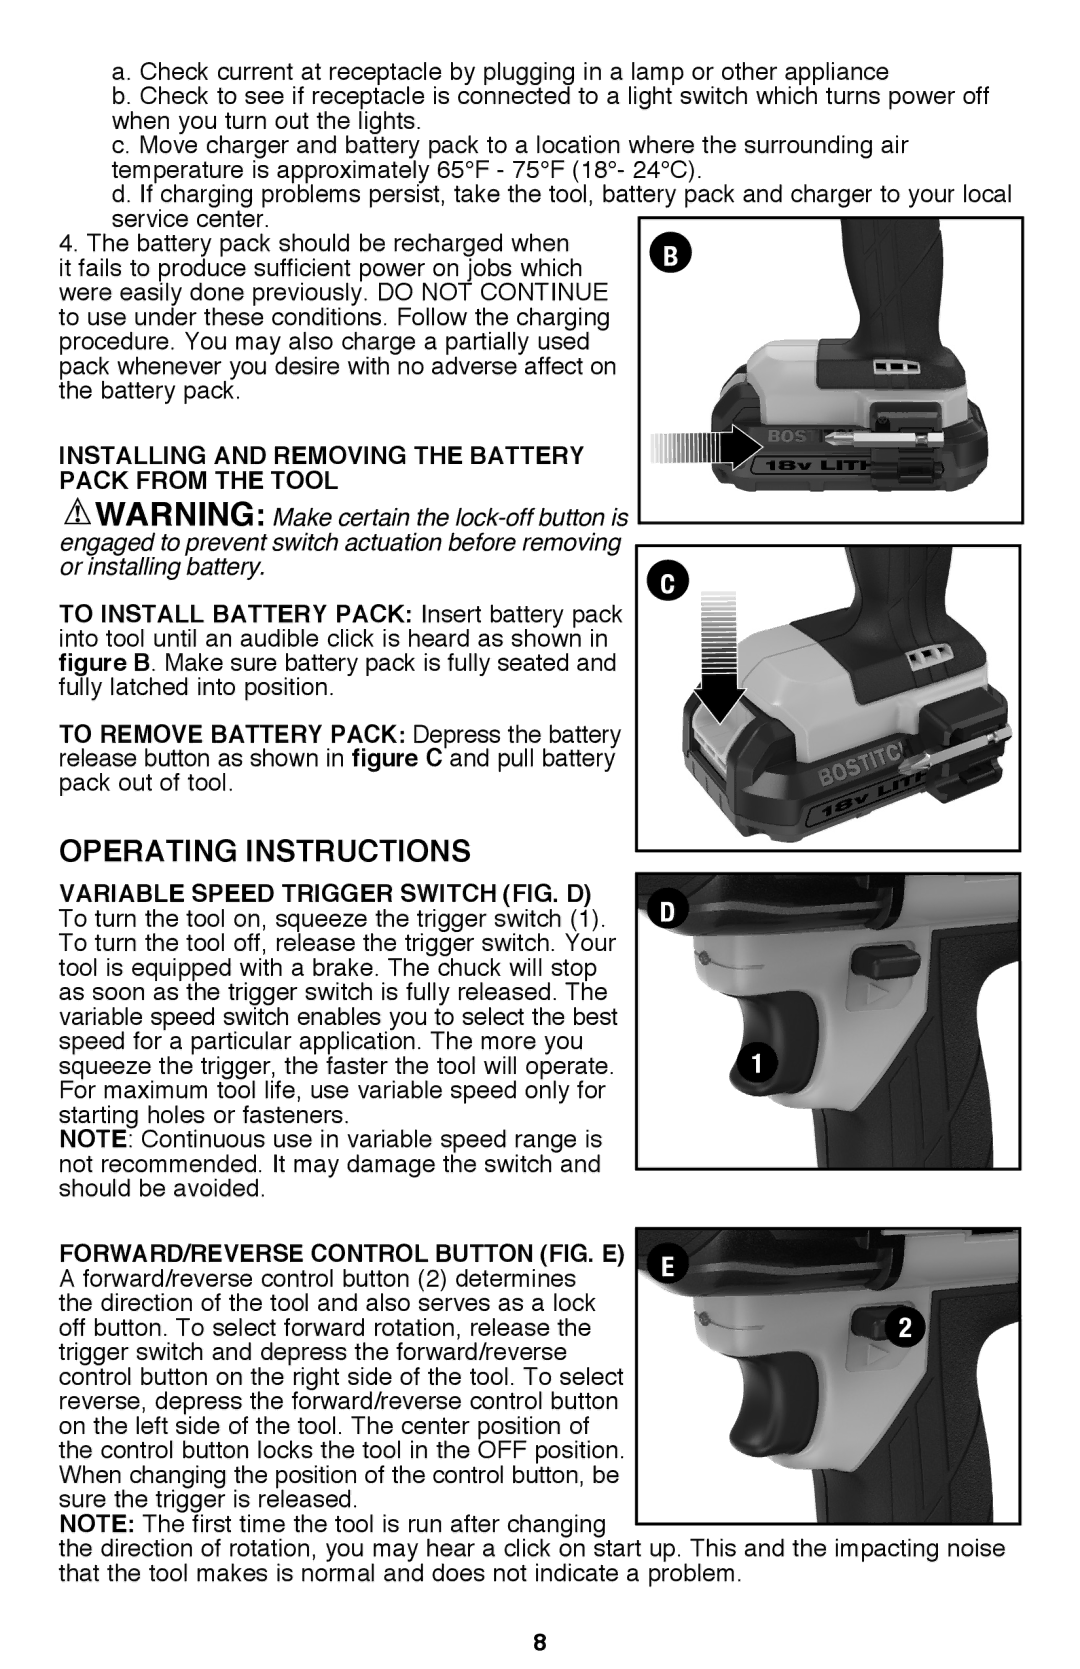
To install battery pack: Insert battery pack into tool until an audible click is heard as shown in figure B. Make sure battery pack is fully seated and fully latched into position.
To remove battery pack: Depress the battery release button as shown in figure C and pull battery pack out of tool.
Operating Instructions
Variable Speed Trigger Switch (Fig. D) To turn the tool on, squeeze the trigger switch (1). To turn the tool off, release the trigger switch. Your tool is equipped with a brake. The chuck will stop as soon as the trigger switch is fully released. The variable speed switch enables you to select the best speed for a particular application. The more you squeeze the trigger, the faster the tool will operate. For maximum tool life, use variable speed only for starting holes or fasteners.
NOTE: Continuous use in variable speed range is not recommended. It may damage the switch and should be avoided.
D
1
Forward/Reverse Control Button (Fig. E) | E |
|
A forward/reverse control button (2) determines |
| |
|
| |
the direction of the tool and also serves as a lock |
| 2 |
off button. To select forward rotation, release the |
| |
trigger switch and depress the forward/reverse |
|
|
control button on the right side of the tool. To select |
|
|
reverse, depress the forward/reverse control button |
|
|
on the left side of the tool. The center position of |
|
|
the control button locks the tool in the OFF position. |
|
|
When changing the position of the control button, be |
|
|
sure the trigger is released. |
|
|
NOTE: The first time the tool is run after changing |
|
|
|
| |
the direction of rotation, you may hear a click on start up. This and the impacting noise | ||
that the tool makes is normal and does not indicate a problem. |
| |
8