Display Controls
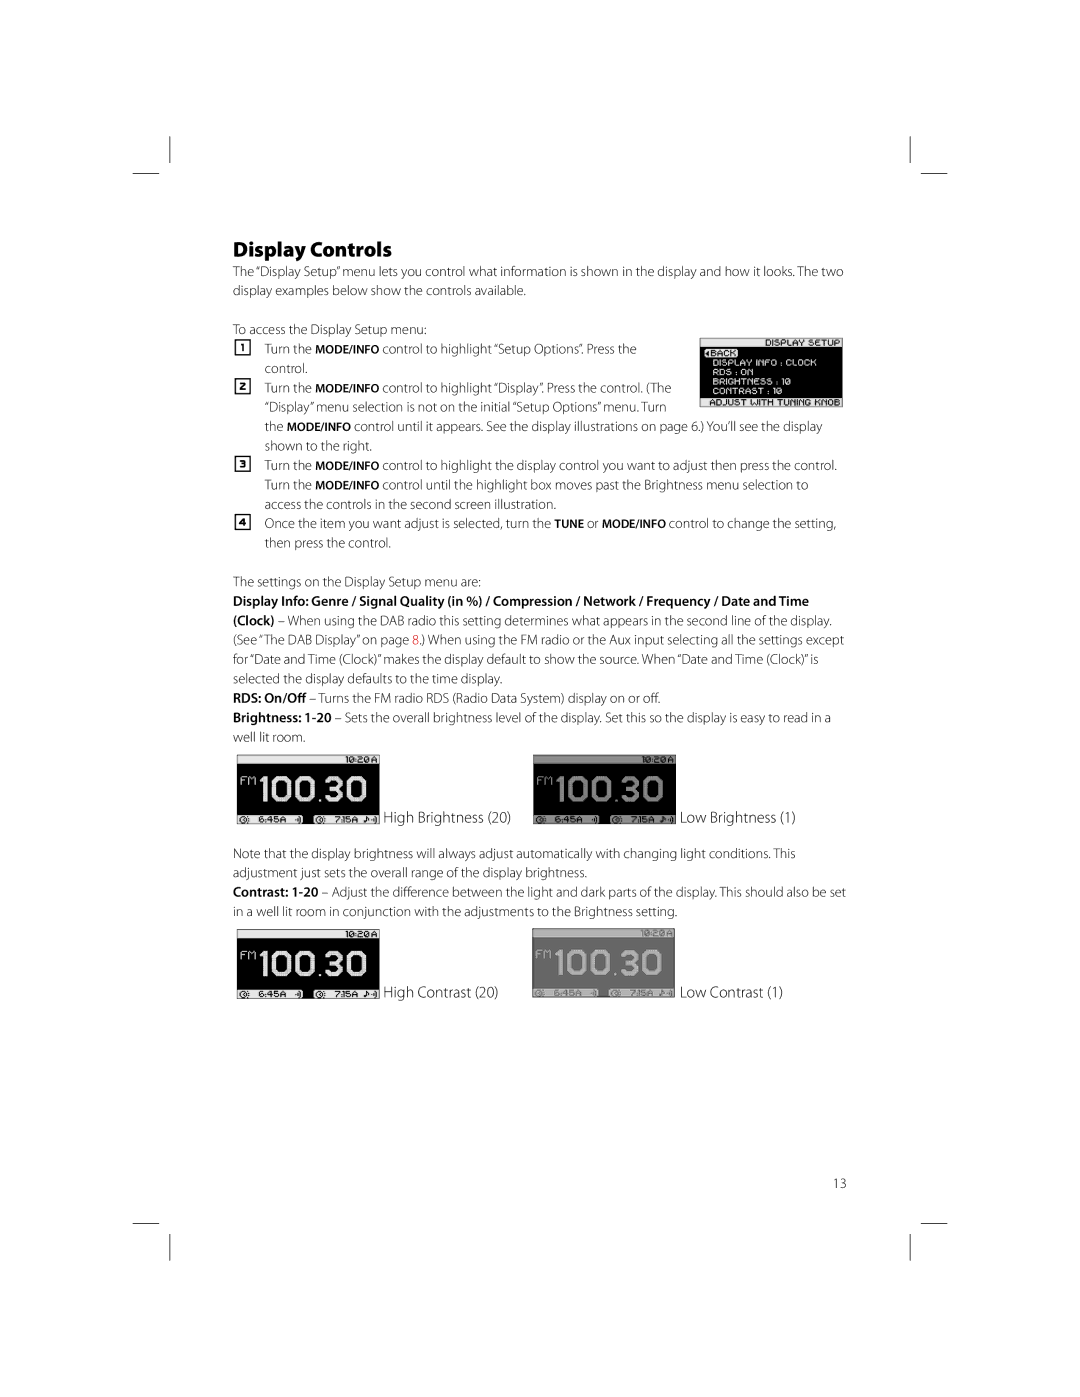
The “Display Setup” menu lets you control what information is shown in the display and how it looks. The two display examples below show the controls available.
To access the Display Setup menu:
1 Turn the MODE/INFO control to highlight “Setup Options”. Press the control.
2Turn the MODE/INFO control to highlight “Display”. Press the control. (The “Display” menu selection is not on the initial “Setup Options” menu. Turn
the MODE/INFO control until it appears. See the display illustrations on page 6.) You’ll see the display shown to the right.
3Turn the MODE/INFO control to highlight the display control you want to adjust then press the control. Turn the MODE/INFO control until the highlight box moves past the Brightness menu selection to
access the controls in the second screen illustration.
4Once the item you want adjust is selected, turn the TUNE or MODE/INFO control to change the setting, then press the control.
The settings on the Display Setup menu are:
Display Info: Genre / Signal Quality (in %) / Compression / Network / Frequency / Date and Time
(Clock) – When using the DAB radio this setting determines what appears in the second line of the display. (See “The DAB Display” on page 8.) When using the FM radio or the Aux input selecting all the settings except for “Date and Time (Clock)” makes the display default to show the source. When “Date and Time (Clock)” is selected the display defaults to the time display.
RDS: On/Off – Turns the FM radio RDS (Radio Data System) display on or off.
Brightness:
 High Brightness (20)
 Low Brightness (1)
Note that the display brightness will always adjust automatically with changing light conditions. This adjustment just sets the overall range of the display brightness.
Contrast:
High Contrast (20) |
| Low Contrast (1) |
|
13
