ASSEMBLY


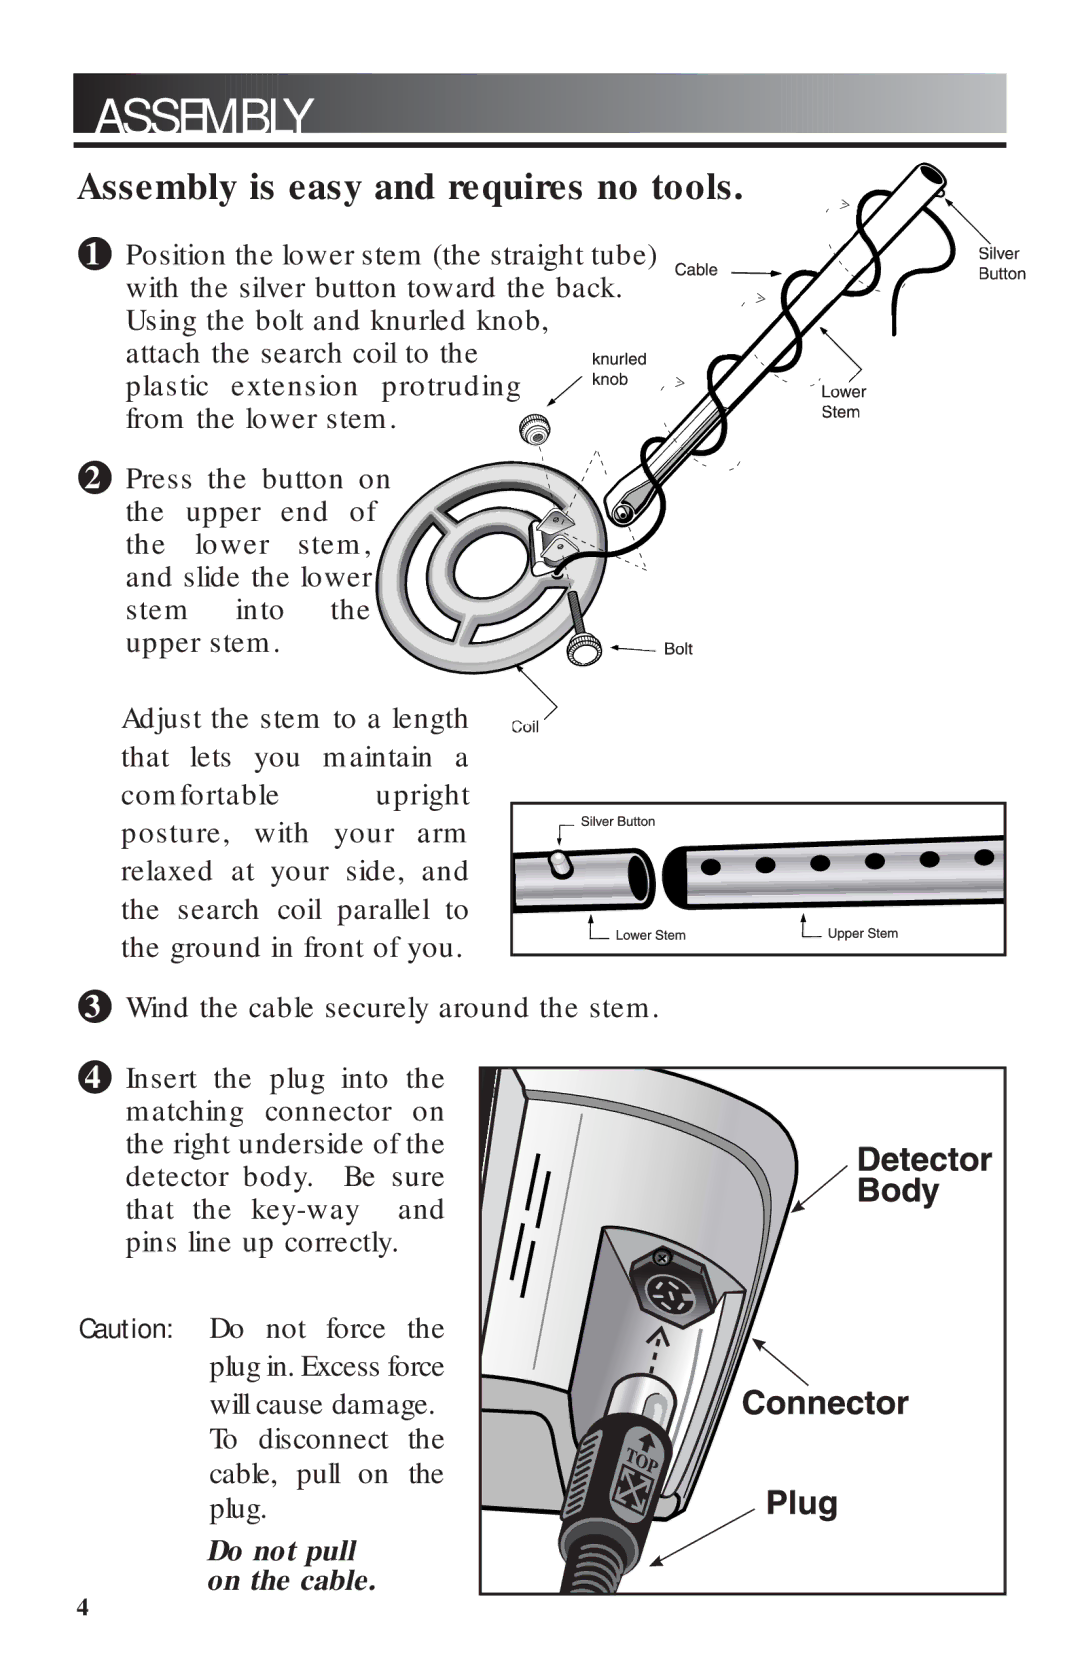
Assembly is easy and requires no tools.
●1 Position the lower stem (the straight tube) with the silver button toward the back. Using the bolt and knurled knob, attach the search coil to the ![]()
![]()
![]()
![]()
![]() plastic extension protruding
plastic extension protruding ![]()
![]()
![]() from the lower stem.
from the lower stem. ![]()
●2 Press the button on the upper end of the lower stem, and slide the lower stem into the upper stem.
Adjust the stem to a length that lets you maintain a
comfortable upright posture, with your arm relaxed at your side, and the search coil parallel to the ground in front of you.
●3 Wind the cable securely around the stem.
●4 Insert the plug into the matching connector on the right underside of the detector body. Be sure that the
Caution: Do not force the plug in. Excess force will cause damage. To disconnect the cable, pull on the plug.
Do not pull on the cable.
4