Power ON/OFF
WARNING • When the power is ON, a strong light is emitted. Do not look into the lens or vents of the projector.
NOTE • Turn the power on/off in right order. Please power on the projector before the connected devices. Power off the projector after the connected devices.
Turning On The Power
1 | Remove the lens cap. | |
| Set the power switch to [ ] (ON). | |
2 | ||
The STANDBY/ON indicator will light to solid orange. | ||
| Press the STANDBY/ON button. | |
3 | ||
The projector lamp will light up and the | ||
| STANDBY/ON indicator will begin blinking green. | |
| When the power is completely on, the indicator | |
| will stop blinking and light green. | |
| Use the LENS SHIFT buttons to shift the | |
4 | ||
picture upward or downward. | ||
| Select an input signal according to the | |
5 | ||
section “Selecting An Input Signal” of the | ||
|
|
following page.
STANDBY/ON
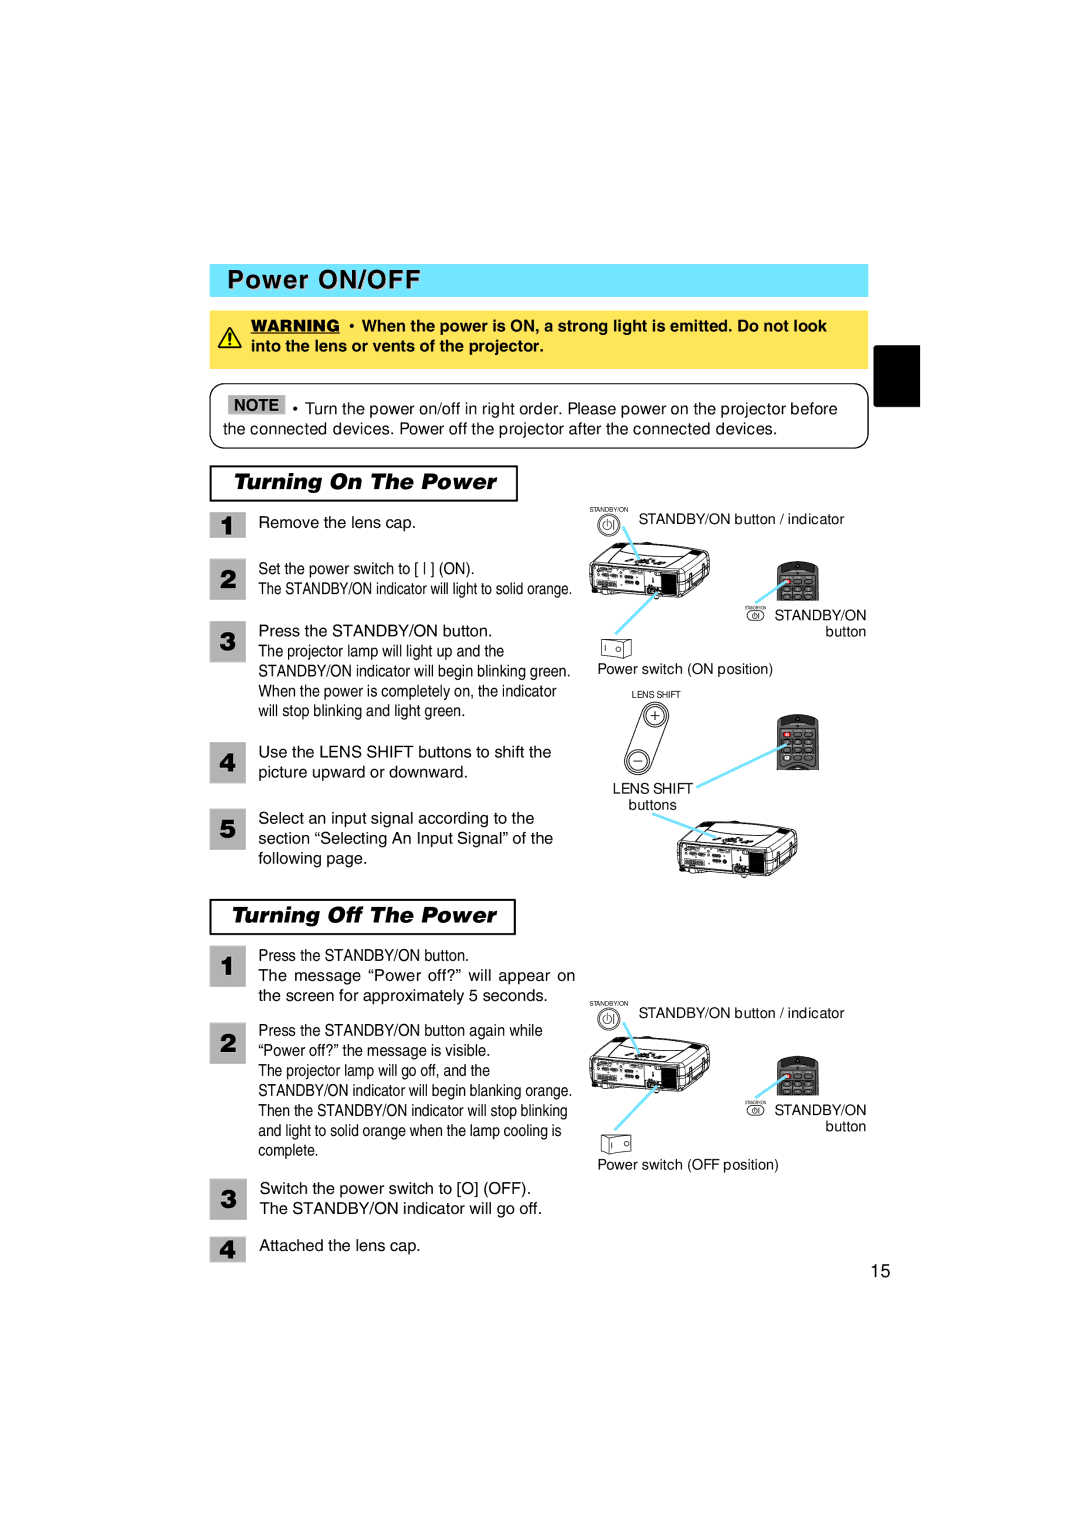
STANDBY/ON button / indicator
STANDBY/ON VIDEO RGB
+ + +
LENS SHIFT FOCUS ZOOM
– – –
STANDBY/ON
STANDBY/ON button
Power switch (ON position)
LENS SHIFT
STANDBY/ON VIDEO RGB
+ + +
LENS SHIFT FOCUS ZOOM
– – –
BLANK ASPECT LASER
LENS SHIFT
buttons
Turning Off The Power
1 |
| Press the STANDBY/ON button. | |
| The message “Power off?” will appear on | ||
|
| the screen for approximately 5 seconds. | |
|
| Press the STANDBY/ON button again while | |
2 | |||
| “Power off?” the message is visible. | ||
|
| The projector lamp will go off, and the | |
|
| STANDBY/ON indicator will begin blanking orange. | |
|
| Then the STANDBY/ON indicator will stop blinking | |
|
| and light to solid orange when the lamp cooling is | |
|
| complete. | |
|
| Switch the power switch to [O] (OFF). | |
3 |
| ||
| The STANDBY/ON indicator will go off. | ||
|
| Attached the lens cap. | |
4 |
|
STANDBY/ON
STANDBY/ON button / indicator
STANDBY/ON VIDEO RGB
+ + +
LENS SHIFT FOCUS ZOOM
– – –
STANDBY/ON
STANDBY/ON button
Power switch (OFF position)
15
