IRT 3520, IRT 3020 specifications
The Braun IRT 3020 and IRT 3520 are two advanced ear thermometers designed for accurate and convenient temperature measurement. These devices are particularly useful for families, allowing quick and reliable assessments of body temperature, which is essential for monitoring health, especially in young children.Both models utilize infrared technology to provide precise readings in seconds. This non-invasive method measures the heat emitted from the eardrum, delivering results that are often more accurate than traditional oral or rectal methods. The IRT 3020 features a simple one-button operation that makes it user-friendly, while the IRT 3520 offers an intuitive interface with a larger display, making it even easier for users to read results quickly.
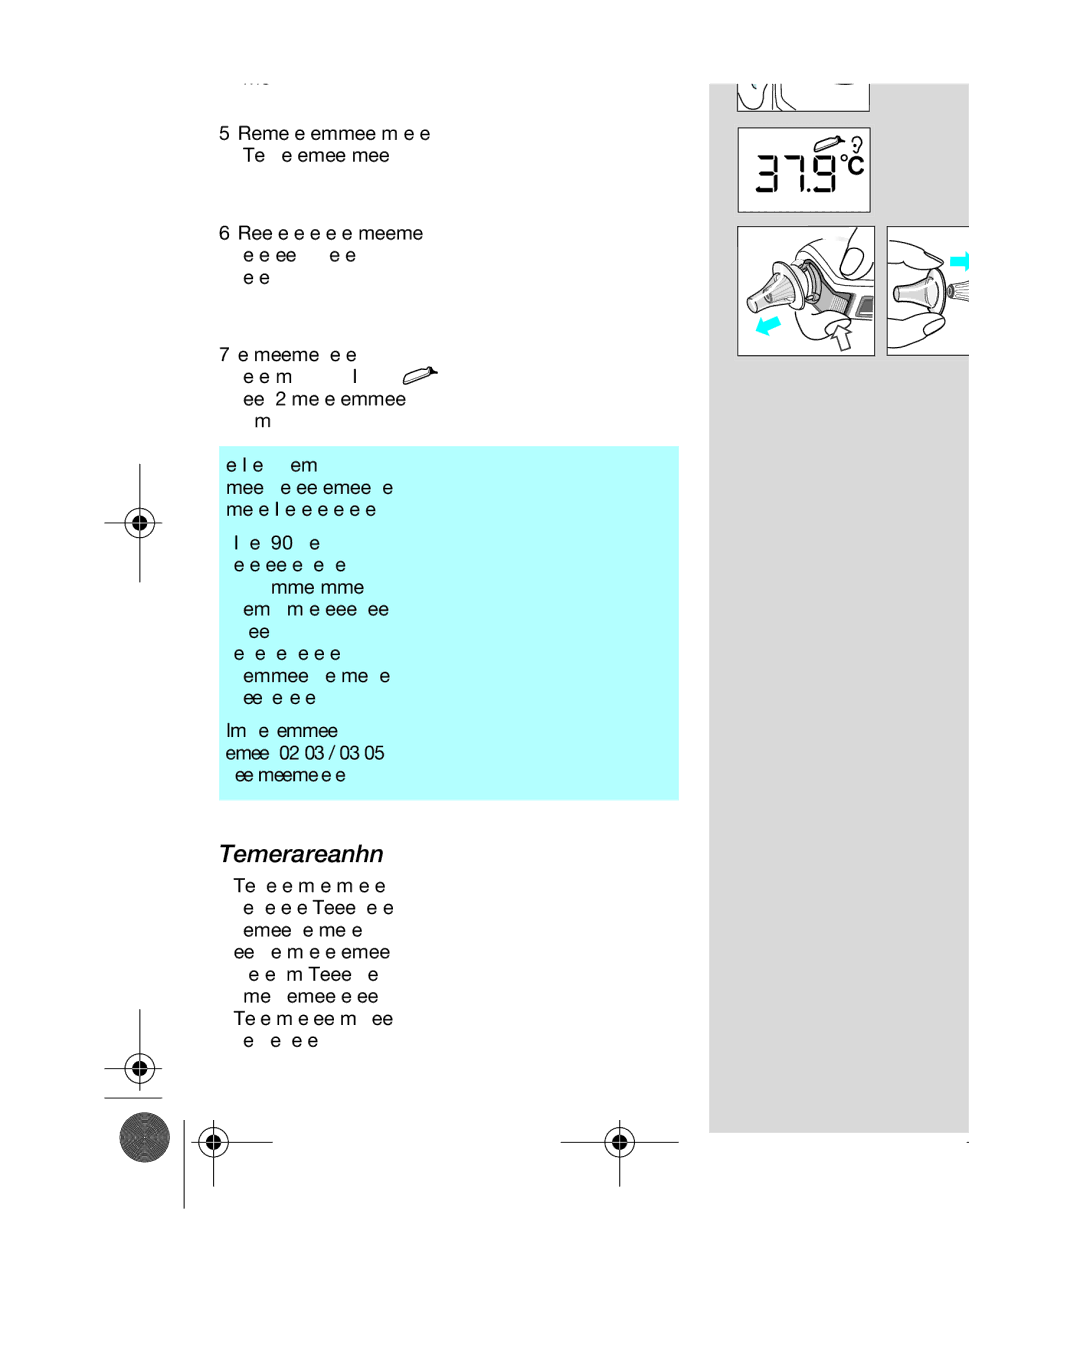
A standout feature of the IRT 3520 is its innovative pre-warmed tip, which ensures that the temperature reading is not influenced by external factors, such as the temperature of the ear canal. This helps to enhance the accuracy of readings, particularly in fluctuating ambient conditions. Both models come with a patented ExacTemp technology that provides feedback to ensure correct positioning during measurement, decreasing the chances of user error.
Portability is another key characteristic of these thermometers. Their compact design makes them easy to store and perfect for on-the-go families. They are also equipped with a memory function that allows users to store the last readings, providing a useful reference for monitoring temperature changes over time.
Hygiene is crucial when it comes to thermometers, and both Braun models cater to this concern; they come with disposable lens filters to prevent cross-contamination and promote health safety. Additionally, both devices are made from high-quality, durable materials, ensuring that they withstand regular use.
Another advantage of the Braun IRT 3020 and IRT 3520 is the inclusion of color-coded fever indicator features. This allows parents to quickly assess the severity of fever at a glance, aiding in decision-making regarding medical intervention.
In summary, the Braun IRT 3020 and IRT 3520 are excellent choices for anyone seeking reliable, fast, and hygienic temperature measurement solutions. Their combination of cutting-edge technology, user-friendly features, and portability make them standout products in the realm of medical thermometry.

