Operating Instructions

CAUTION: DO NOT TOUCH TOP OF OVEN WHEN IN USE. EXTREMELY HOT!

Operating Instructions

CAUTION: DO NOT TOUCH TOP OF OVEN WHEN IN USE. EXTREMELY HOT!

9.When the rotisserie is finished, the oven will turn off and beep continuously. The digital display lights will also be extinguished.

10.Remove the rotisserie assembly using oven mitts and the rotisserie handle as the oven walls are very hot.

11.Always unplug oven when finished cooking, and allow to cool.

Important Note: Always unplug oven when finished cooking and allow to cool.

Warning: NEVER leave the oven unattended when in use.

Caution: DO NOT leave oven plugged in when not in use.

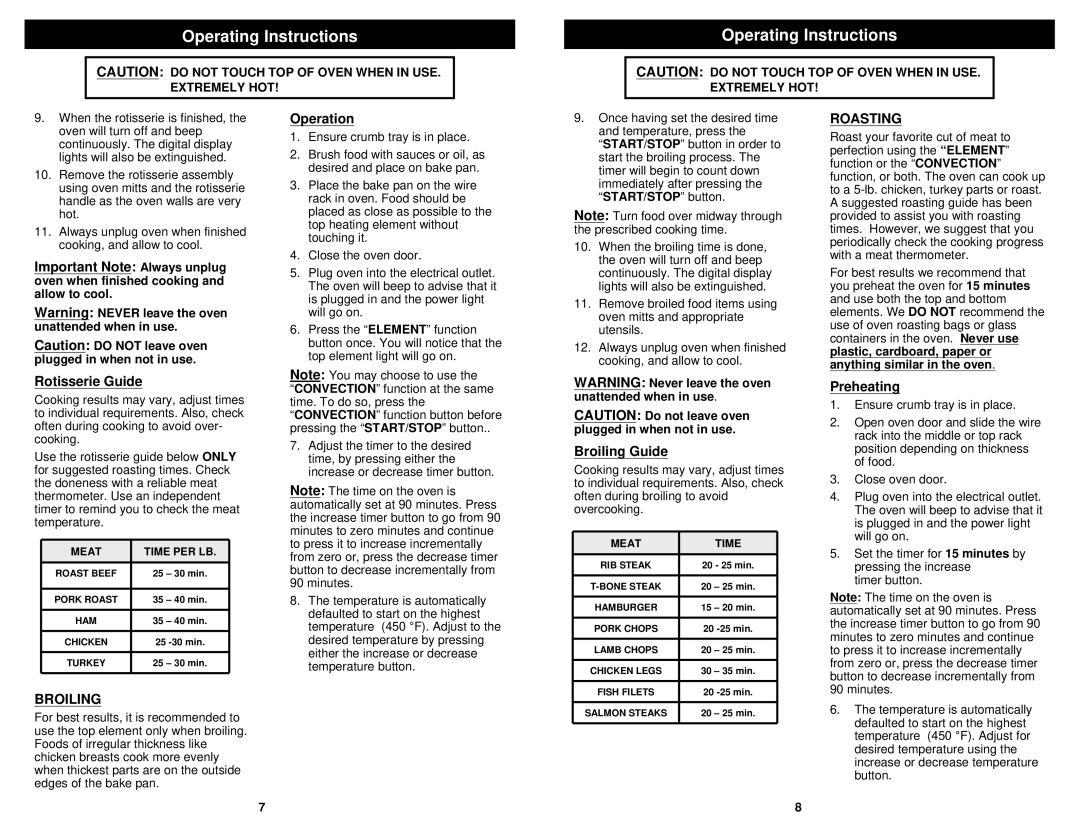
Rotisserie Guide

Cooking results may vary, adjust times to individual requirements. Also, check often during cooking to avoid over- cooking.

Use the rotisserie guide below ONLY for suggested roasting times. Check the doneness with a reliable meat thermometer. Use an independent timer to remind you to check the meat temperature.

MEAT

TIME PER LB.

ROAST BEEF

25 – 30 min.


PORK ROAST

35 – 40 min.


HAM

35 – 40 min.


CHICKEN

25 -30 min.


TURKEY

25 – 30 min.


Operation

1.Ensure crumb tray is in place.

2.Brush food with sauces or oil, as desired and place on bake pan.

3.Place the bake pan on the wire rack in oven. Food should be placed as close as possible to the top heating element without touching it.

4.Close the oven door.

5.Plug oven into the electrical outlet. The oven will beep to advise that it is plugged in and the power light will go on.

6.Press the “ELEMENT” function button once. You will notice that the top element light will go on.

Note: You may choose to use the

CONVECTION” function at the same time. To do so, press the “CONVECTION” function button before pressing the “START/STOP” button..

7.Adjust the timer to the desired time, by pressing either the increase or decrease timer button.

Note: The time on the oven is automatically set at 90 minutes. Press the increase timer button to go from 90 minutes to zero minutes and continue to press it to increase incrementally from zero or, press the decrease timer button to decrease incrementally from 90 minutes.

8.The temperature is automatically defaulted to start on the highest temperature (450 °F). Adjust to the desired temperature by pressing either the increase or decrease temperature button.

9.Once having set the desired time and temperature, press the “START/STOP” button in order to start the broiling process. The timer will begin to count down immediately after pressing the “START/STOP” button.

Note: Turn food over midway through the prescribed cooking time.

10.When the broiling time is done, the oven will turn off and beep continuously. The digital display lights will also be extinguished.

11.Remove broiled food items using oven mitts and appropriate utensils.

12.Always unplug oven when finished cooking, and allow to cool.

WARNING: Never leave the oven unattended when in use.

CAUTION: Do not leave oven plugged in when not in use.

Broiling Guide

Cooking results may vary, adjust times to individual requirements. Also, check often during broiling to avoid overcooking.

MEAT

TIME

RIB STEAK

20 - 25 min.


T-BONE STEAK

20 – 25 min.


HAMBURGER

15 – 20 min.


PORK CHOPS

20 -25 min.


LAMB CHOPS

20 – 25 min.


CHICKEN LEGS

30 – 35 min.


FISH FILETS

20 -25 min.

ROASTING

Roast your favorite cut of meat to perfection using the “ELEMENT” function or the “CONVECTION” function, or both. The oven can cook up to a 5-lb. chicken, turkey parts or roast. A suggested roasting guide has been provided to assist you with roasting times. However, we suggest that you periodically check the cooking progress with a meat thermometer.

For best results we recommend that you preheat the oven for 15 minutes and use both the top and bottom elements. We DO NOT recommend the use of oven roasting bags or glass containers in the oven. Never use plastic, cardboard, paper or anything similar in the oven.

Preheating

1.Ensure crumb tray is in place.

2.Open oven door and slide the wire rack into the middle or top rack position depending on thickness of food.

3.Close oven door.

4.Plug oven into the electrical outlet. The oven will beep to advise that it is plugged in and the power light will go on.

5.Set the timer for 15 minutes by pressing the increase

timer button.

Note: The time on the oven is automatically set at 90 minutes. Press the increase timer button to go from 90 minutes to zero minutes and continue to press it to increase incrementally from zero or, press the decrease timer button to decrease incrementally from 90 minutes.

BROILING

For best results, it is recommended to use the top element only when broiling. Foods of irregular thickness like chicken breasts cook more evenly when thickest parts are on the outside edges of the bake pan.

7

SALMON STEAKS

20 – 25 min.

8

6.The temperature is automatically defaulted to start on the highest temperature (450 °F). Adjust for desired temperature using the increase or decrease temperature button.

Page 5
Image 5
Bravetti TO230H instruction manual Rotisserie Guide, Broiling Guide, Roasting, Preheating

TO230H specifications

The Bravetti TO230H is a versatile and compact toaster oven that combines functionality with an appealing design, making it a fantastic addition to any kitchen. With its sleek stainless steel finish, this appliance not only serves as a cooking tool but also as an attractive countertop accessory.

One of the main features of the Bravetti TO230H is its spacious interior, which allows users to cook a variety of foods simultaneously. It can accommodate a 12-inch pizza, a casserole dish, or multiple slices of bread, making it ideal for families or those who entertain frequently. The adjustable rack positions give users the flexibility to place dishes in various heights, optimizing cooking efficiency and results.

The toaster oven is equipped with multiple cooking settings including bake, broil, and toast, providing versatility for various culinary tasks. The adjustable temperature control ranges from 150°F to 450°F, facilitating precise cooking for a wide array of dishes, from crispy baked goods to perfectly broiled meats. The 60-minute timer with an automatic shut-off feature ensures that dishes are not overcooked, adding a layer of safety to the cooking process.

In terms of technology, the Bravetti TO230H uses advanced heating elements that ensure even heat distribution for consistent cooking performance. This technology eliminates hot spots, which are common in traditional ovens, and allows for even browning and thorough cooking.

Moreover, the appliance includes a convenient interior light that makes it easy to monitor the cooking process without having to open the oven door, preserving heat and maintaining optimal cooking conditions. The removable crumb tray simplifies clean-up, making the maintenance of this toaster oven a breeze.

The compact design of the Bravetti TO230H also means that it takes up minimal counter space, making it perfect for smaller kitchens or for those who prefer a more organized cooking area. Its user-friendly controls are straightforward and easy to understand, ensuring that even novice cooks can quickly get the hang of using this appliance.

In summary, the Bravetti TO230H is a well-rounded toaster oven that excels in functionality, design, and technology. With its multiple cooking settings, spacious interior, and thoughtful features, it is a highly useful appliance for any kitchen enthusiast looking to simplify their cooking and baking tasks while delivering delicious results.