
Pressure Washer specifications
Briggs & Stratton pressure washers are renowned for their reliability, performance, and user-friendly design, making them a popular choice for homeowners and professionals alike. These powerful cleaning machines employ advanced technologies that facilitate efficient and thorough cleaning of various surfaces, including driveways, patios, vehicles, and outdoor furniture.At the heart of every Briggs & Stratton pressure washer is a robust engine designed to deliver high performance. Most models are equipped with OHV (Overhead Valve) engines that provide better fuel efficiency, lower emissions, and quieter operation, ensuring you get the job done without disturbing the neighborhood. The engines deliver impressive pressure ratings, usually ranging from 1,500 to 3,300 PSI, allowing users to tackle even the toughest cleaning tasks with ease.
One of the standout features of Briggs & Stratton pressure washers is their ergonomic design. Many models feature an adjustable spray nozzle, enabling users to customize the water pressure according to the task at hand. Whether you're dealing with delicate surfaces or stubborn grime, the ability to switch from high-pressure jets to gentler sprays enhances versatility and reduces the risk of damage.
In addition to adjustability, Briggs & Stratton pressure washers often incorporate the brand's own exclusive technology called "PowerFlow+." This innovative feature enables users to draw water from a nearby source (like a pond or rain barrel) while simultaneously applying detergent through a dedicated soap nozzle. This dual capability makes cleaning faster and more effective, particularly for large areas.
Durability is another notable characteristic of Briggs & Stratton pressure washers. Many models are built with high-quality components, such as reinforced frames and heavy-duty wheels, allowing for easy maneuverability across various terrains. The inclusion of large, pneumatic tires enhances stability and provides added traction during use, ensuring the washer can withstand the rigors of different cleaning environments.
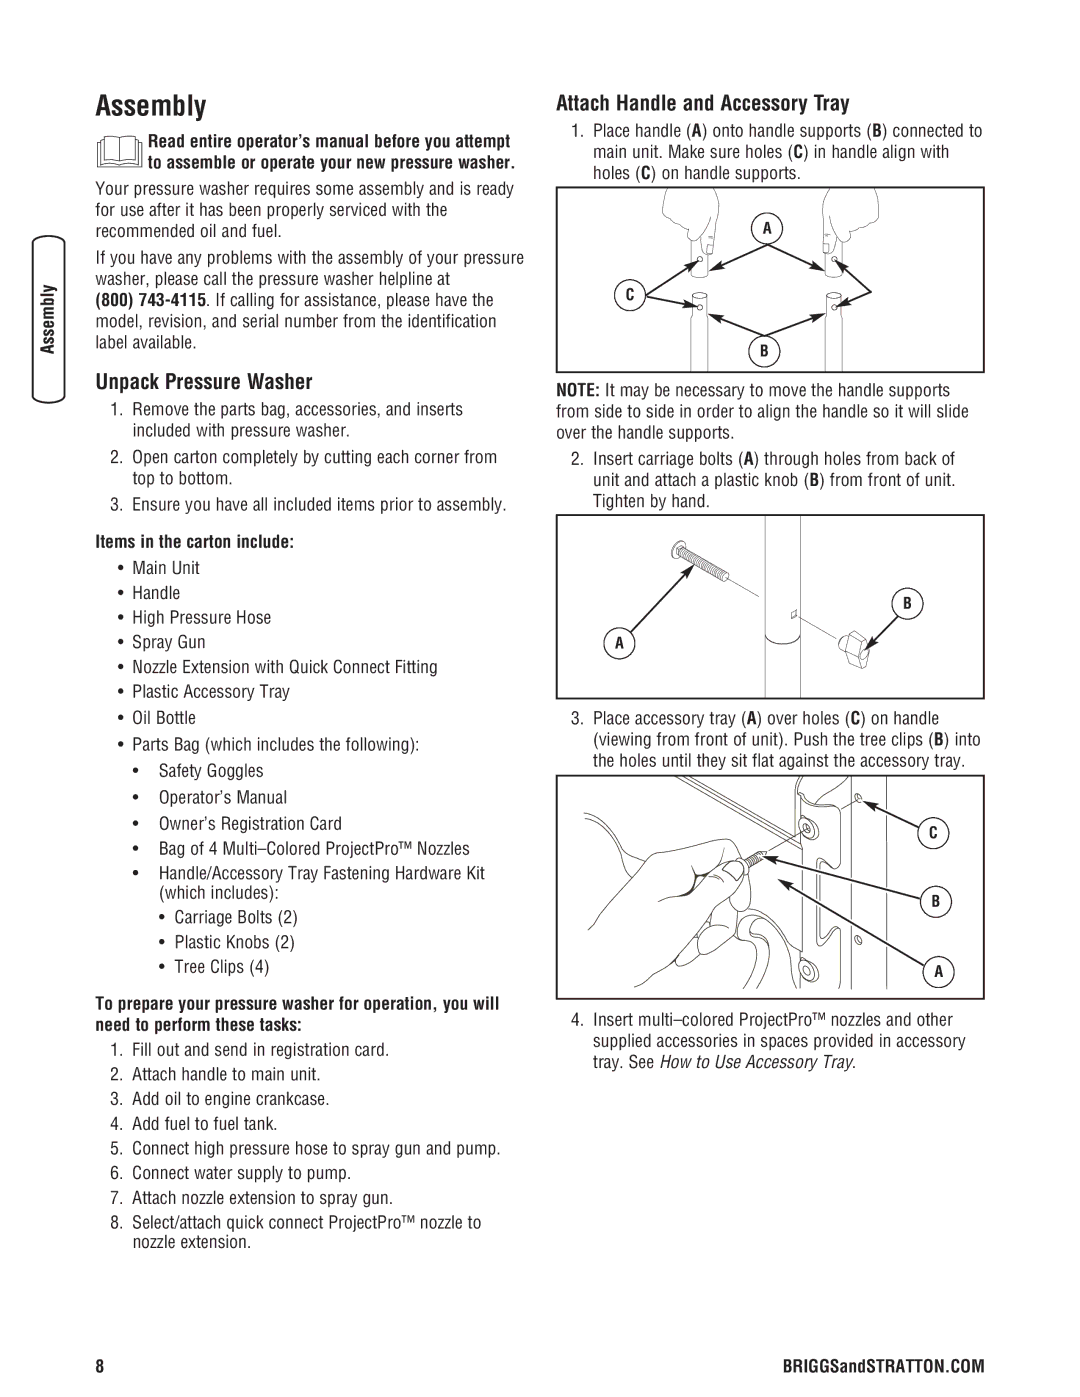
Moreover, Briggs & Stratton emphasizes user convenience with features like onboard storage for nozzles, hoses, and accessories. This thoughtful design minimizes the likelihood of misplacing essential tools and ensures everything needed for cleaning is within reach.
In summary, Briggs & Stratton pressure washers stand out for their powerful engines, ergonomic design, innovative technologies, and durability. These features combine to create a user-friendly experience that caters to both novice operators and experienced users, making these pressure washers a reliable choice for various cleaning tasks. Whether you're maintaining your home or tackling a professional project, Briggs & Stratton pressure washers are equipped to deliver exceptional performance and lasting results.