Roundabout specifications
The Britax Roundabout is a well-regarded convertible car seat that exemplifies safety, comfort, and convenience for parents and children alike. Designed to accommodate children from approximately 5 to 65 pounds, it provides a versatile seating solution suitable for infants and toddlers as they grow.One of the standout features of the Britax Roundabout is its dual mode functionality, allowing it to function as both a rear-facing and forward-facing car seat. This flexibility enables parents to keep their child in the safer rear-facing position for as long as possible, which is highly recommended by safety experts. The Roundabout easily transitions to forward-facing once the child surpasses the appropriate weight and height limits, making it a long-lasting investment.
Safety is paramount with the Britax Roundabout, which is equipped with innovative technologies designed to enhance protection during a collision. The seat incorporates Britax's SafeCell Impact Protection system, featuring a base that compresses to reduce the impact of a crash and protect the child’s head, neck, and spine. Additionally, the seat comes with side impact protection, which provides extra security in the event of a side collision.
Comfort is also a key aspect of the Roundabout's design. The seat features plush, padded fabric to ensure a cozy ride for your little one. The seat cover is also easy to remove and machine washable, providing convenience for parents when it comes to cleaning up spills and messes.
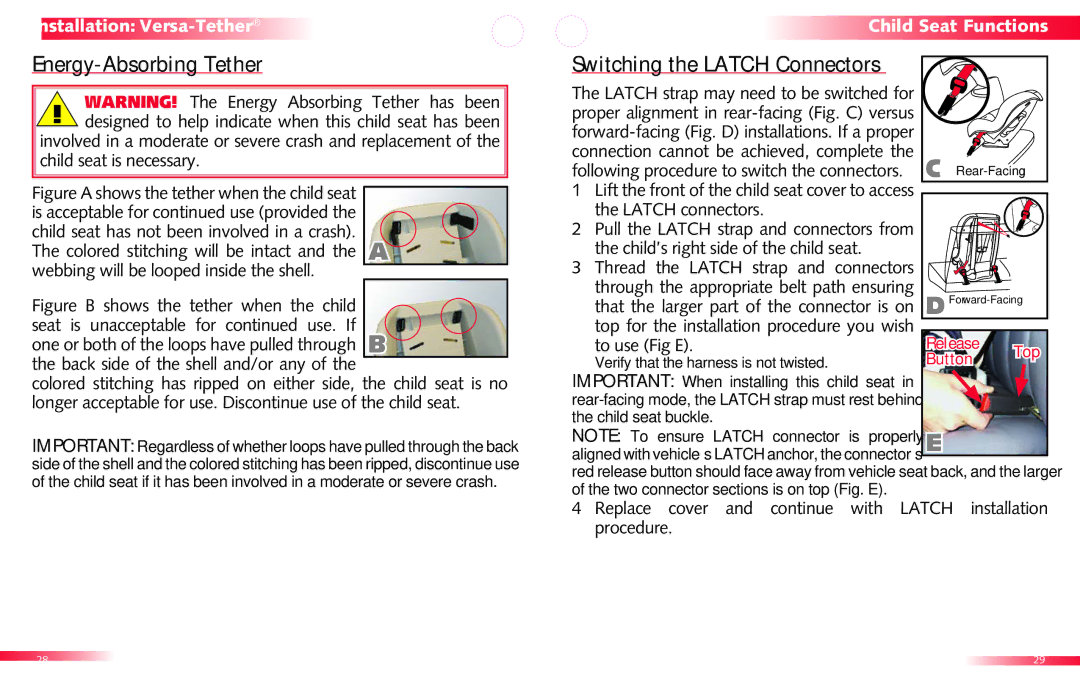
Installation of the Britax Roundabout is designed to be straightforward and user-friendly. It is equipped with the ClickTight Installation System, which allows for easy and secure installation using the vehicle's seat belt or LATCH system. This technology minimizes the risk of installation errors, which are common with other car seats.
Other notable characteristics include multiple recline positions for added comfort during long journeys and a 5-point harness system that ensures a secure fit for children of different sizes. The Roundabout is also known for its durable construction, which contributes to its longevity and reliability.
In summary, the Britax Roundabout is a convertible car seat that stands out due to its combination of safety features, user-friendly installation, and comfort. As children grow, the Roundabout adapts to their needs, making it a practical choice for parents seeking a dependable and versatile car seat for their family.

