Digital Photo Frame specifications
The Brookstone Digital Photo Frame is an innovative device that elegantly marries technology with personal storytelling, allowing you to showcase cherished memories with ease. This state-of-the-art photo frame boasts a range of features designed to enhance the display experience while providing users with versatility and convenience.One of the standout attributes of the Brookstone Digital Photo Frame is its high-resolution display, which offers vibrant colors and sharp image quality. With screens available in various sizes, from compact to large, users can choose a model that best fits their spaces, whether it be a cozy office desk or a spacious living room. The bright LCD displays ensure your photos look stunning, regardless of lighting conditions.
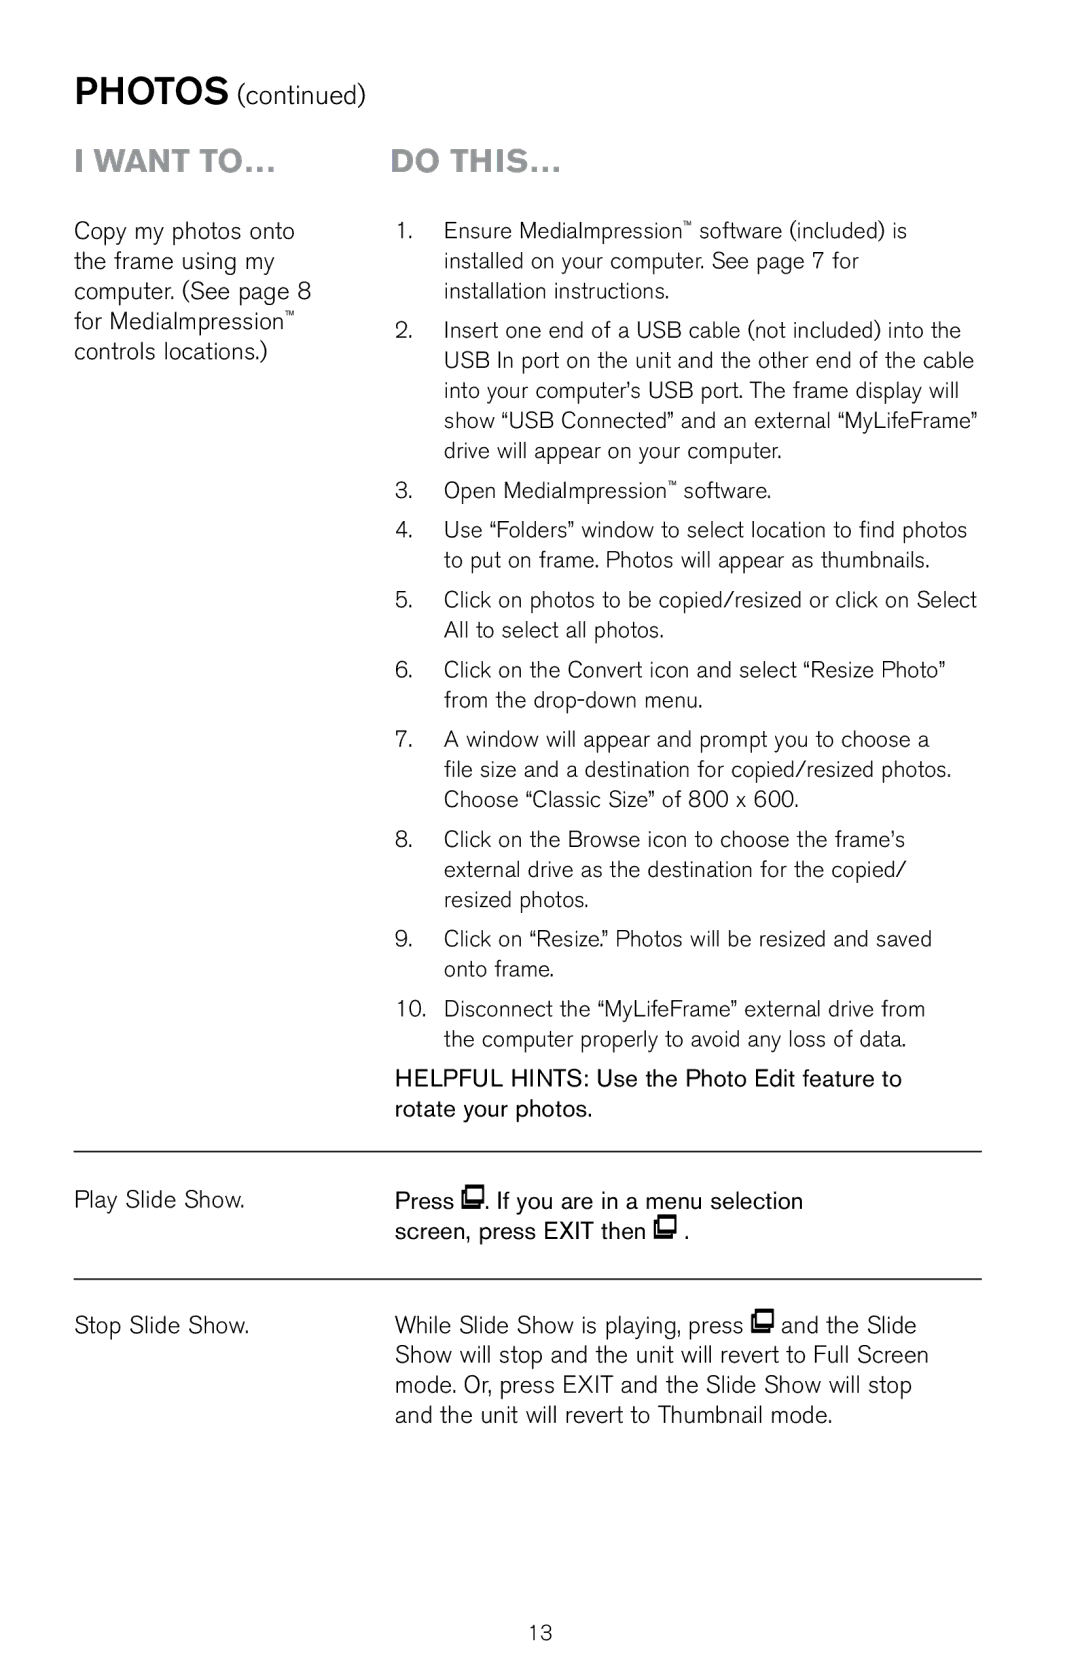
Connectivity is another key feature of this digital photo frame. Many models come equipped with Wi-Fi capabilities, allowing users to easily upload photos from smartphones or tablets via dedicated apps. This seamless integration means you can quickly rotate through your favorite images without the hassle of transferring files manually. Additionally, cloud storage options are often available, providing peace of mind that your memories are securely backed up.
The user-friendly interface of the Brookstone Digital Photo Frame is designed for all ages. With straightforward navigation and touch screen functionality, it is easy to scroll through images, adjust settings, or create personalized slideshows. Many versions also include customizable transition effects, enabling users to enrich their photo displays with dynamic features.
Beyond images, some Brookstone frames feature built-in video playback capabilities, allowing you to relive moving moments captured on video, making it not just a photo frame but a multimedia storyteller.
Moreover, the device often includes a range of connectivity options such as USB ports and SD card slots, ensuring compatibility with various media formats and sources. Some models also offer remote controls for added convenience, making it easy to operate from a distance.
In summary, the Brookstone Digital Photo Frame is a modern solution for displaying memories. With high-resolution screens, seamless wireless connectivity, user-friendly interfaces, and multimedia capabilities, it continues to redefine how we share and enjoy our treasured moments with family and friends. Whether as a gift or a personal indulgence, it’s an ideal choice for anyone looking to celebrate life’s special occasions in style.

