Brother USB Writer, PE-DESIGN specifications
Brother PE-DESIGN is a powerful software suite that serves as an essential tool for embroidery enthusiasts and professionals alike. Designed specifically for Brother embroidery machines, this software offers a range of features that enable users to create, edit, and customize embroidery designs with ease. The software is compatible with various Brother embroidery models, making it a versatile solution for many users.One of the standout features of Brother PE-DESIGN is its user-friendly interface, which allows beginners to navigate the software without feeling overwhelmed. The software provides a wide array of editing tools, including the ability to resize, rotate, and mirror designs. Users can also combine multiple designs into a single project, making it easy to create unique and intricate embroidery patterns.
In addition to its editing capabilities, Brother PE-DESIGN boasts advanced digitizing features that enable users to convert images into embroidery files. This allows for greater creative freedom as users can transform their own artwork or design ideas into beautiful embroidered pieces. The software supports various file formats, ensuring compatibility with a wide range of embroidery machines.
Another notable feature of Brother PE-DESIGN is its extensive library of built-in designs and fonts. With thousands of pre-installed embroidery designs, users can quickly find inspiration for their next project. Moreover, the software also allows users to import custom designs, further expanding their creative possibilities.
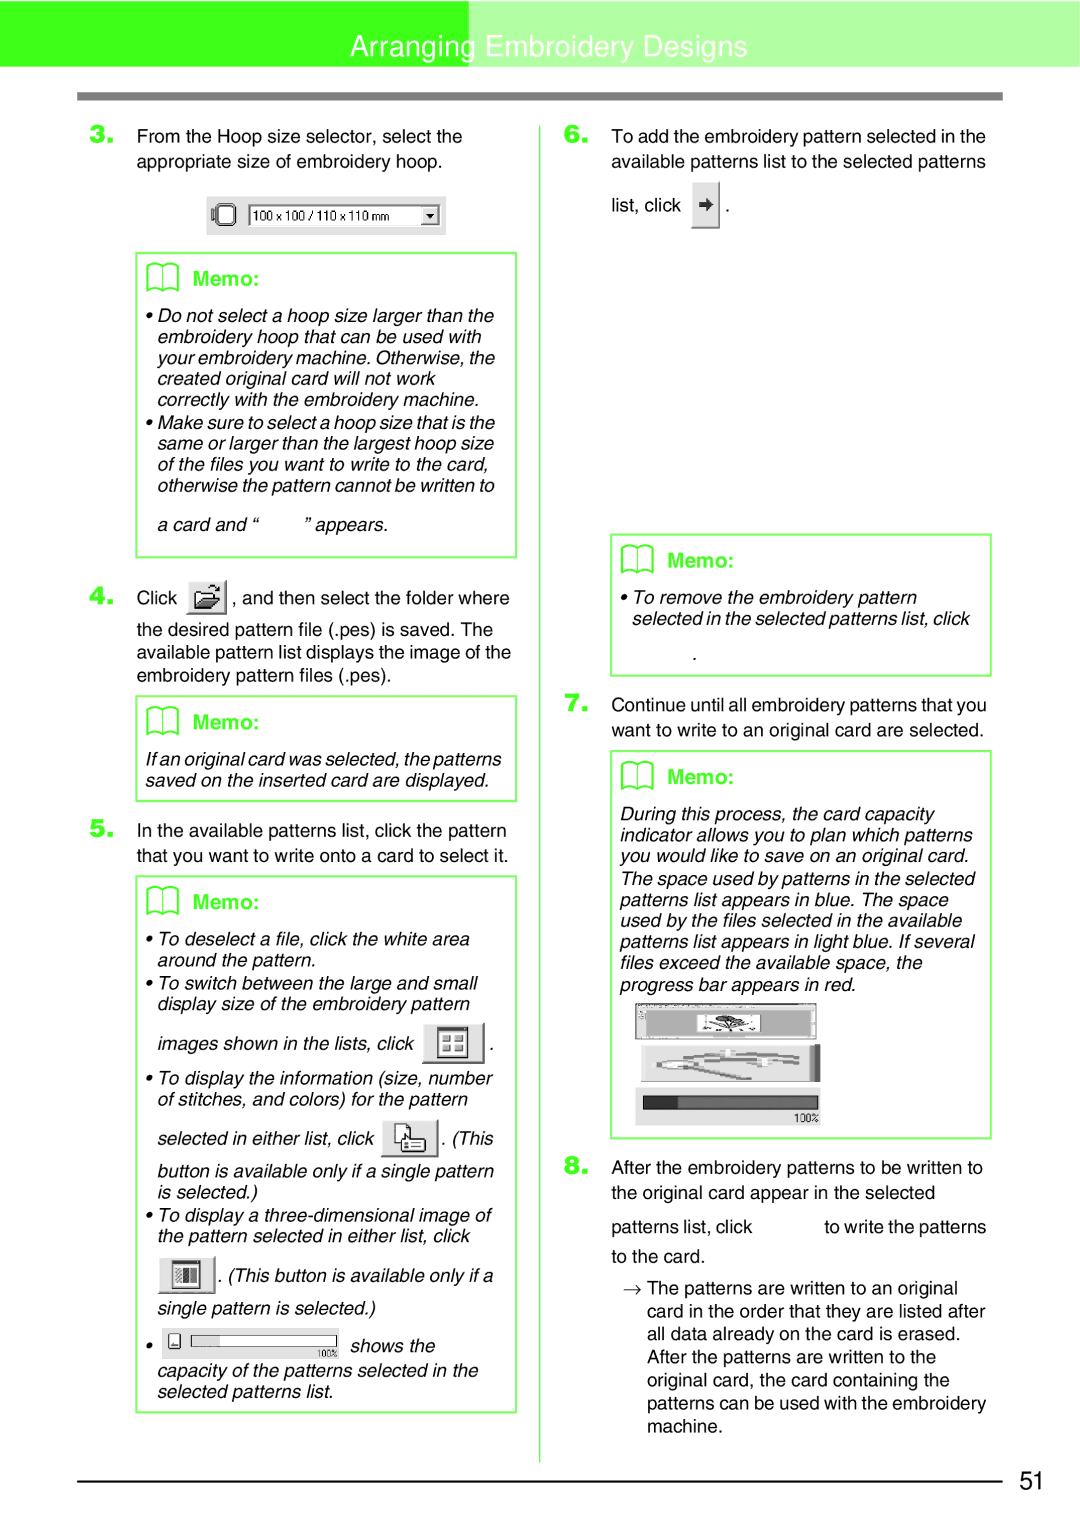
The Brother USB Writer is an add-on tool that enhances the functionality of the PE-DESIGN software. This device allows users to transfer their embroidery designs directly from their computer to their Brother embroidery machine via USB. The USB Writer simplifies the process of uploading files, ensuring that users can start their embroidery projects quickly and efficiently.
In terms of technology, Brother PE-DESIGN utilizes cutting-edge algorithms that ensure high-quality digitization and accurate stitch placement. This level of precision is essential for creating intricate designs that can withstand the rigors of embroidery. Additionally, the software is regularly updated to incorporate new features and improvements, keeping it on the cutting edge of design technology.
Overall, Brother PE-DESIGN and the Brother USB Writer represent a complete solution for embroidery enthusiasts. With their robust features, user-friendly interface, and impressive digitizing capabilities, these tools empower users to bring their creative visions to life. Whether you are a beginner or an experienced embroiderer, Brother PE-DESIGN enhances your embroidery journey with its comprehensive tools and functionalities.

